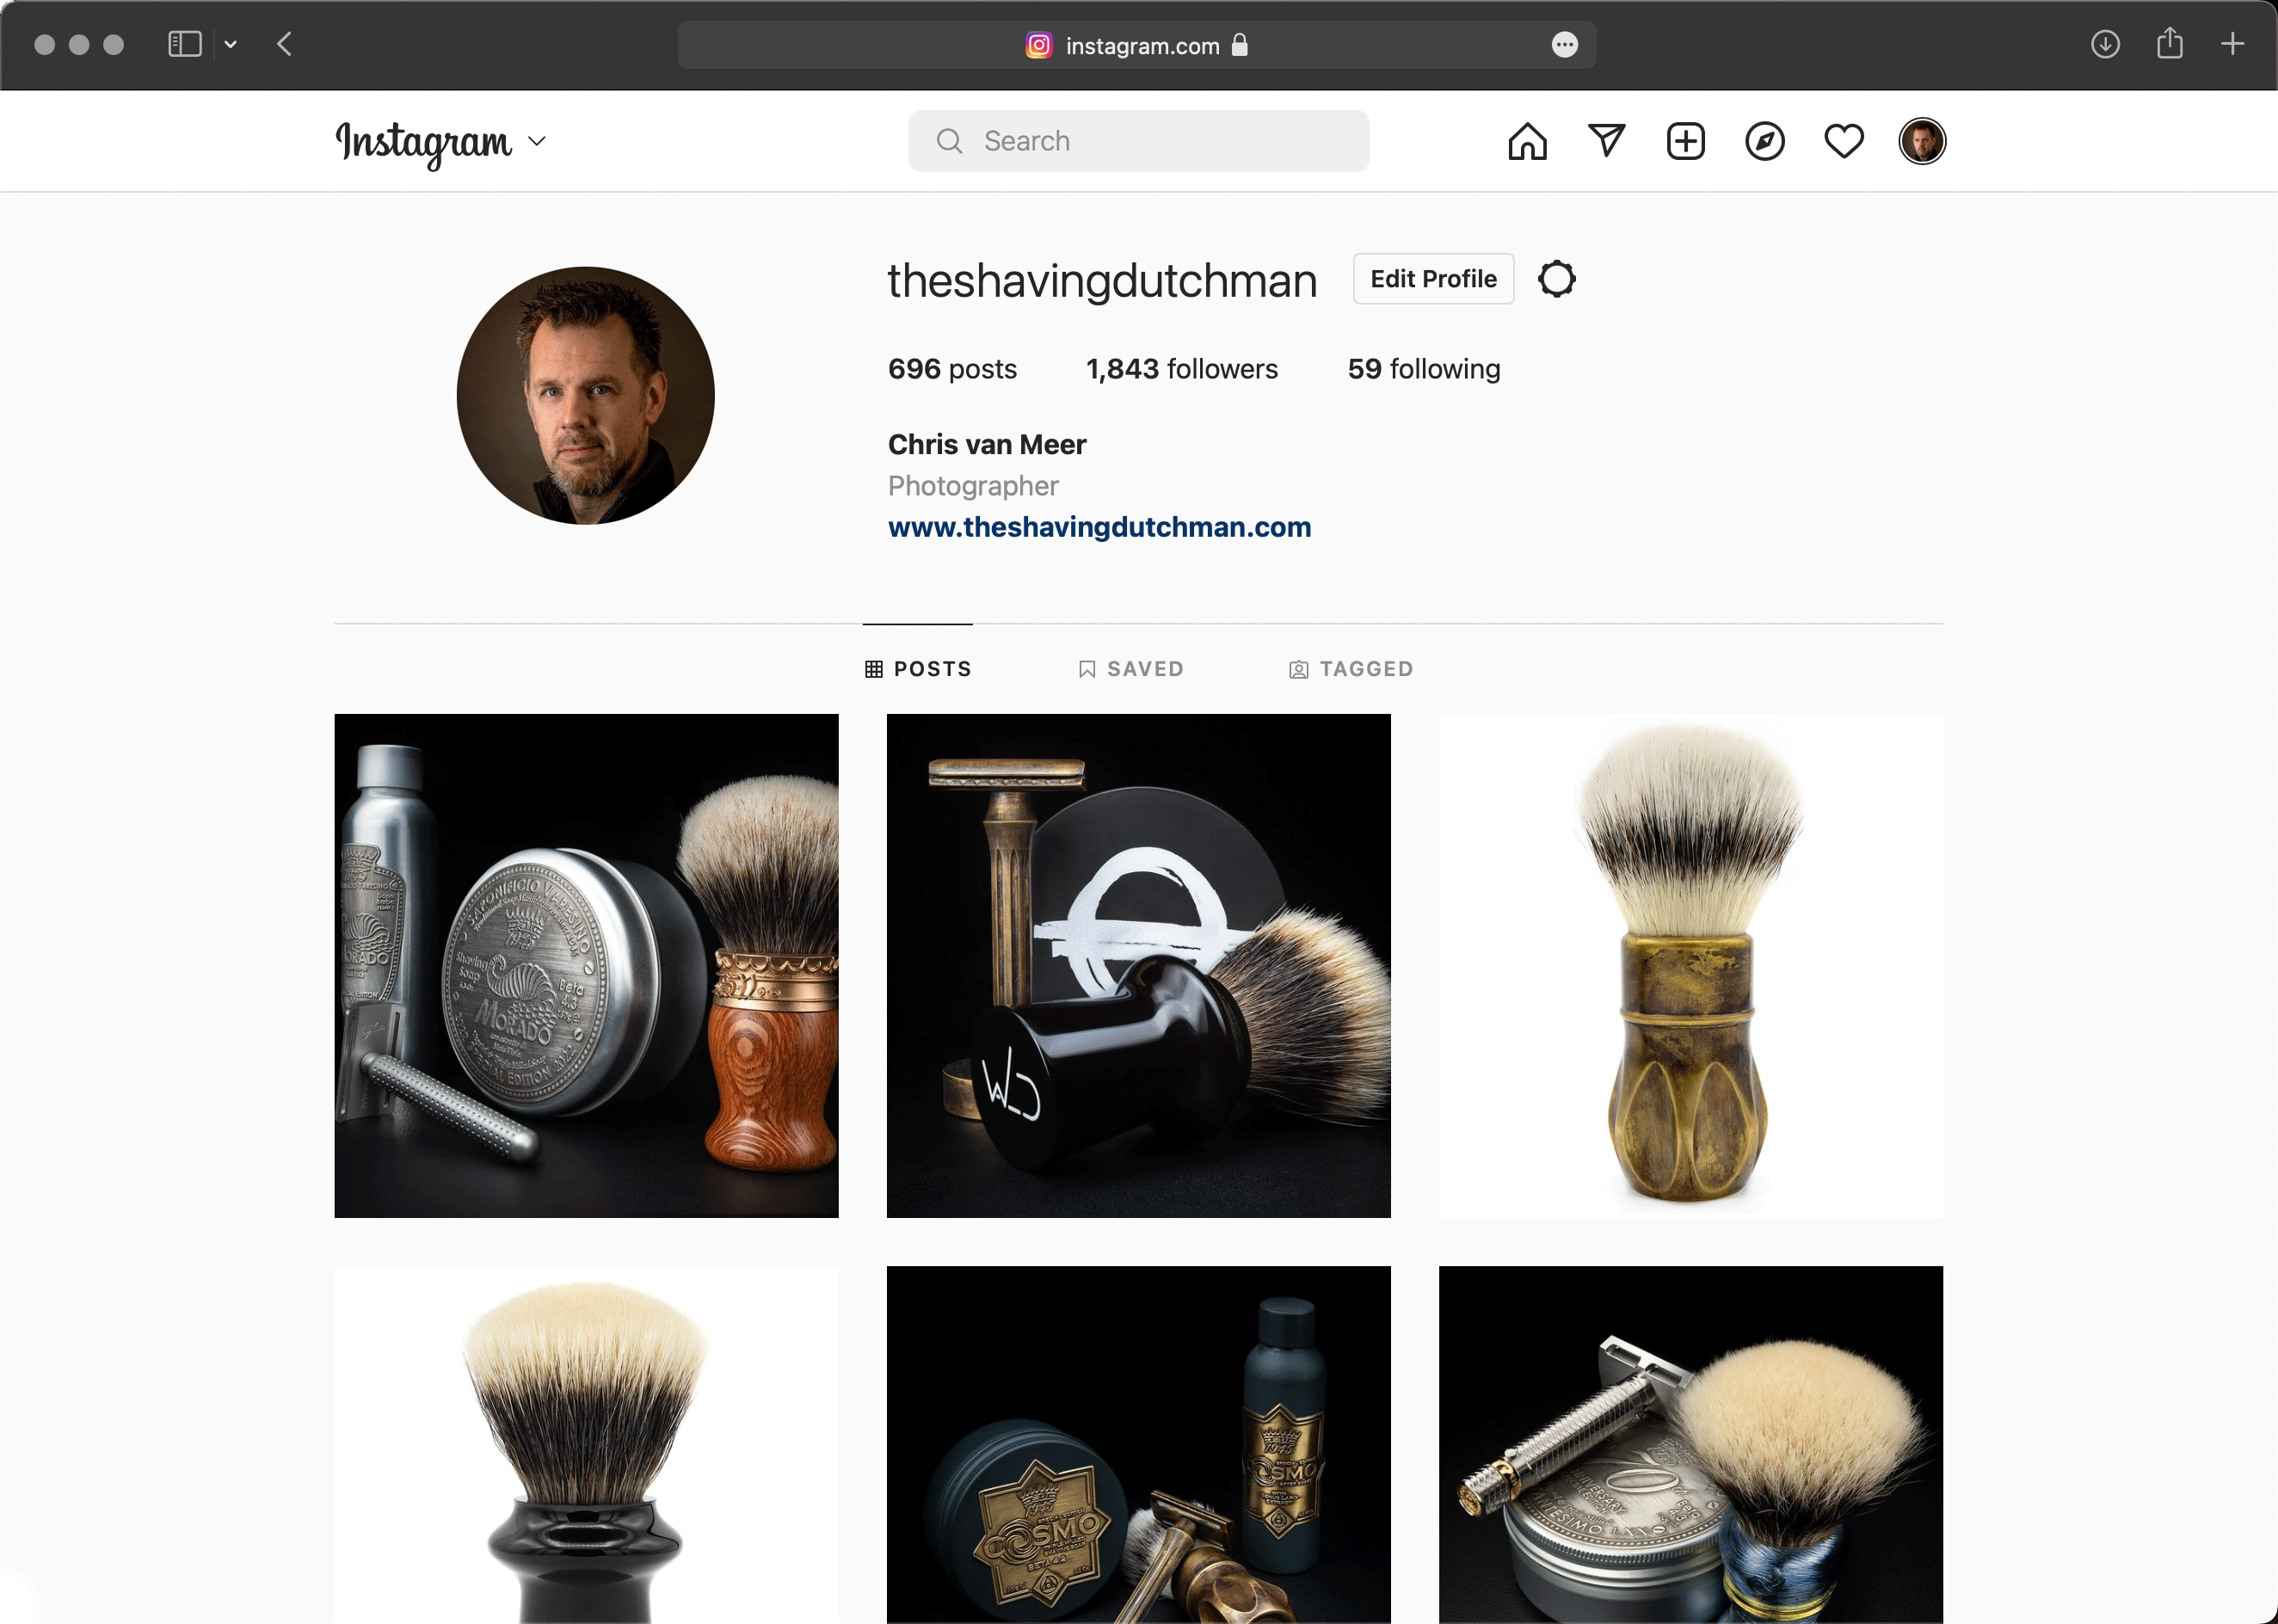
The Shaving Dutchman
Welcome to my little place on the internet where I post my SOTD pictures. I always have been fond of photography and since I started wet shaving, I combined the two in a sort of signature style. I hope you enjoy.
There are 451 posts in total.
Latest posts
2025-04-21

2025-03-30
2025-03-16
2025-03-09
2025-03-07
2024-12-22
2024-11-03
Archive
Archive
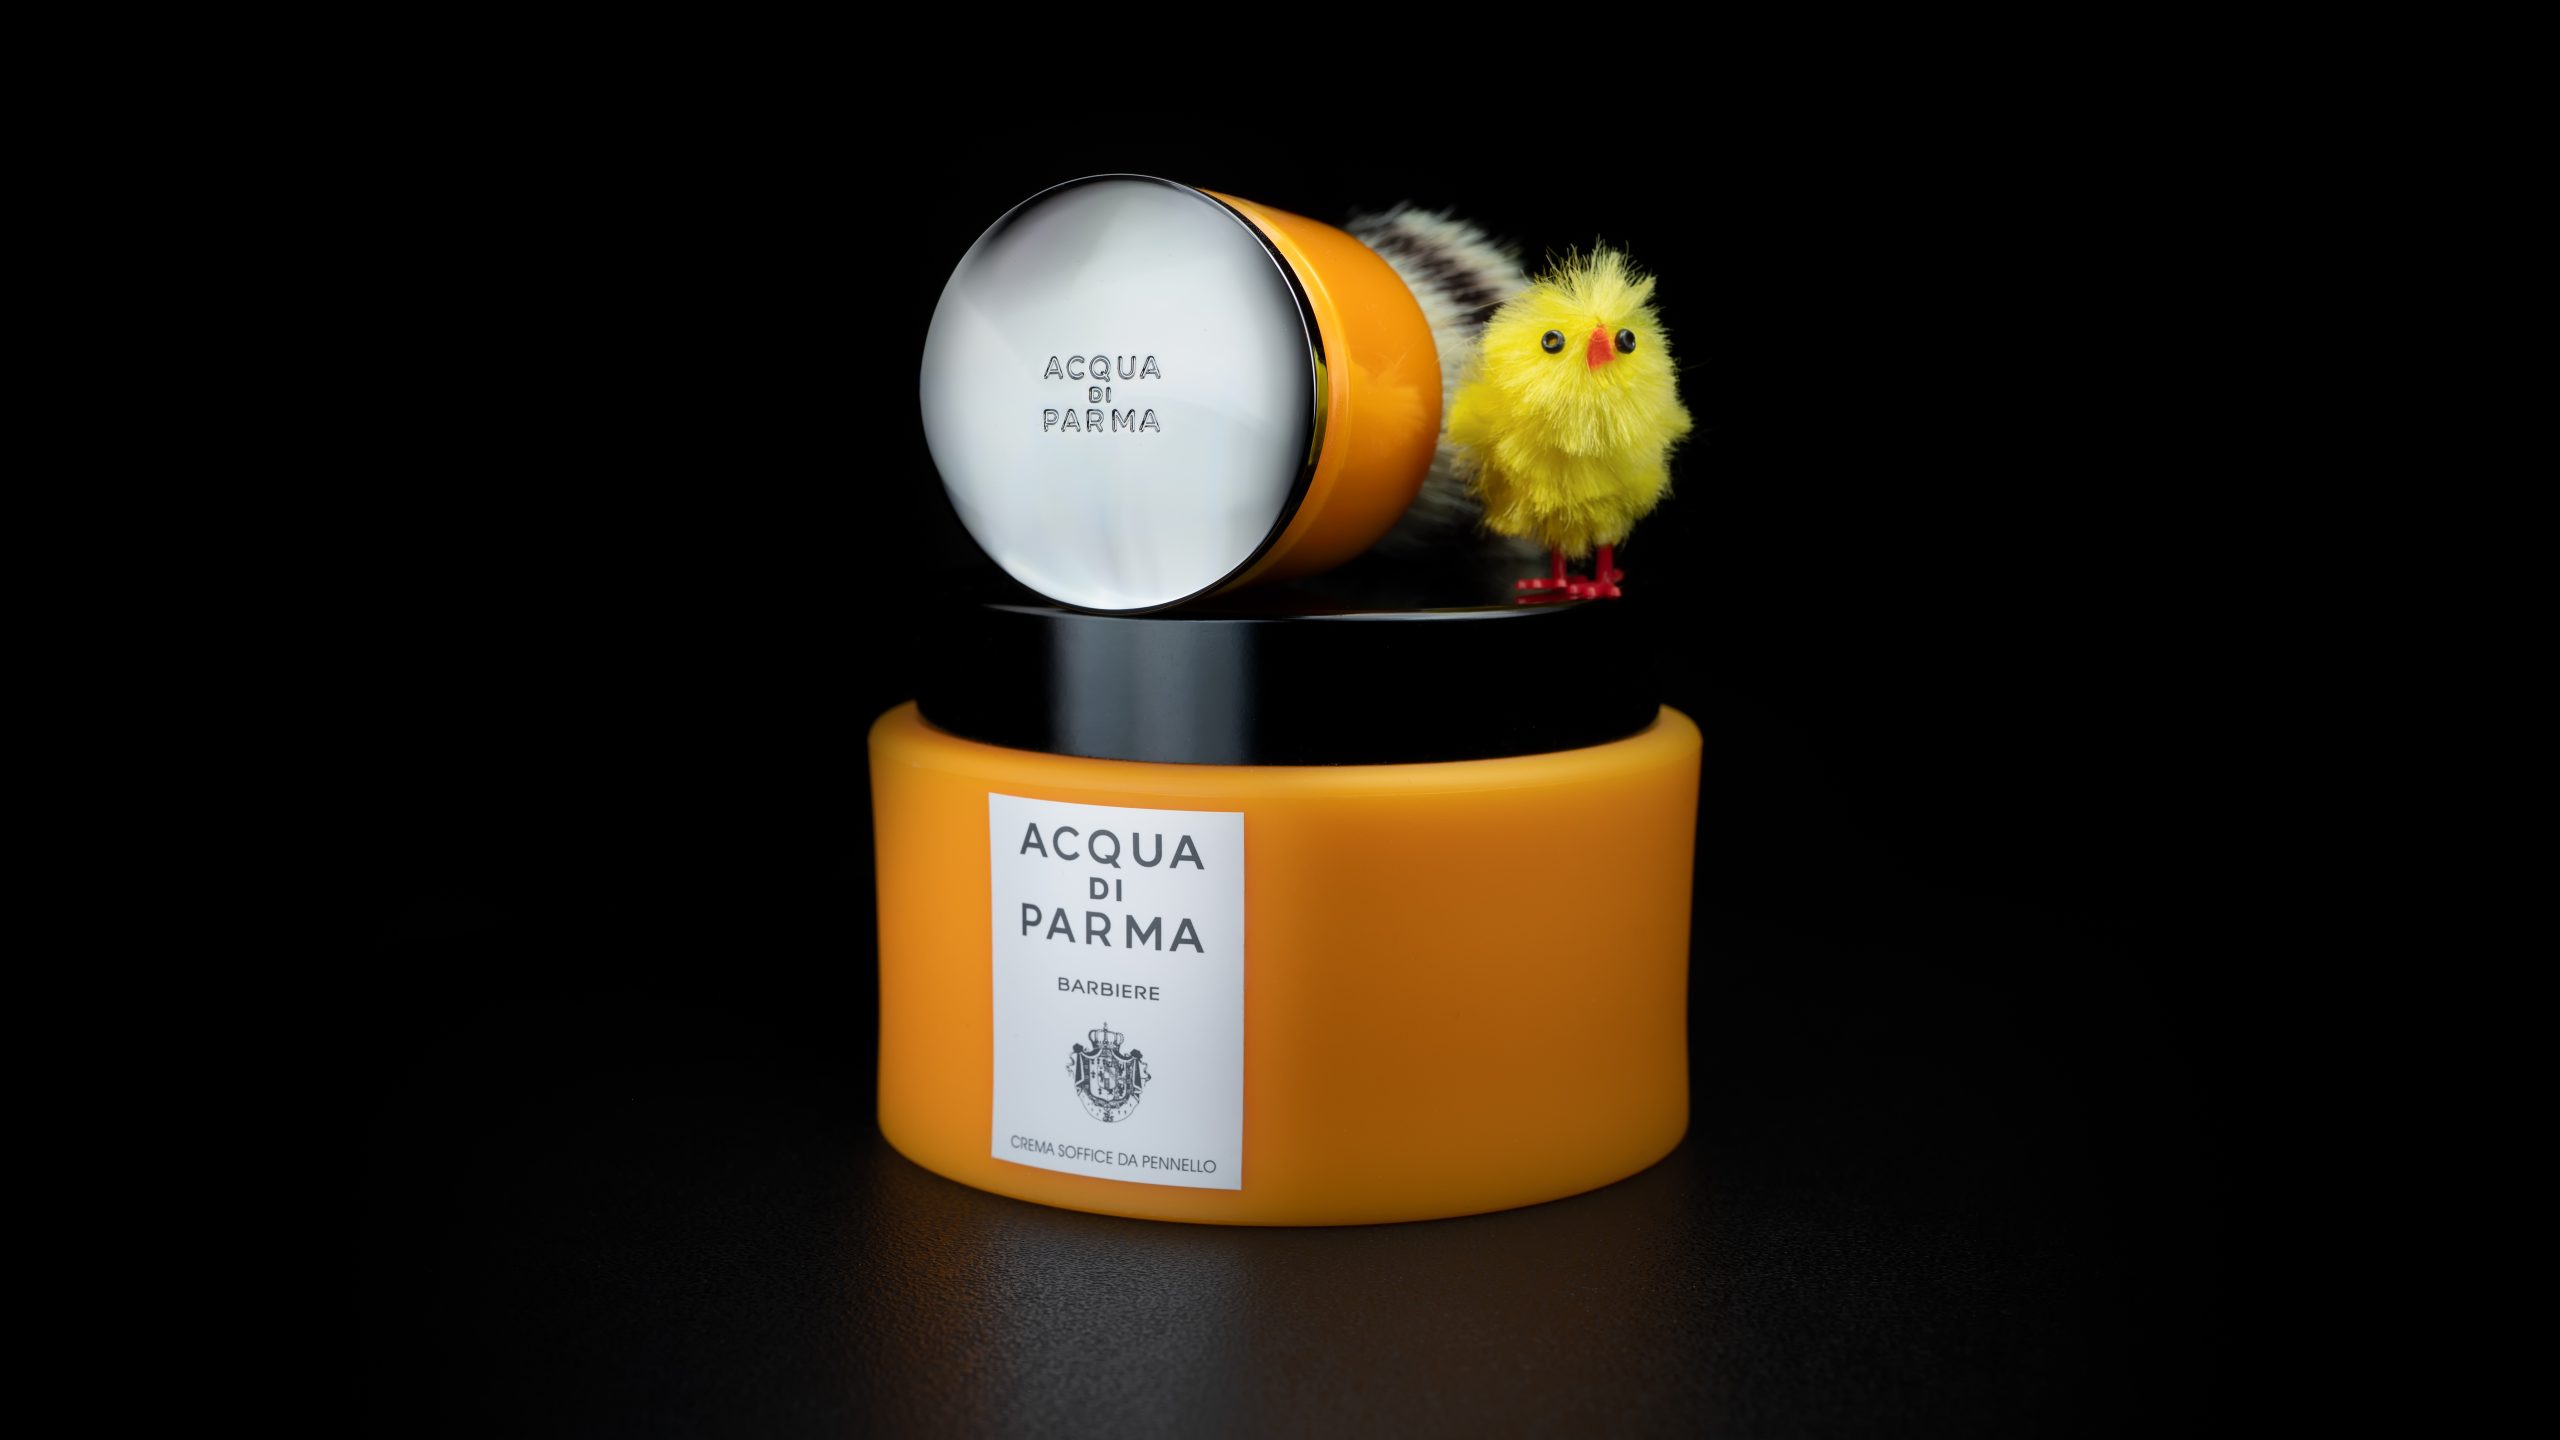
2025-04-21
- DE Razor: Rocnel - Sailor 2021
- Blade: Polsilver - Super Iridium
- Shaving Brush: Acqua di Parma - Barbiere Yellow (Synthetic - 24mm Fan)
- Shaving Cream: Acqua di Parma - Barbiere
- Aftershave Balm: Acqua di Parma - Colonia
2025-03-30
- DE Razor: Tedalus - Velocity-ONE #016
- Blade: Polsilver - Super Iridium
- Shaving Brush: Voigt & Cop - VC04 Corno di Alce (Manchurian Badger - 28mm Fan)
- Shaving Soap: Saponificio Varesino - Ottantesimo Anniversario
- Aftershave Splash: Saponificio Varesino - Ottantesimo Anniversario
- Fragrance: Saponificio Varesino - Ottantesimo Anniversario - EdP (100 ml)
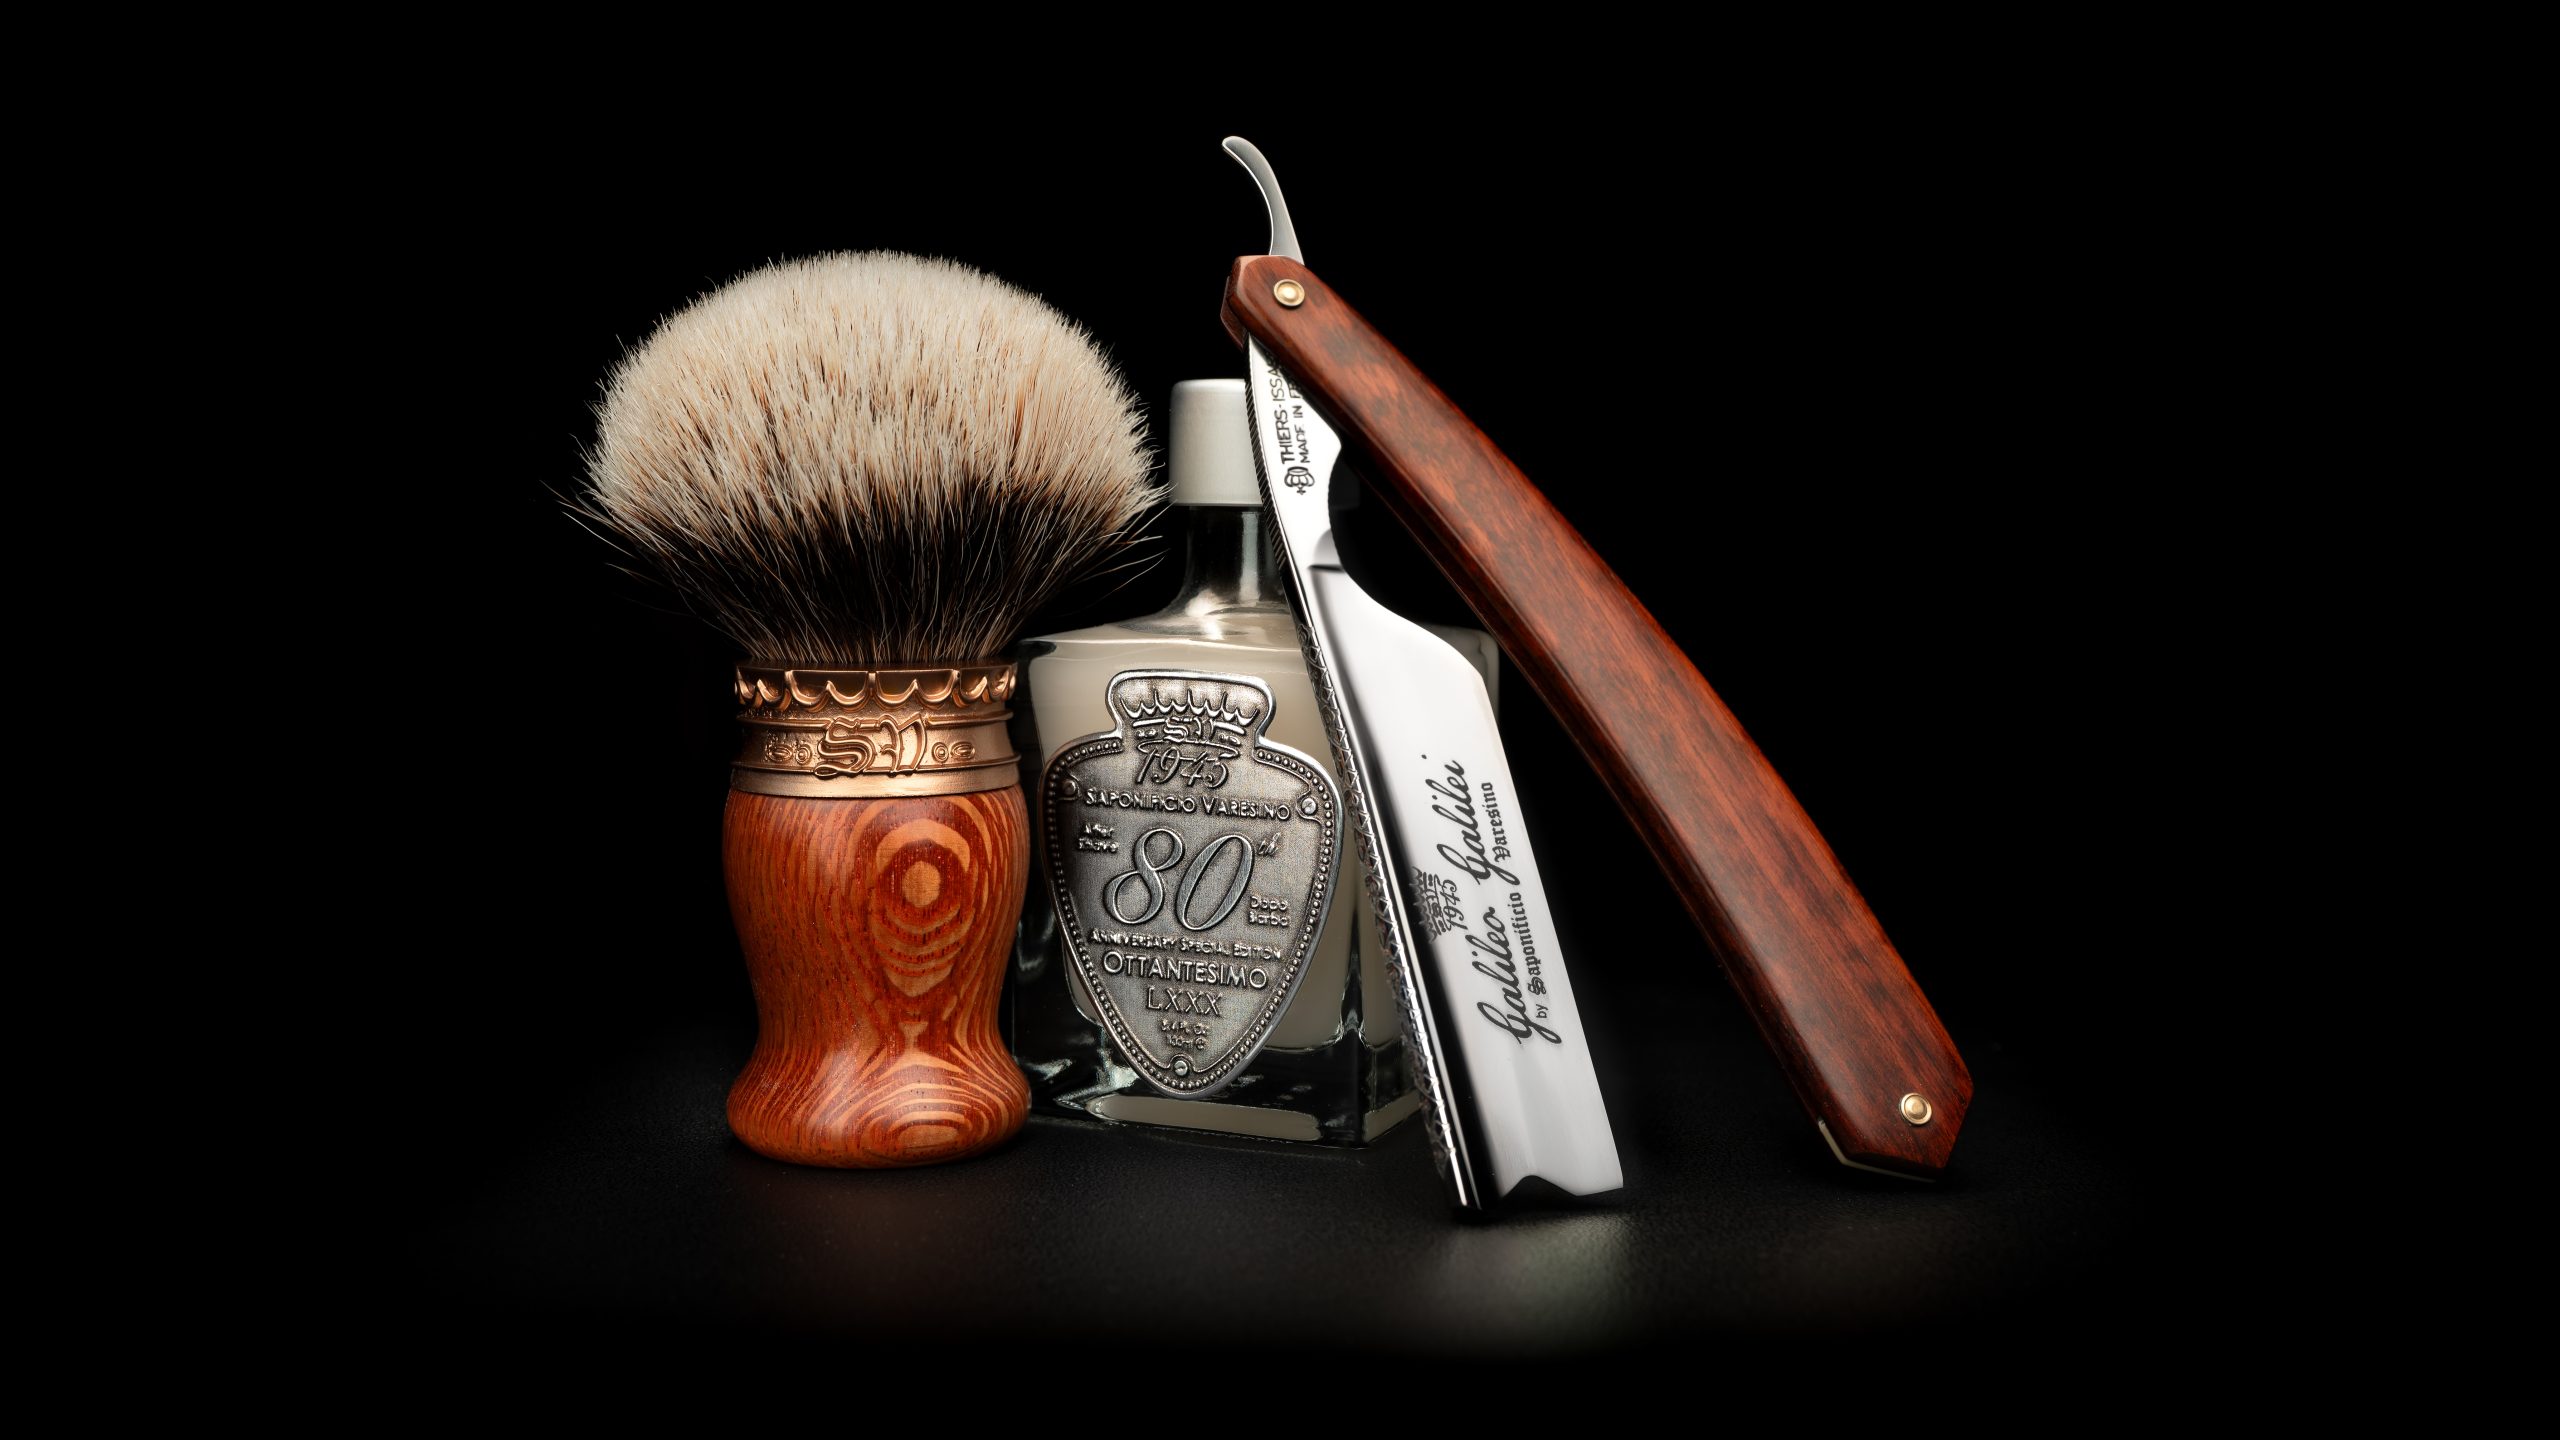
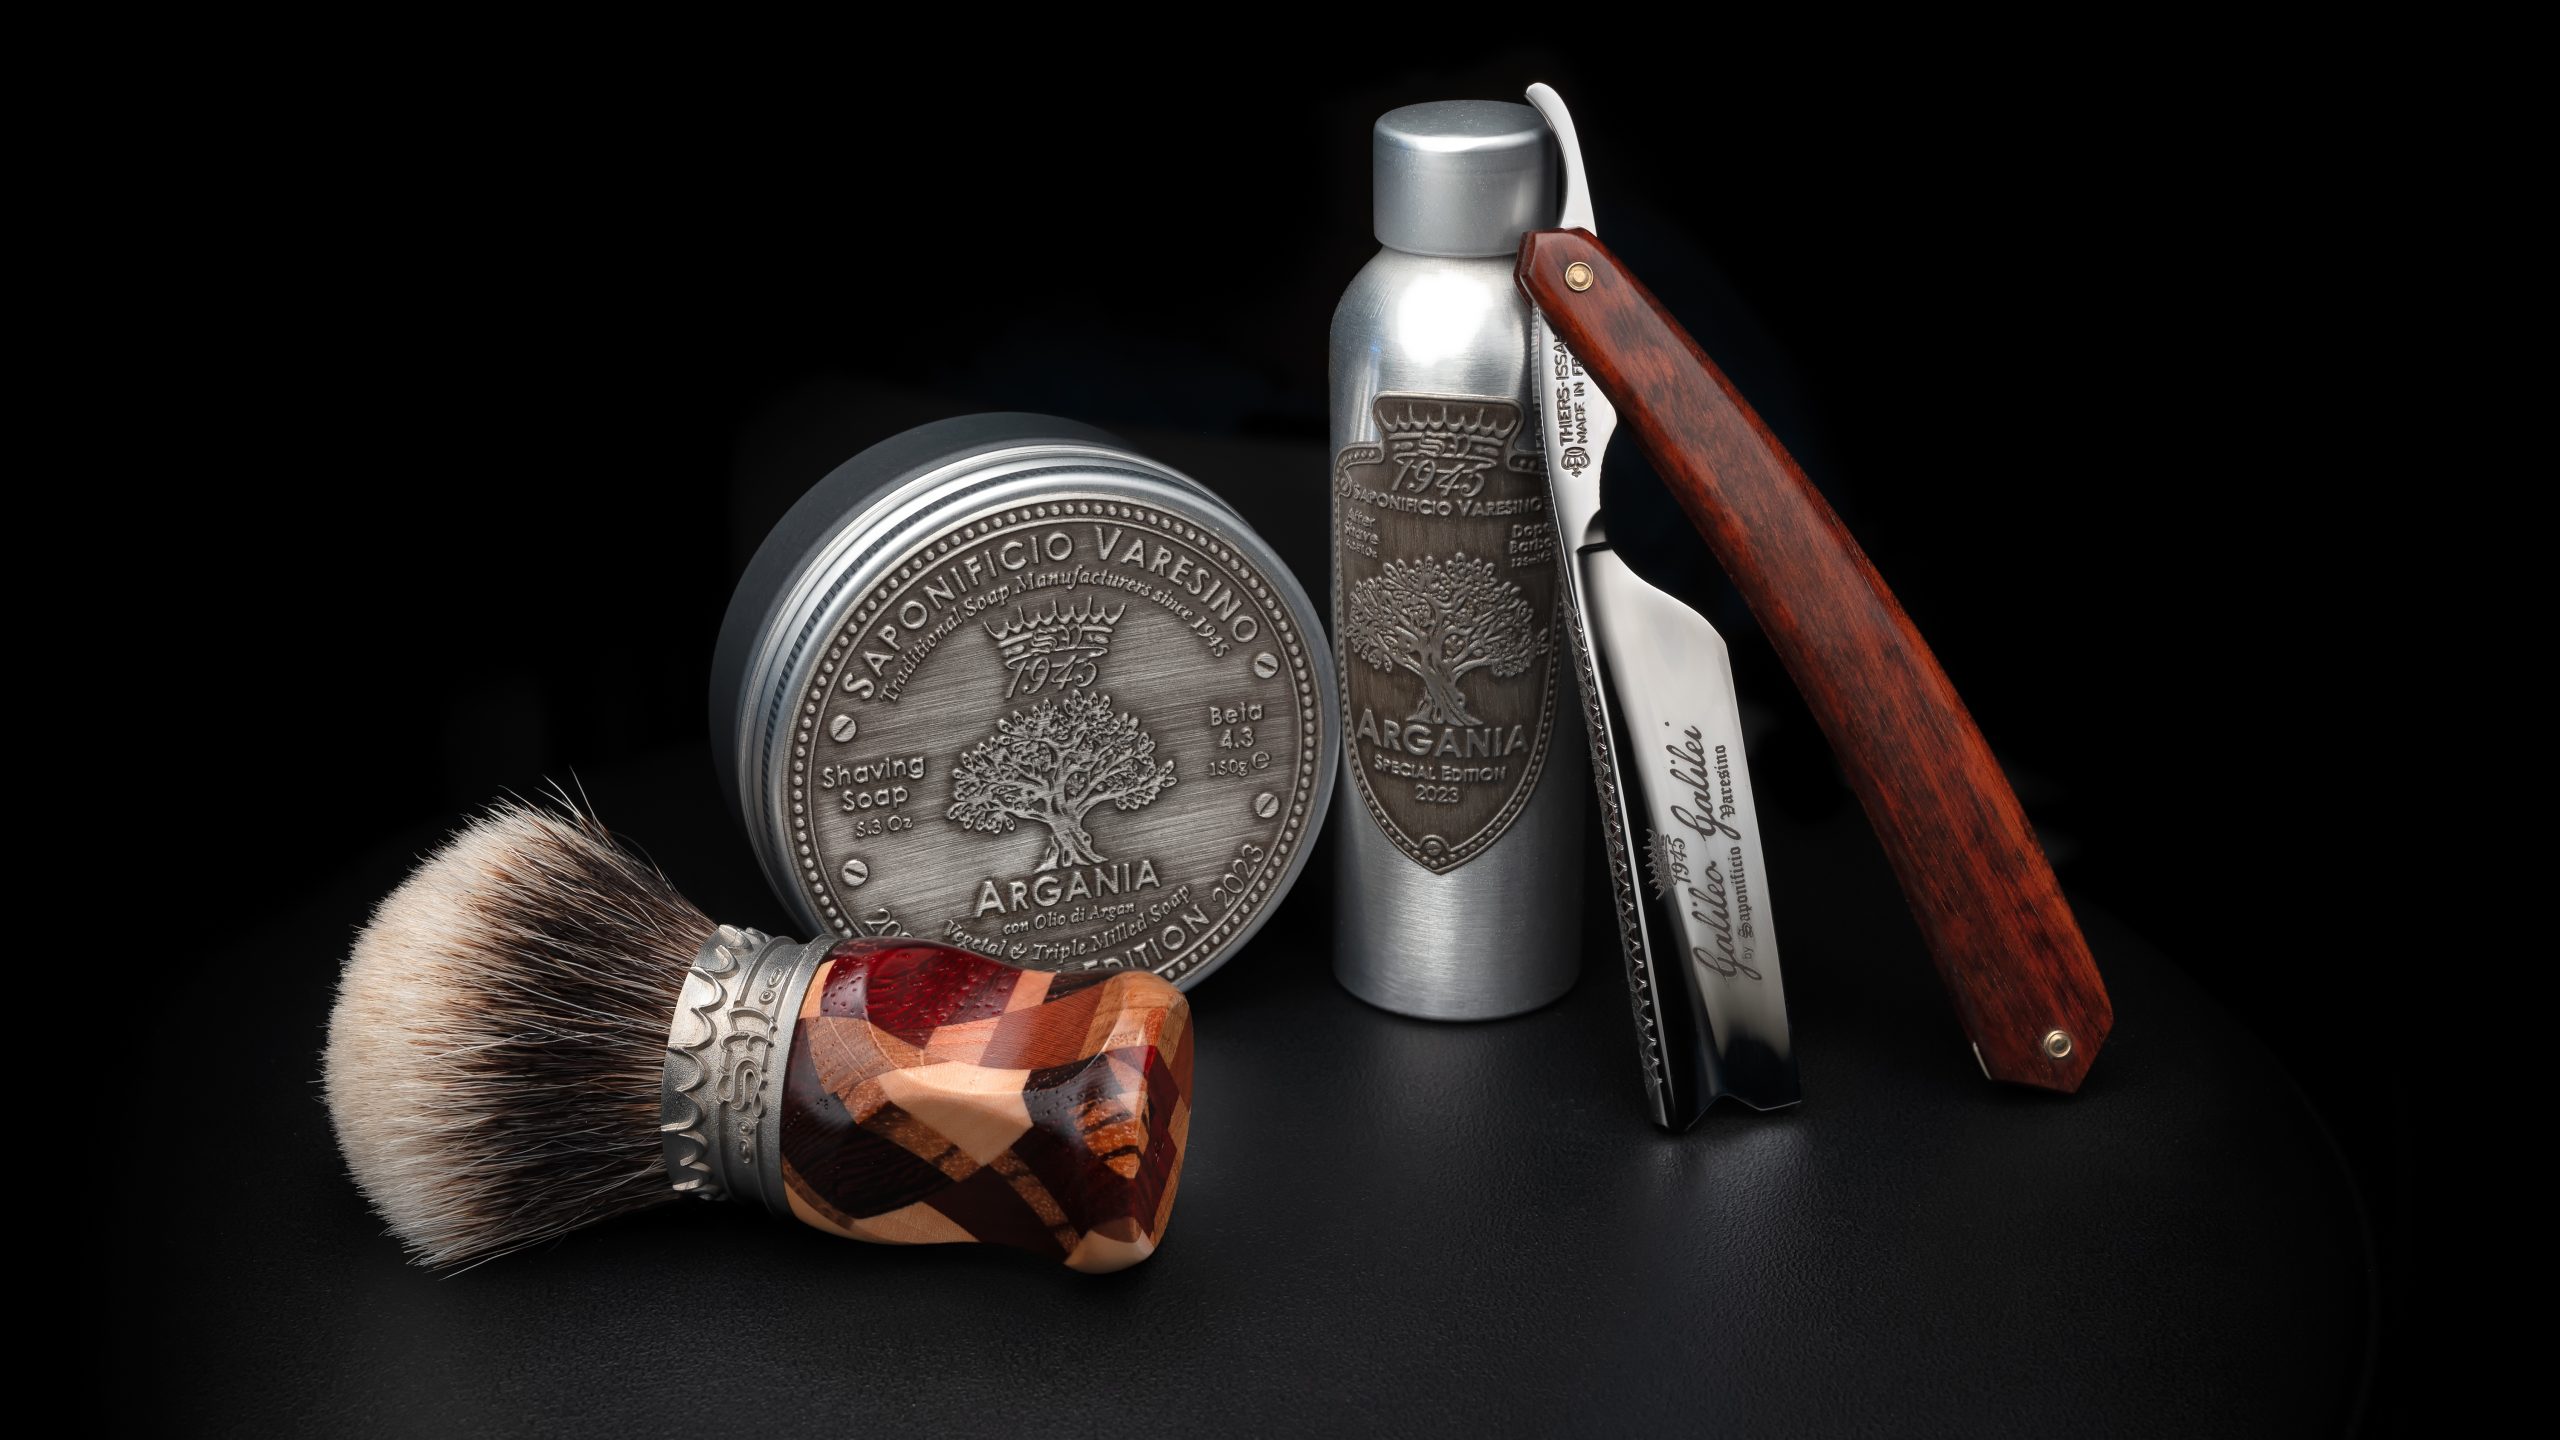
2025-03-16
- Straight razor: Saponificio Varesino / Thiers-Issard - Galileo Galilei - 7/8
- Shaving Brush: Saponificio Varesino - Louro Faya (Manchurian Badger - 26mm Bulb)
- Shaving Soap: Saponificio Varesino - Ottantesimo Anniversario
- Aftershave Splash: Saponificio Varesino - Ottantesimo Anniversario
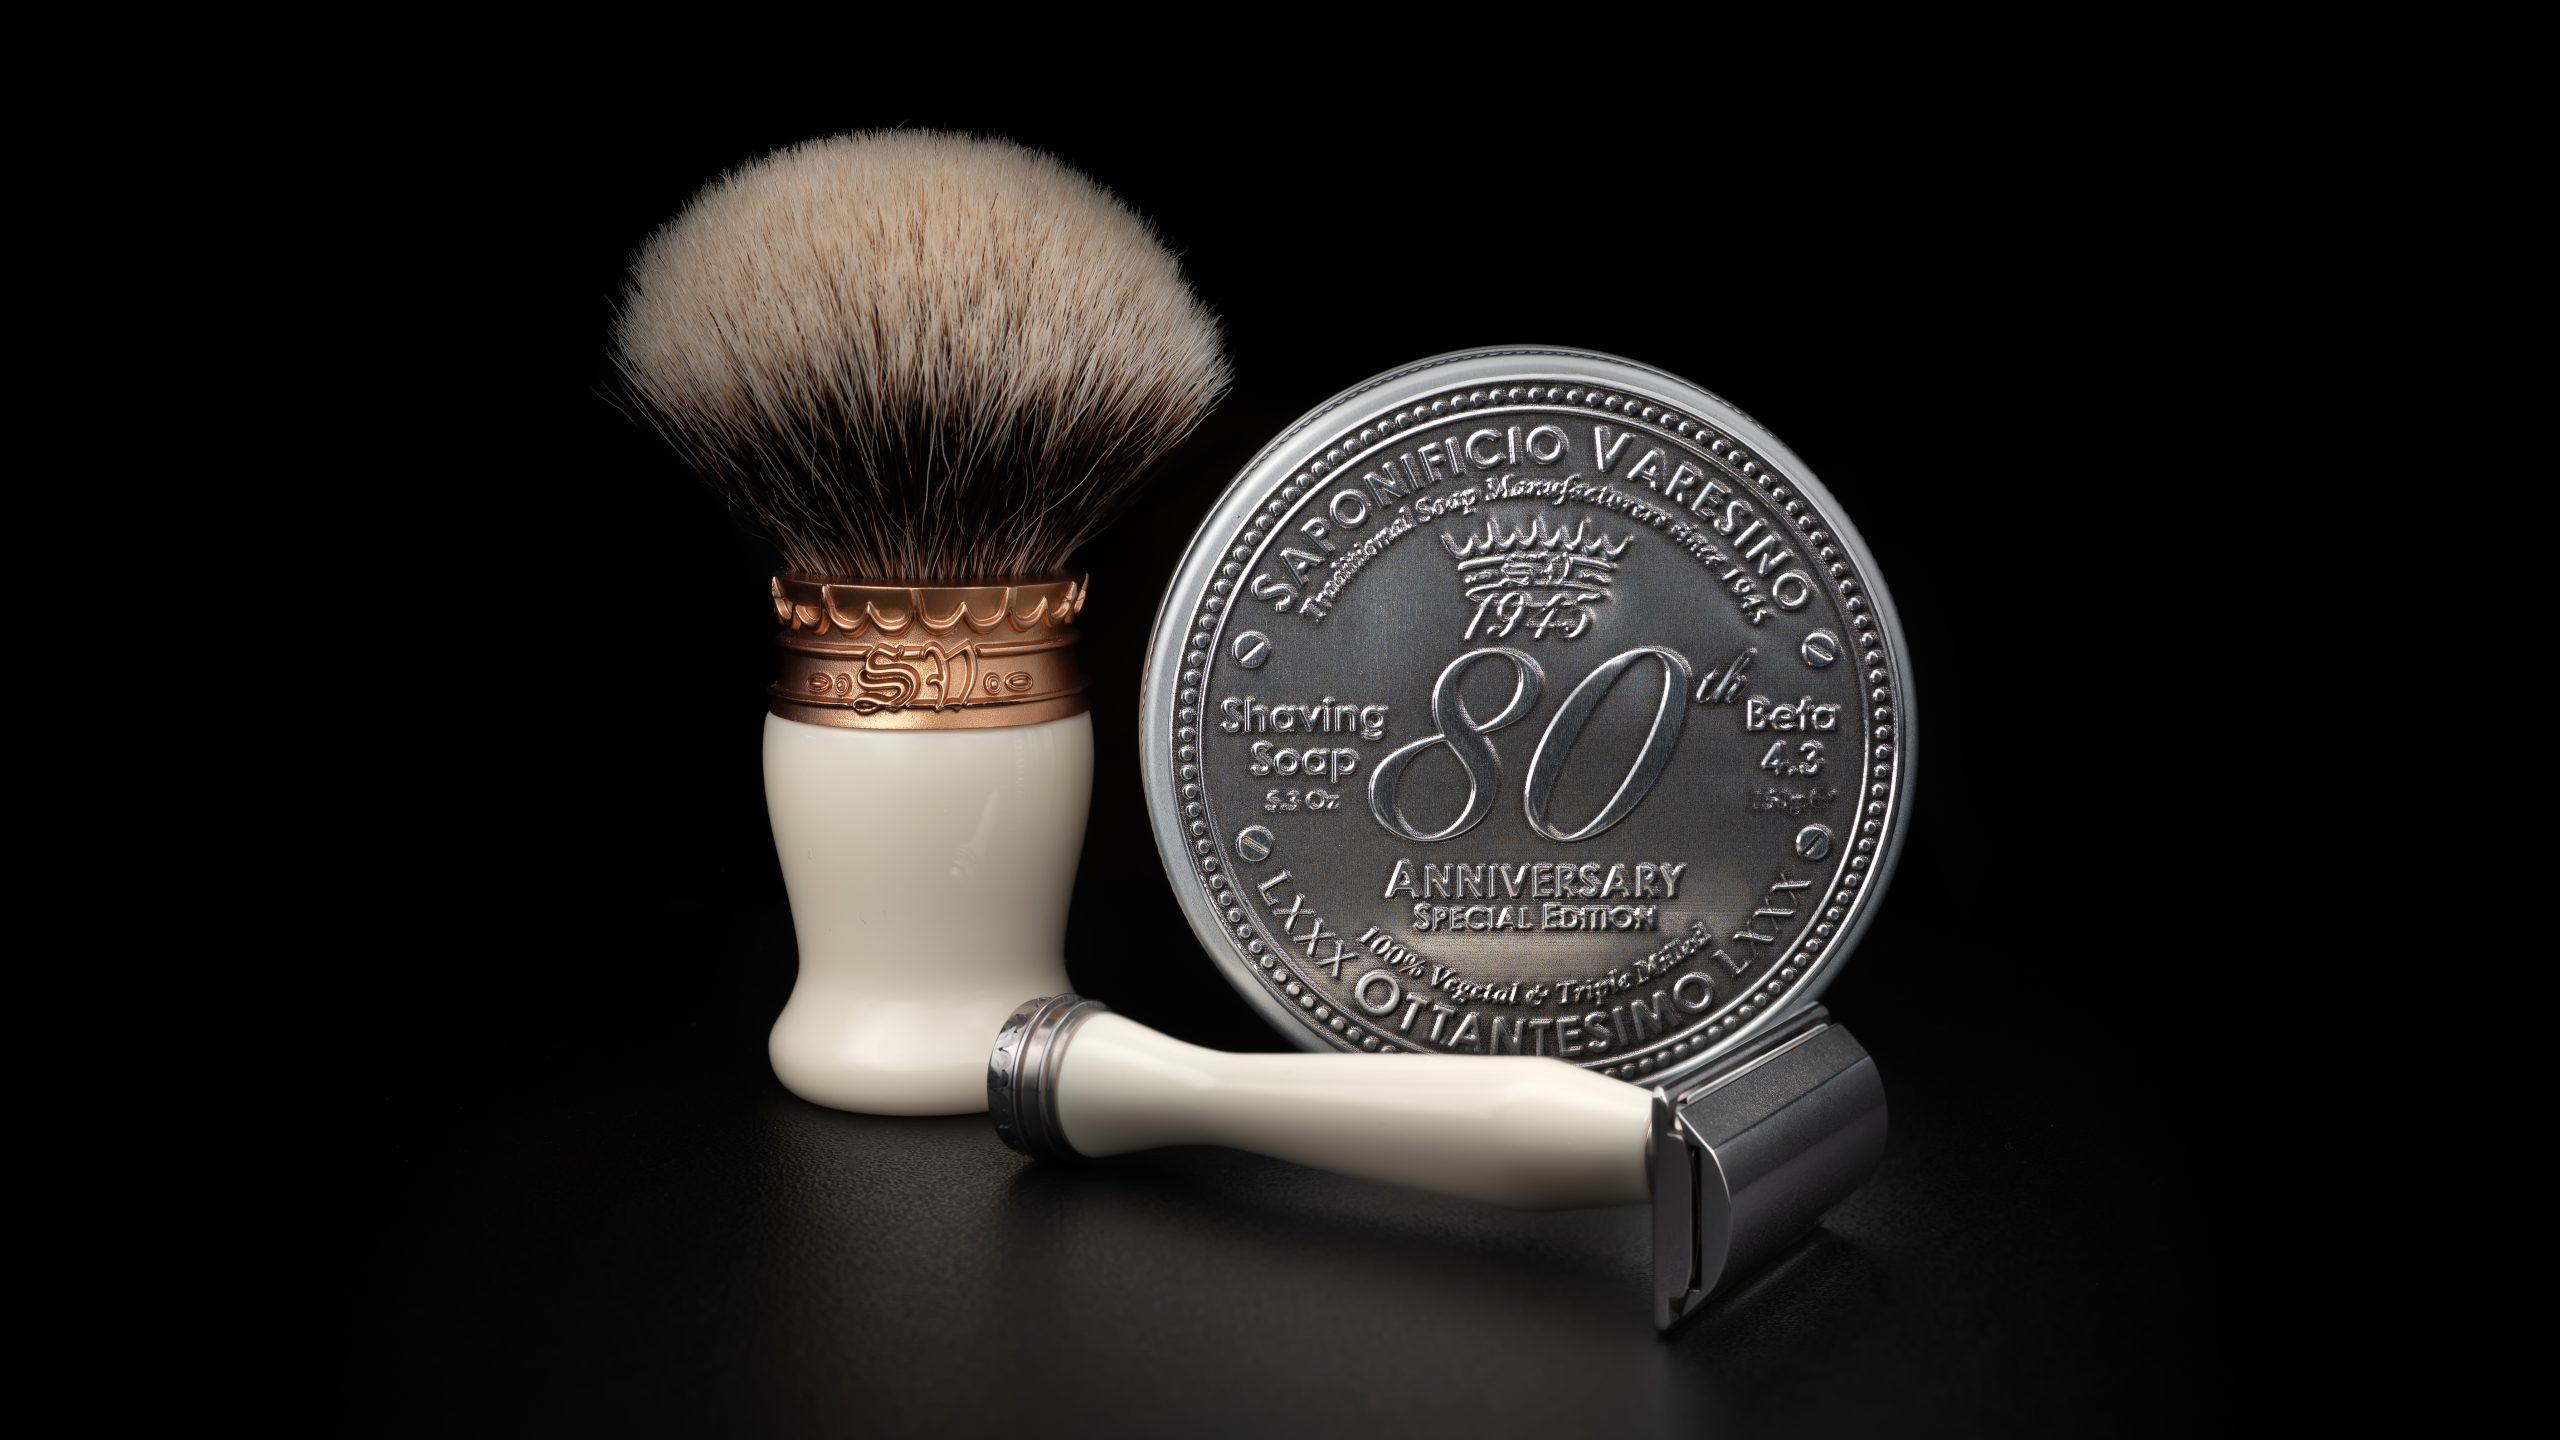
2025-03-09
- DE Razor: Saponificio Varesino - Ivory Resin
- Blade: Polsilver - Super Iridium
- Shaving Brush: Saponificio Varesino - Faux Ivory (Manchurian Badger - 28mm Bulb)
- Shaving Soap: Saponificio Varesino - Ottantesimo Anniversario
- Aftershave Splash: Saponificio Varesino - Ottantesimo Anniversario
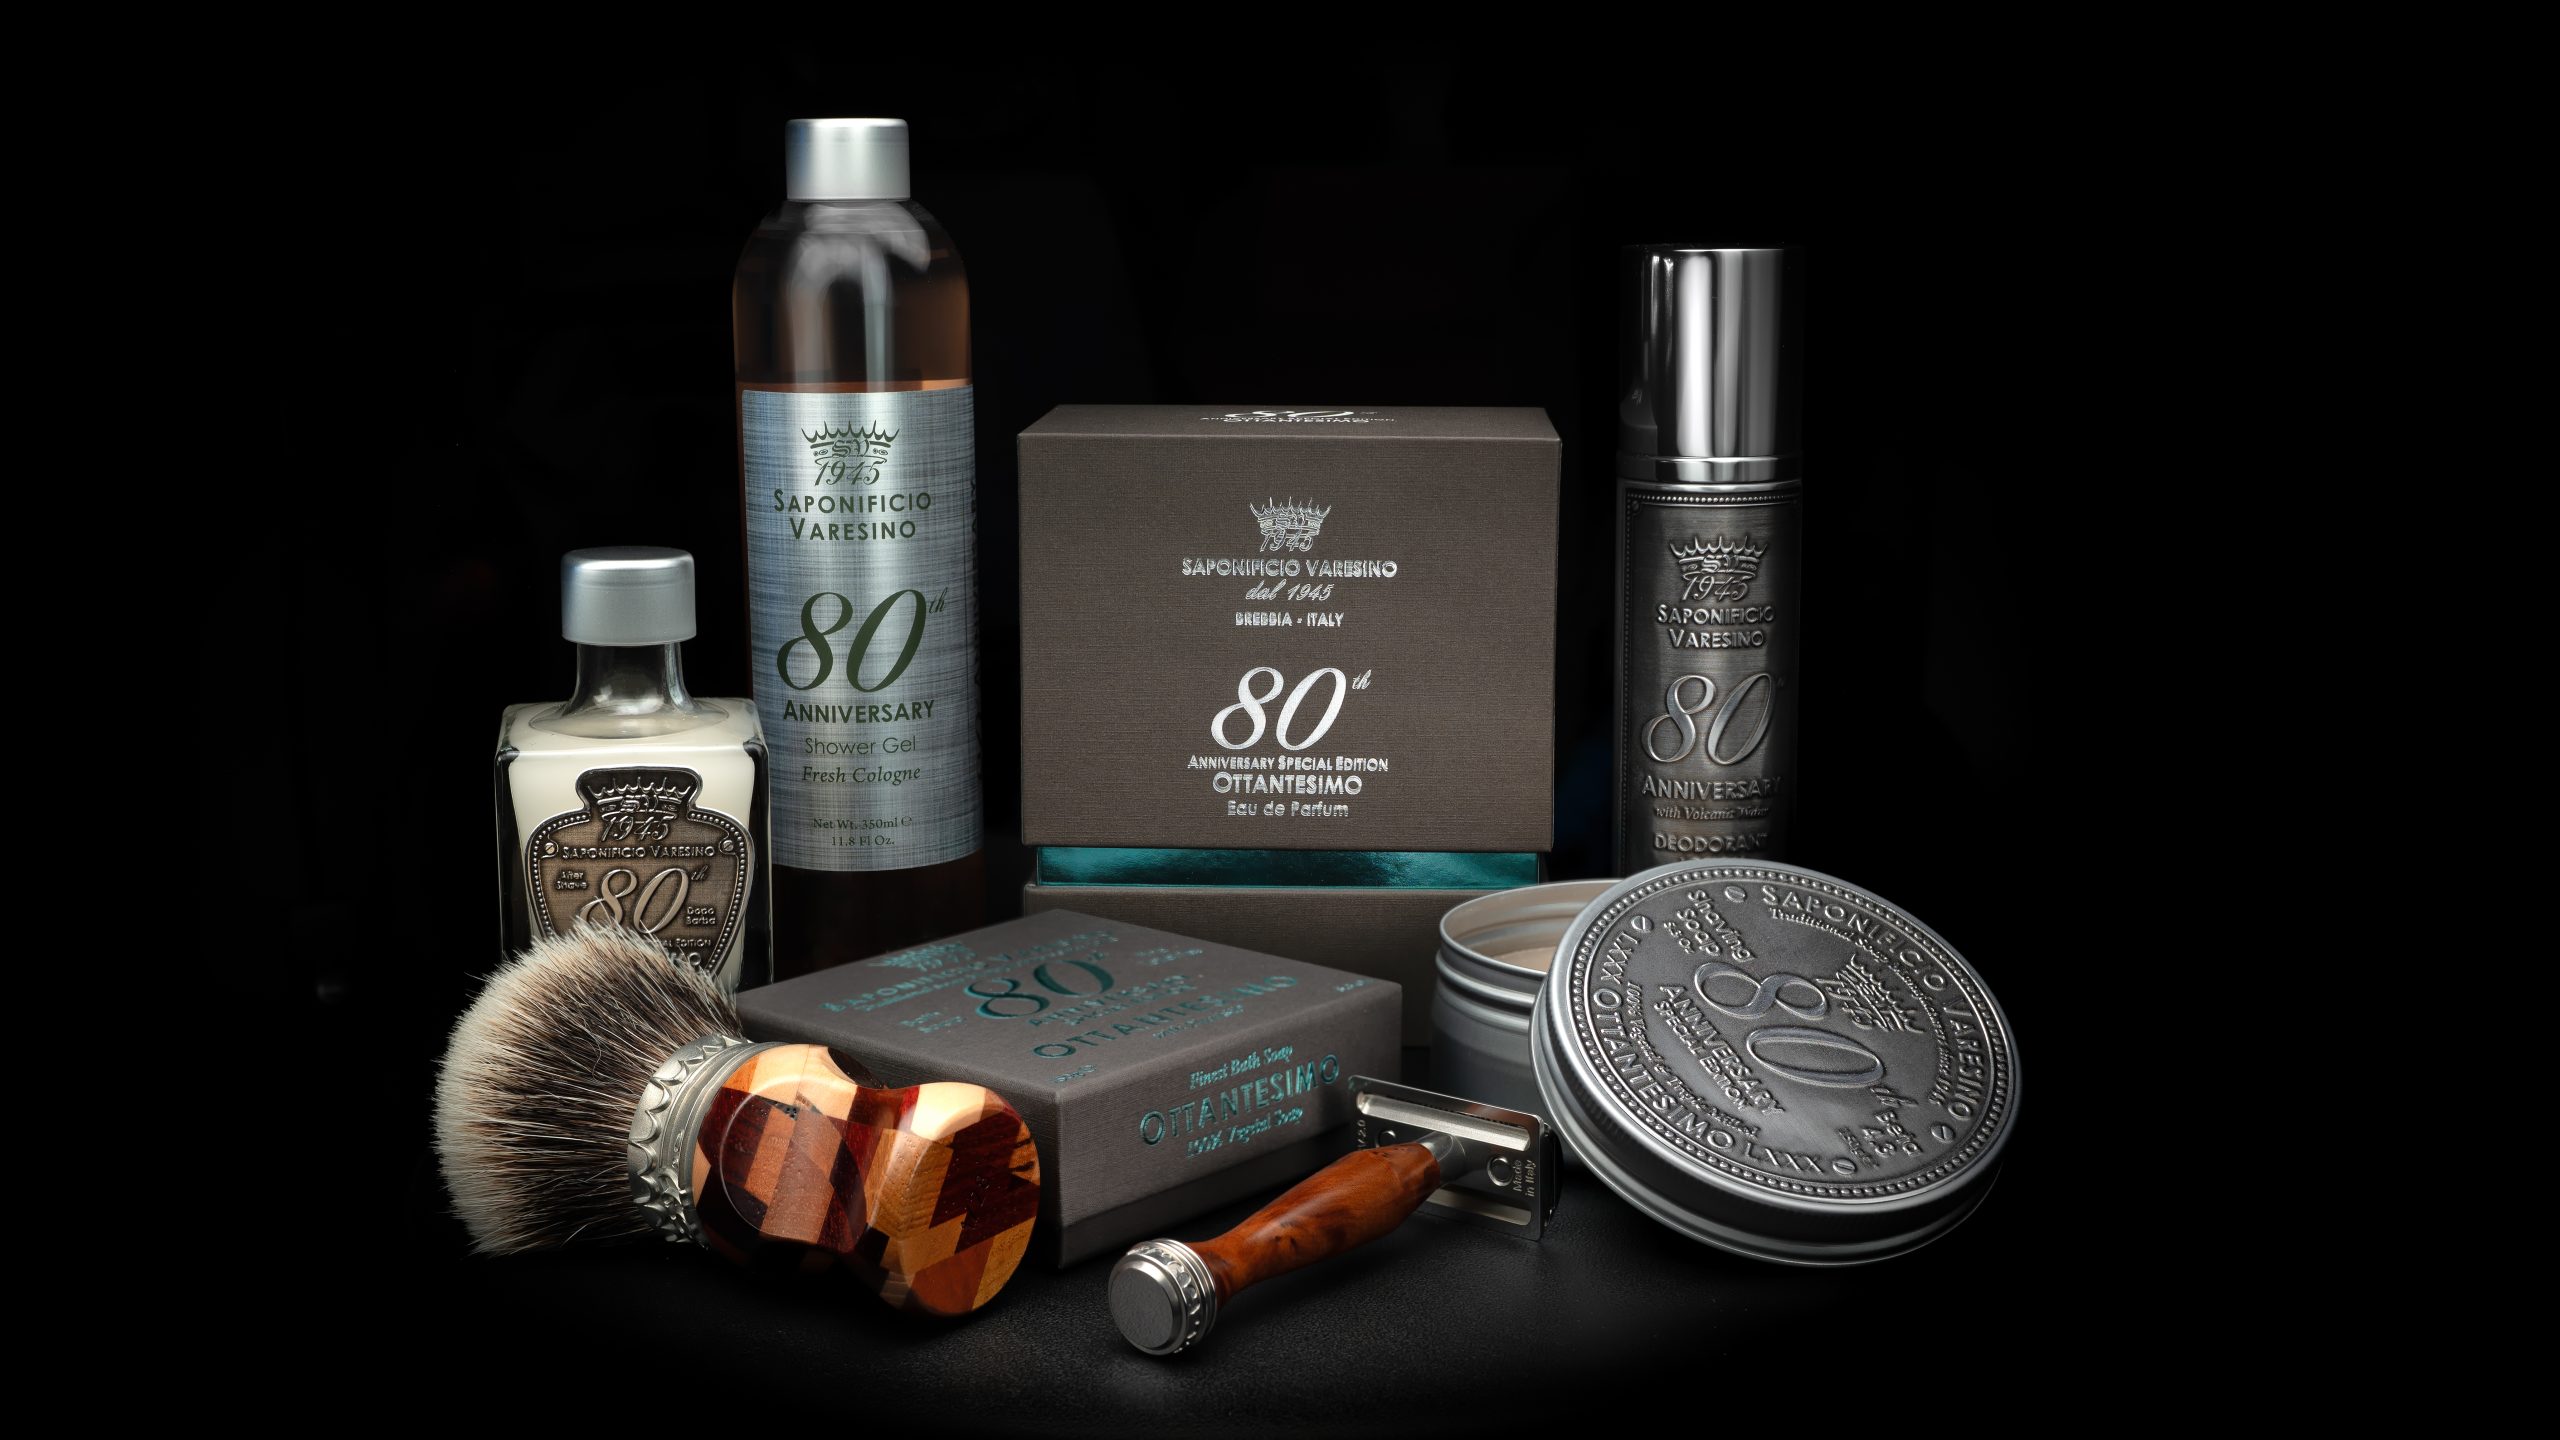
2025-03-07
- DE Razor: Saponificio Varesino - Thuya Briar Root
- Blade: Polsilver - Super Iridium
- Shaving Brush: Saponificio Varesino - Paragon Arlecchino #1/28 LE - Ash, Maple, Bubinga, Wengé, Paduk, Cherry, Amaranth, Beech, Zebrano & American Walnut (Manchurian Badger - 30mm Bulb)
- Shaving Soap: Saponificio Varesino - Ottantesimo Anniversario
- Aftershave Splash: Saponificio Varesino - Ottantesimo Anniversario
- Shower Gel: Saponificio Varesino - Ottantesimo Anniversario
- Deodorant: Saponificio Varesino - Ottantesimo Anniversario
- Fragrance: Saponificio Varesino - Ottantesimo Anniversario - EdP (100 ml)
- Accessoires: Saponificio Varesino - Ottantesimo Anniversario - Bath Soap
2024-12-22
- DE Razor: Saponificio Varesino - Ivory Resin
- Blade: Polsilver - Super Iridium
- Shaving Brush: Voigt & Cop - VC04 Corno di Alce (Manchurian Badger - 28mm Fan)
- Shaving Soap: Saponificio Varesino - Stella Alpina - Beta 4.3
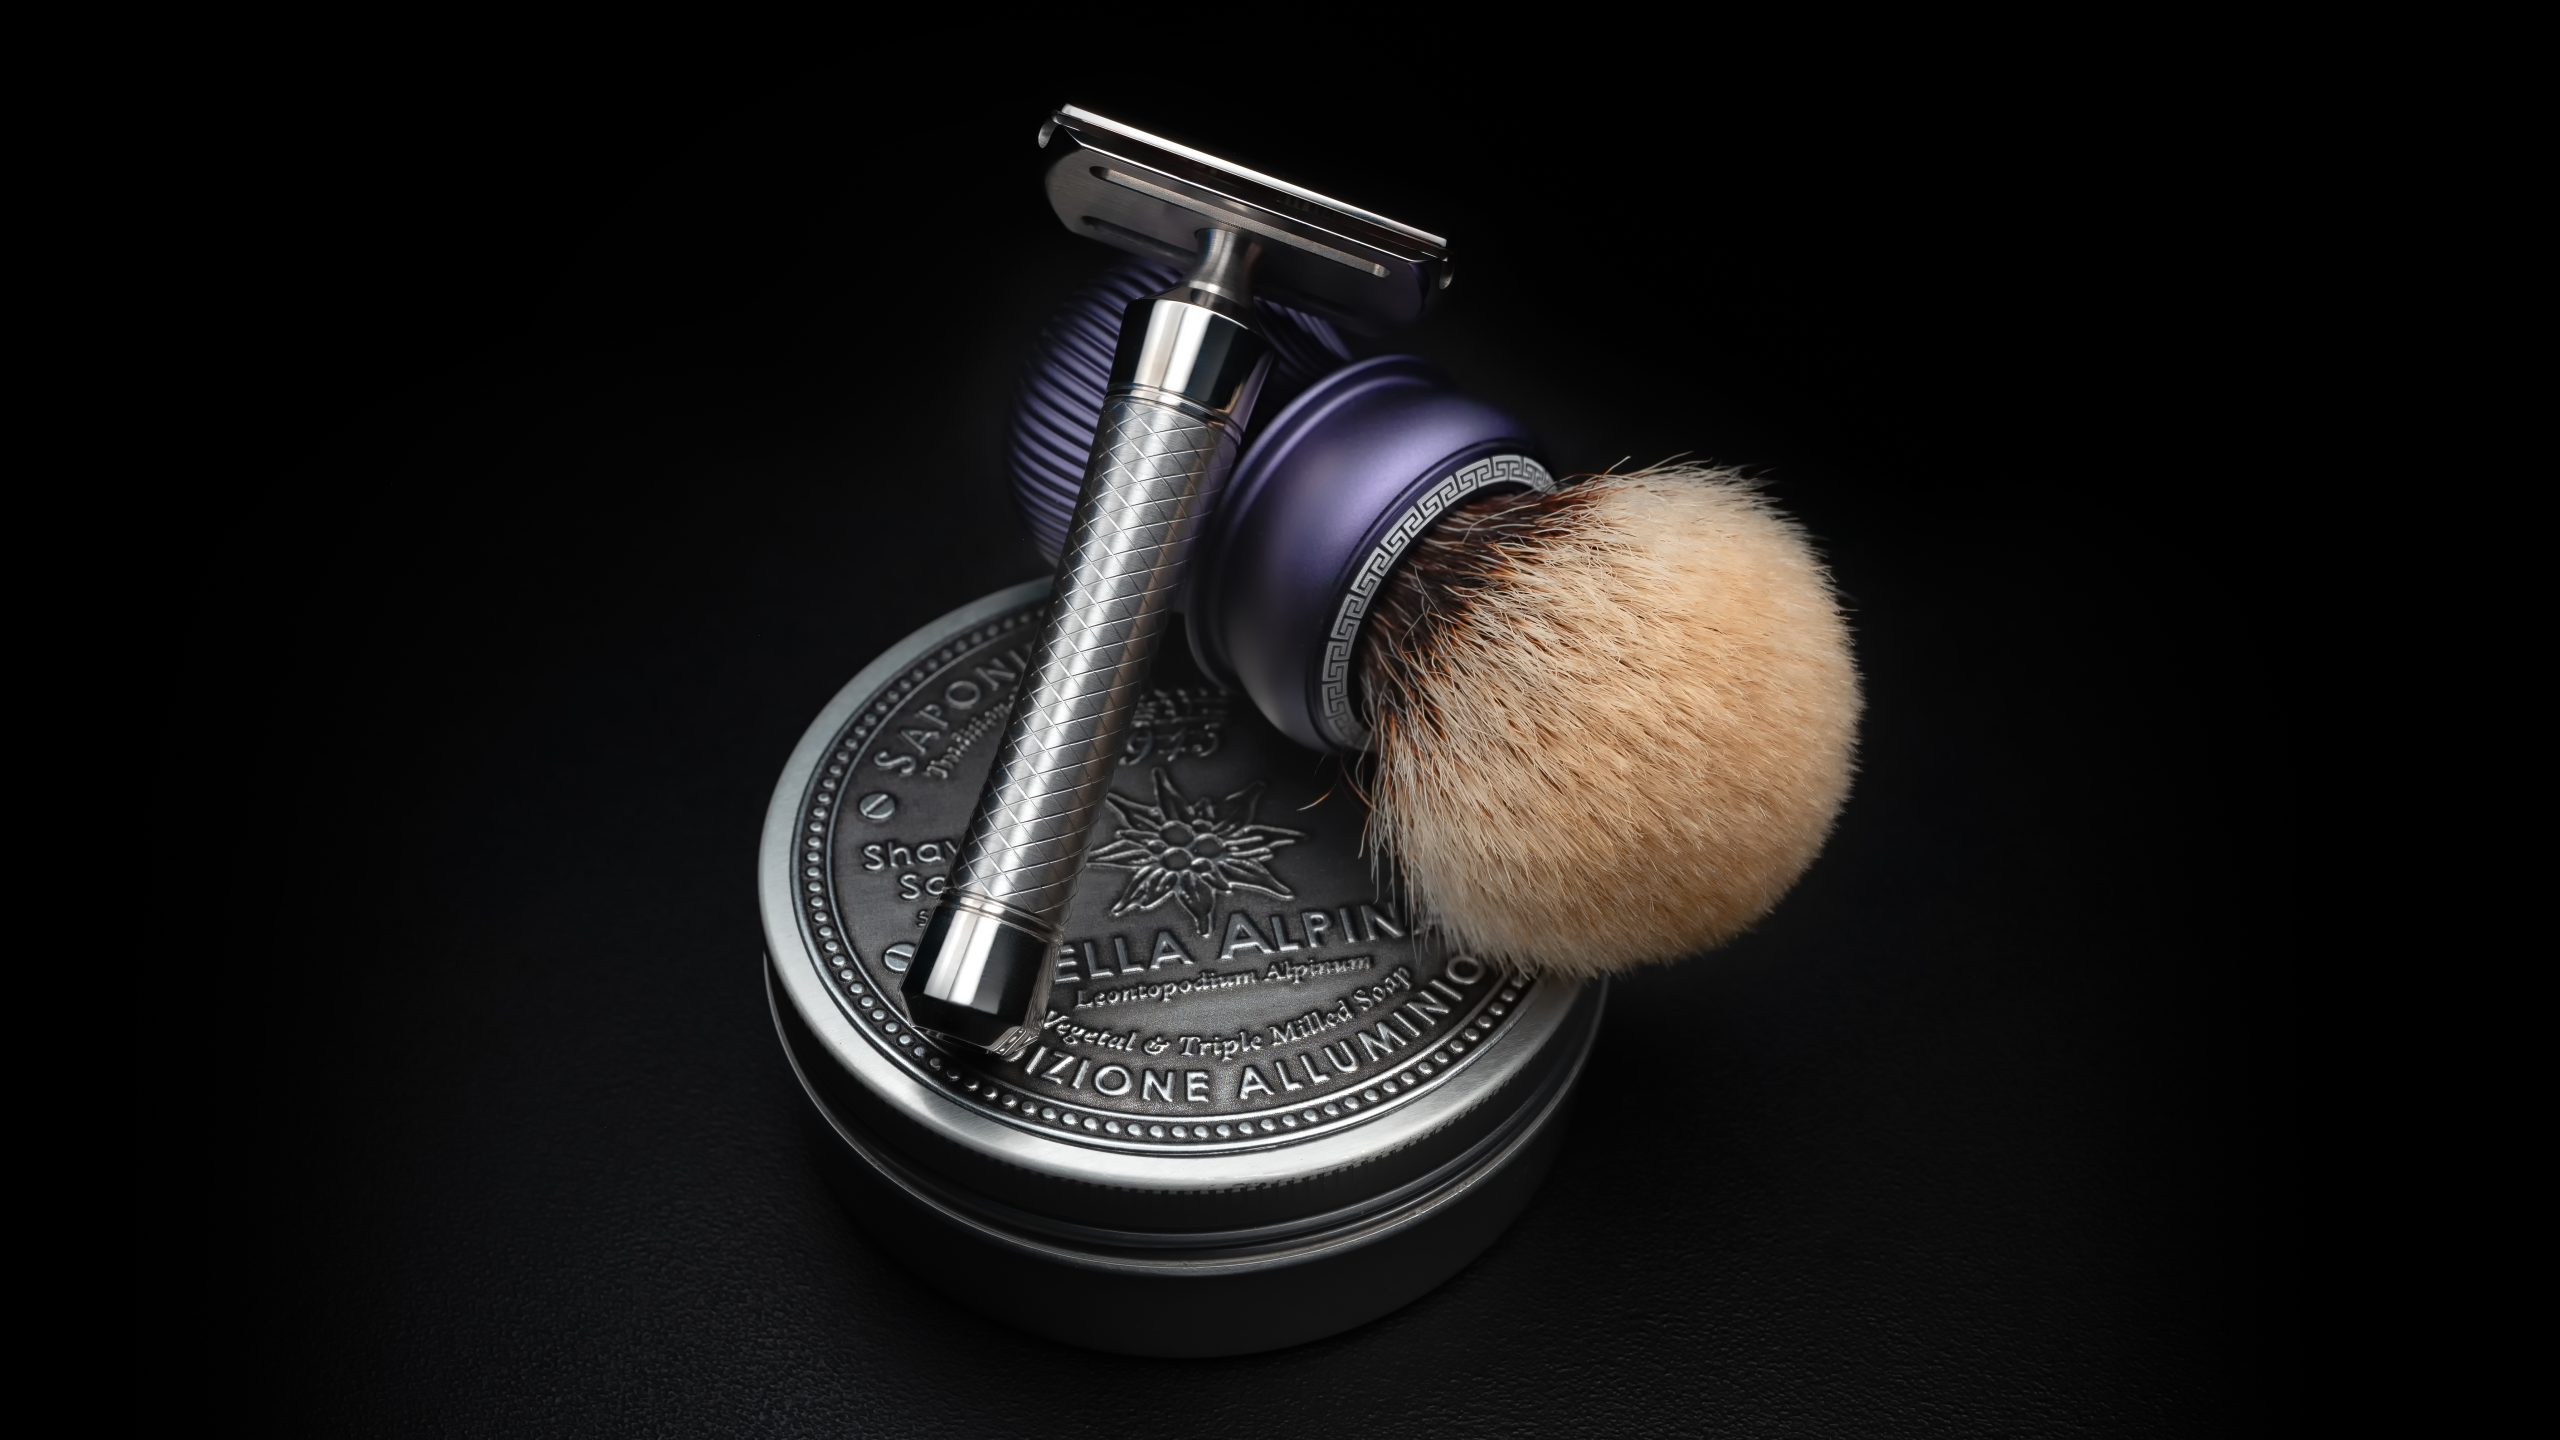
2024-11-03
- DE Razor: Tedalus - Velocity-ONE #016
- Blade: Polsilver - Super Iridium
- Shaving Brush: Tedalus - Helios Purple (Silvertip Badger - 26mm Bulb)
- Shaving Soap: Saponificio Varesino - Stella Alpina - Beta 4.3
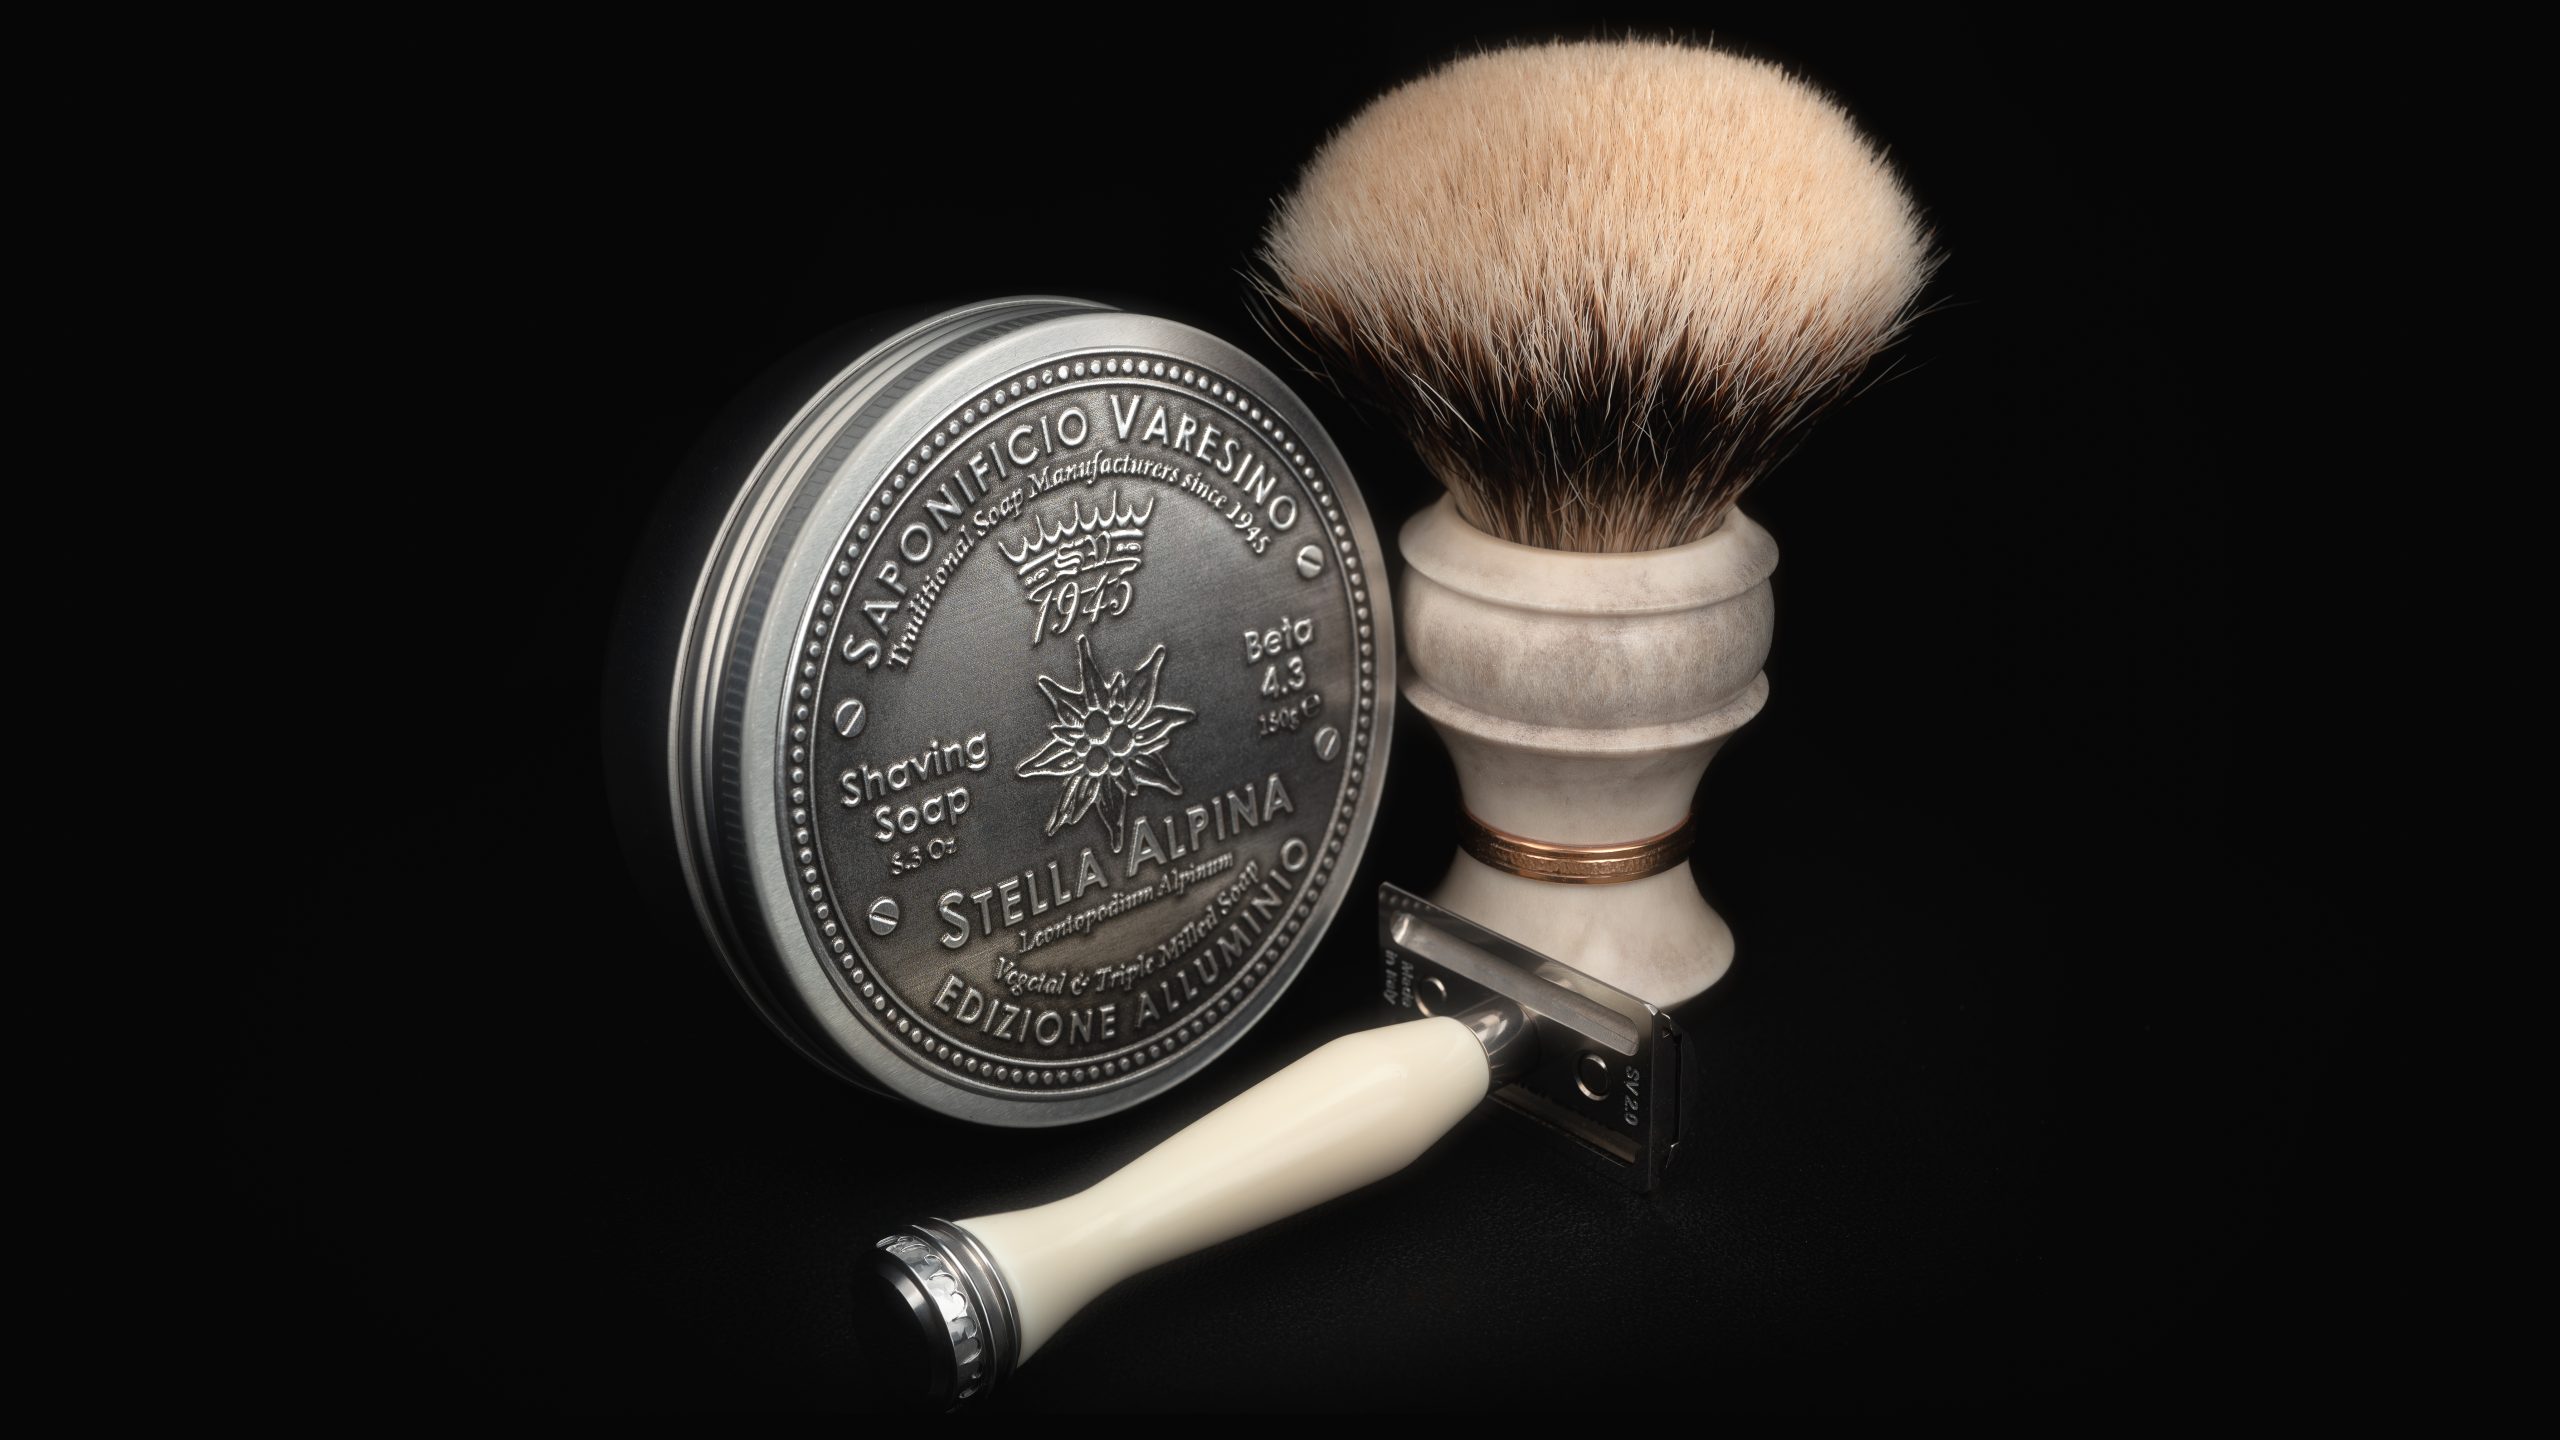
2024-10-20
- DE Razor: Saponificio Varesino - Ivory Resin
- Blade: Polsilver - Super Iridium
- Shaving Brush: Saponificio Varesino - Faux Ivory (Manchurian Badger - 28mm Bulb)
- Shaving Soap: Saponificio Varesino - Stella Alpina - Beta 4.3
- Aftershave Splash: Saponificio Varesino - Stella Alpina
- Accessoires: Saponificio Varesino - Shaving towel
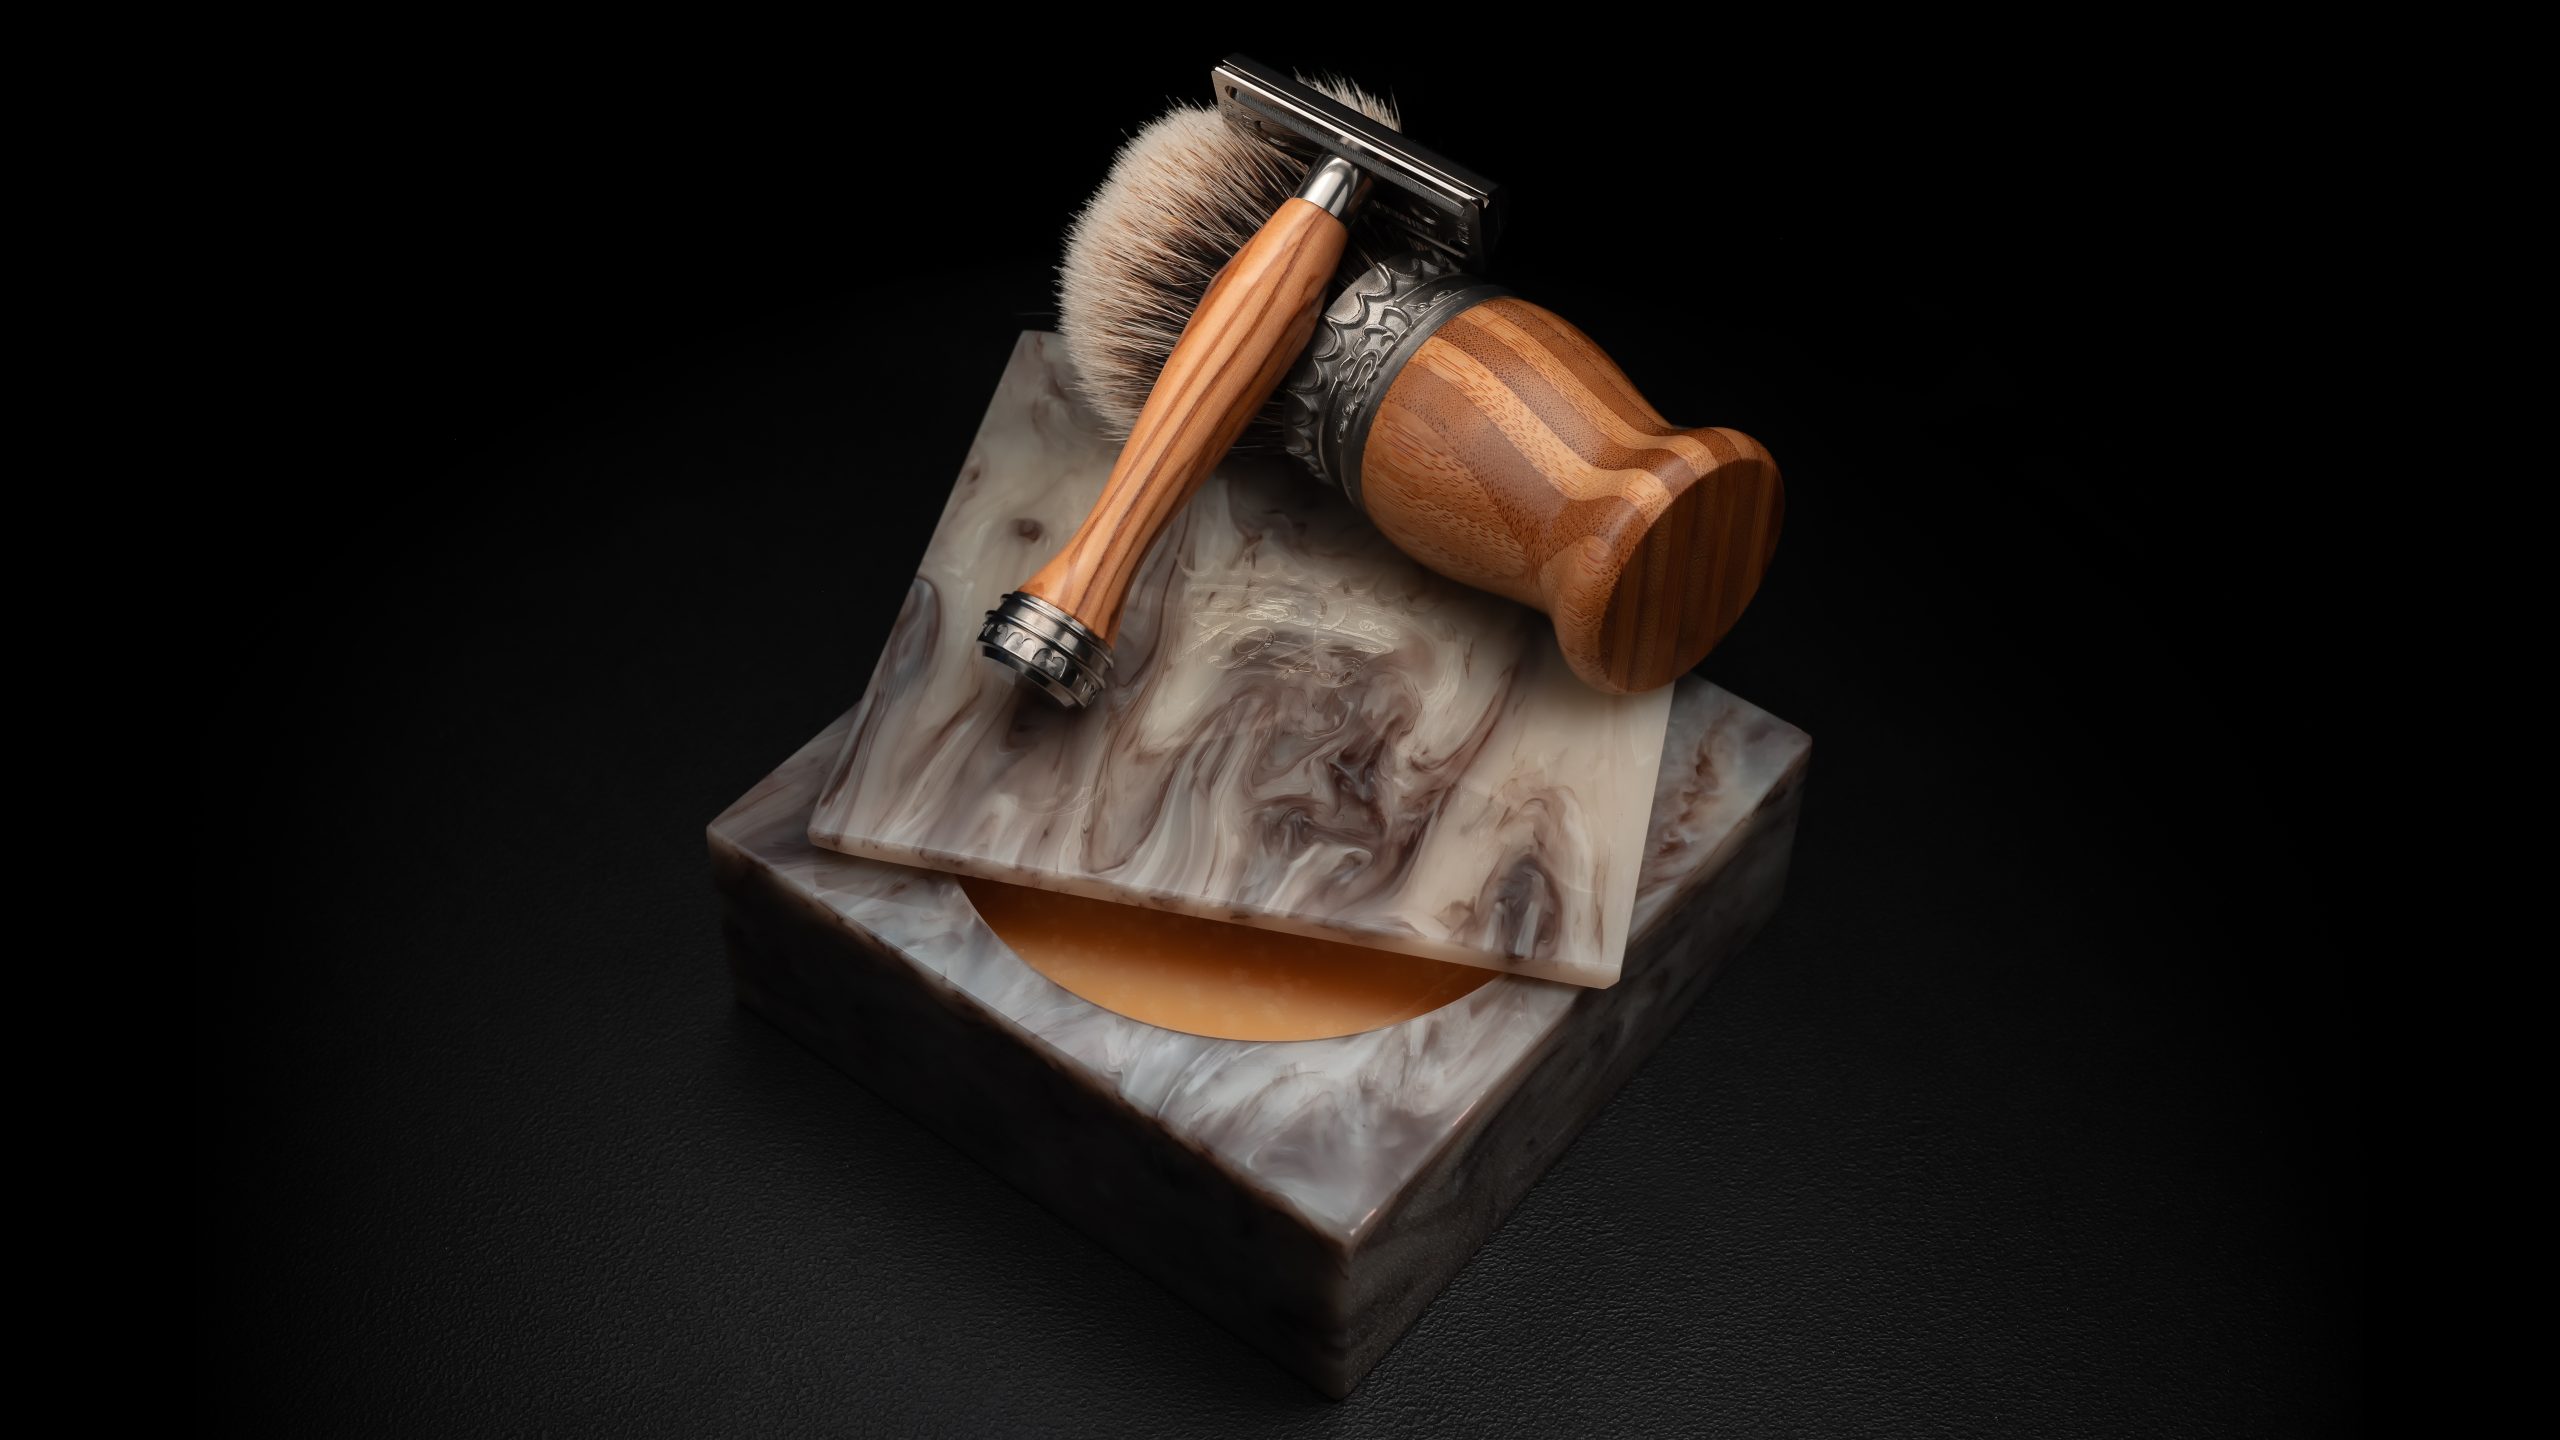
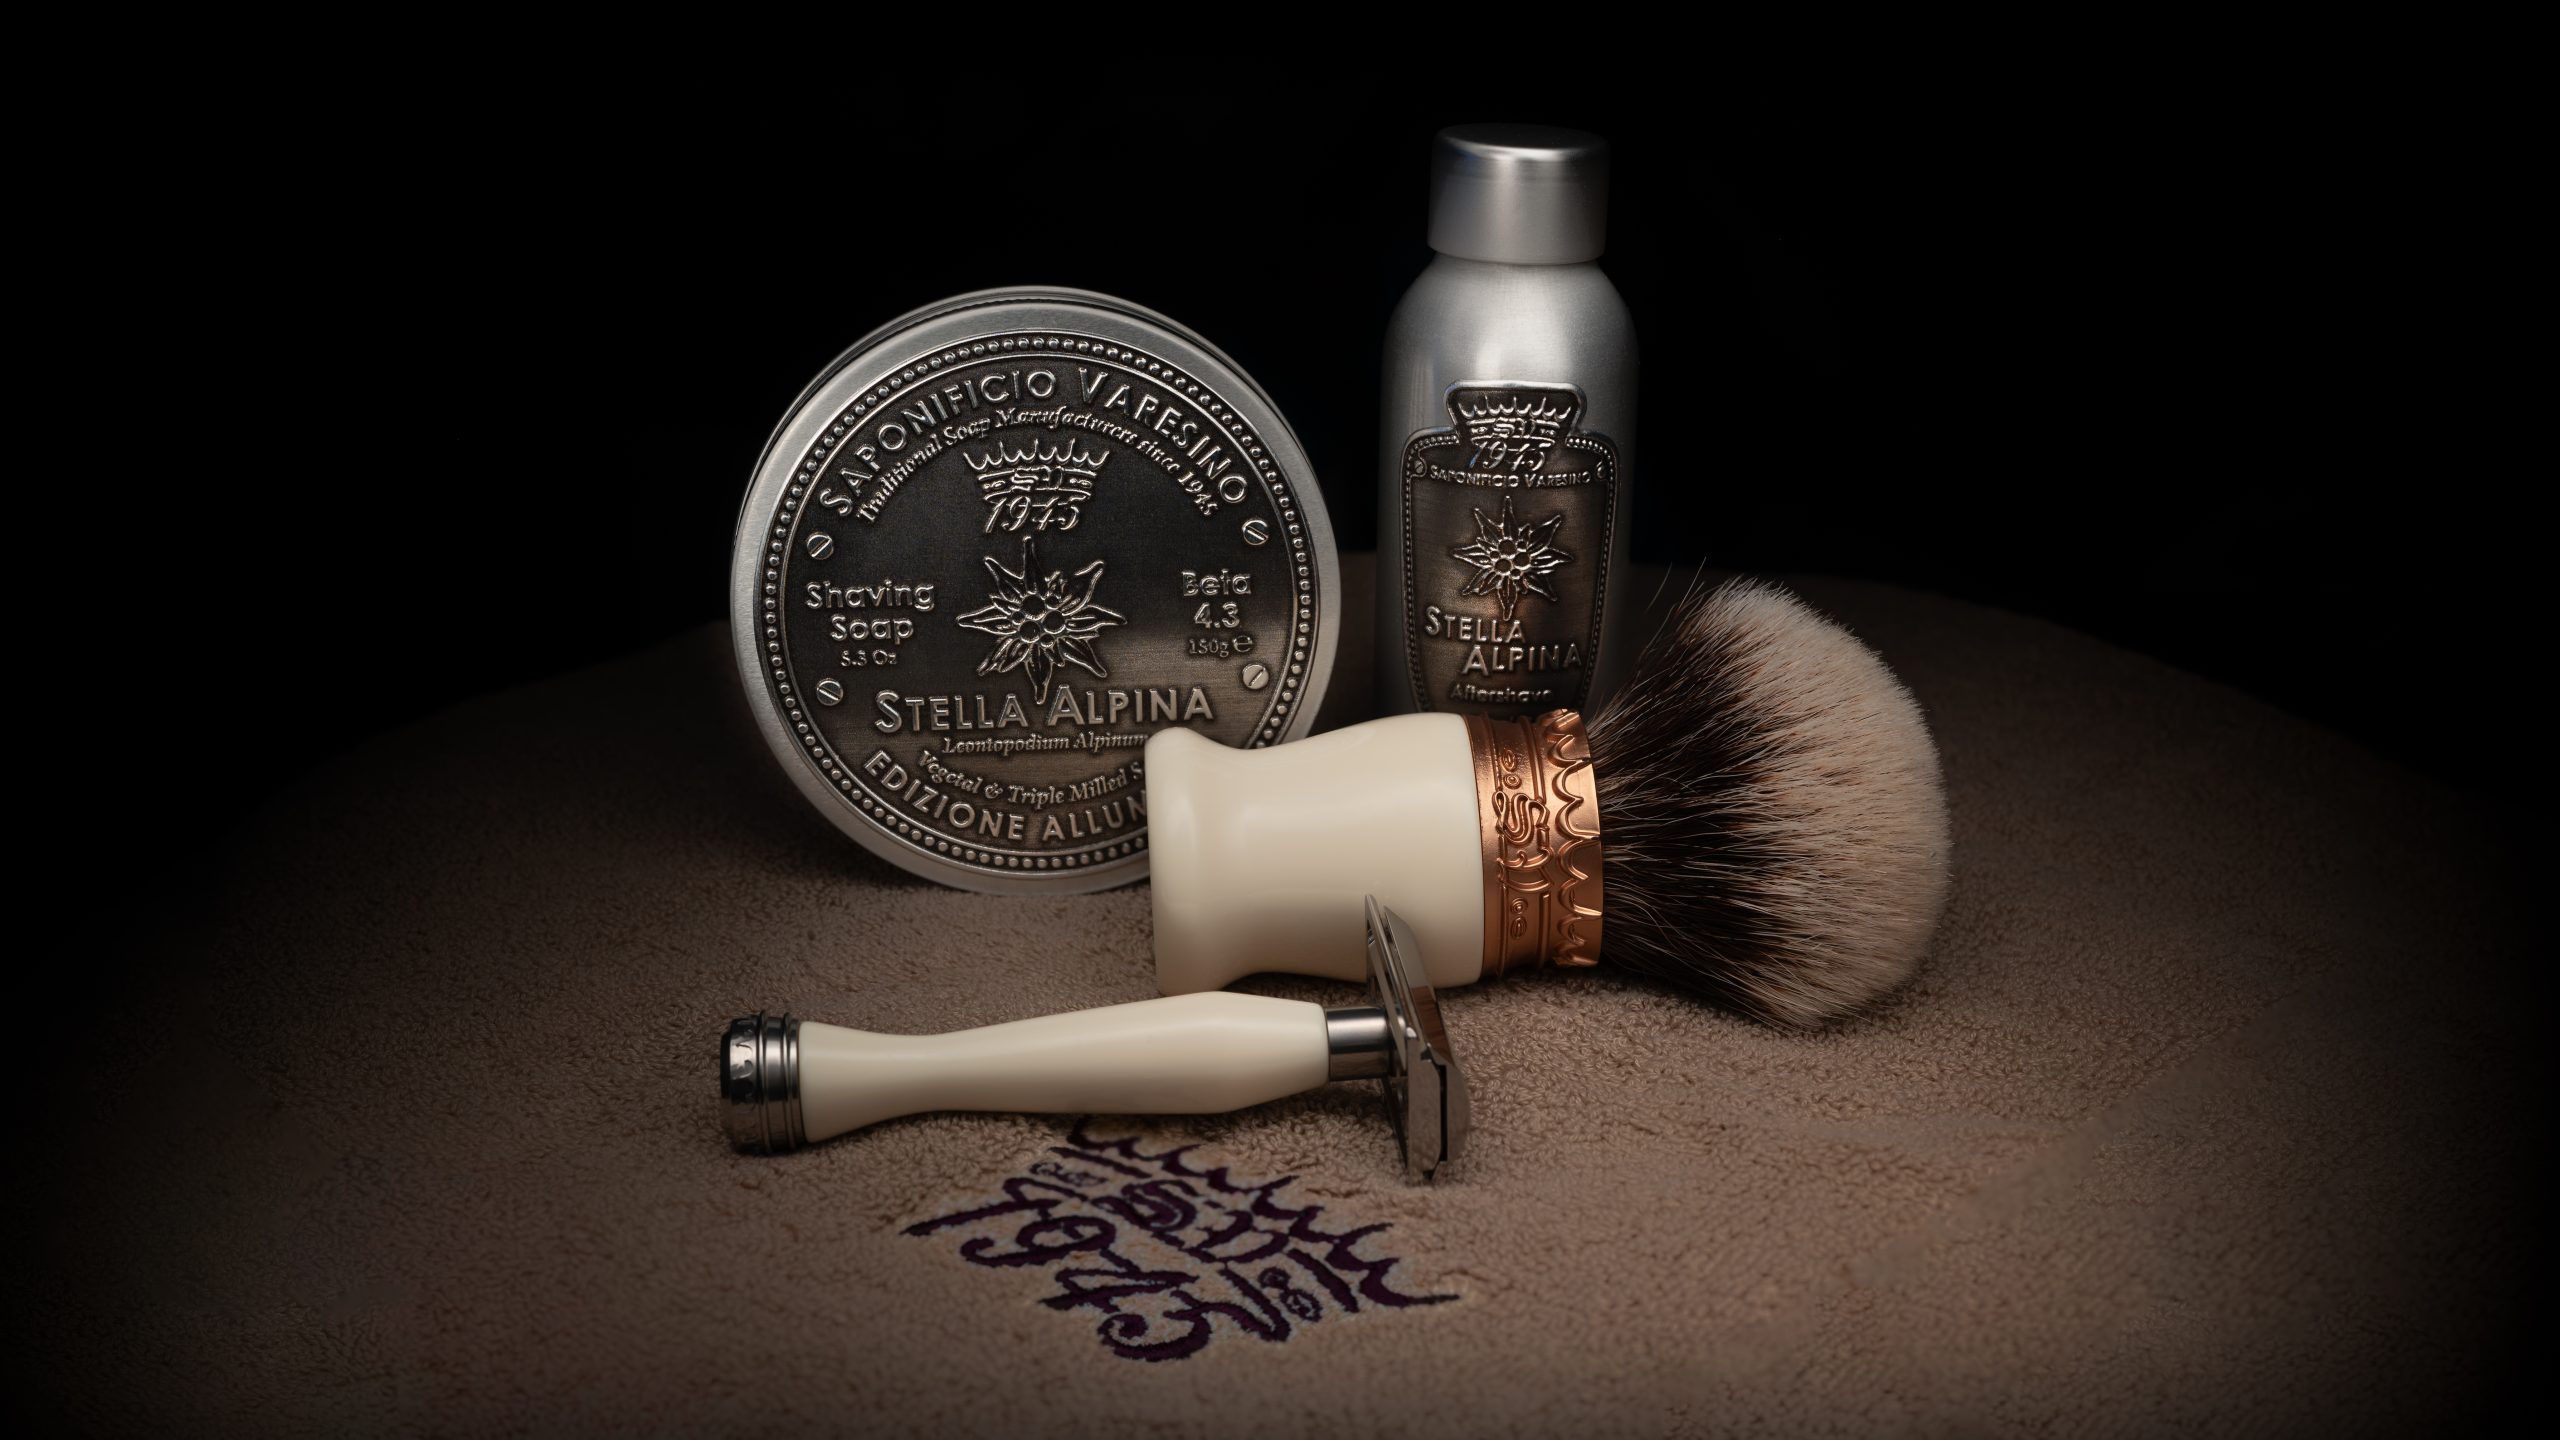
2024-10-13
- DE Razor: Saponificio Varesino - Olive
- Blade: Polsilver - Super Iridium
- Shaving Brush: Saponificio Varesino - Bamboo (Manchurian Badger - 26mm Bulb)
- Shaving Bowl: Saponificio Varesino - Faux Horn
- Aftershave Splash: Saponificio Varesino - Stella Alpina
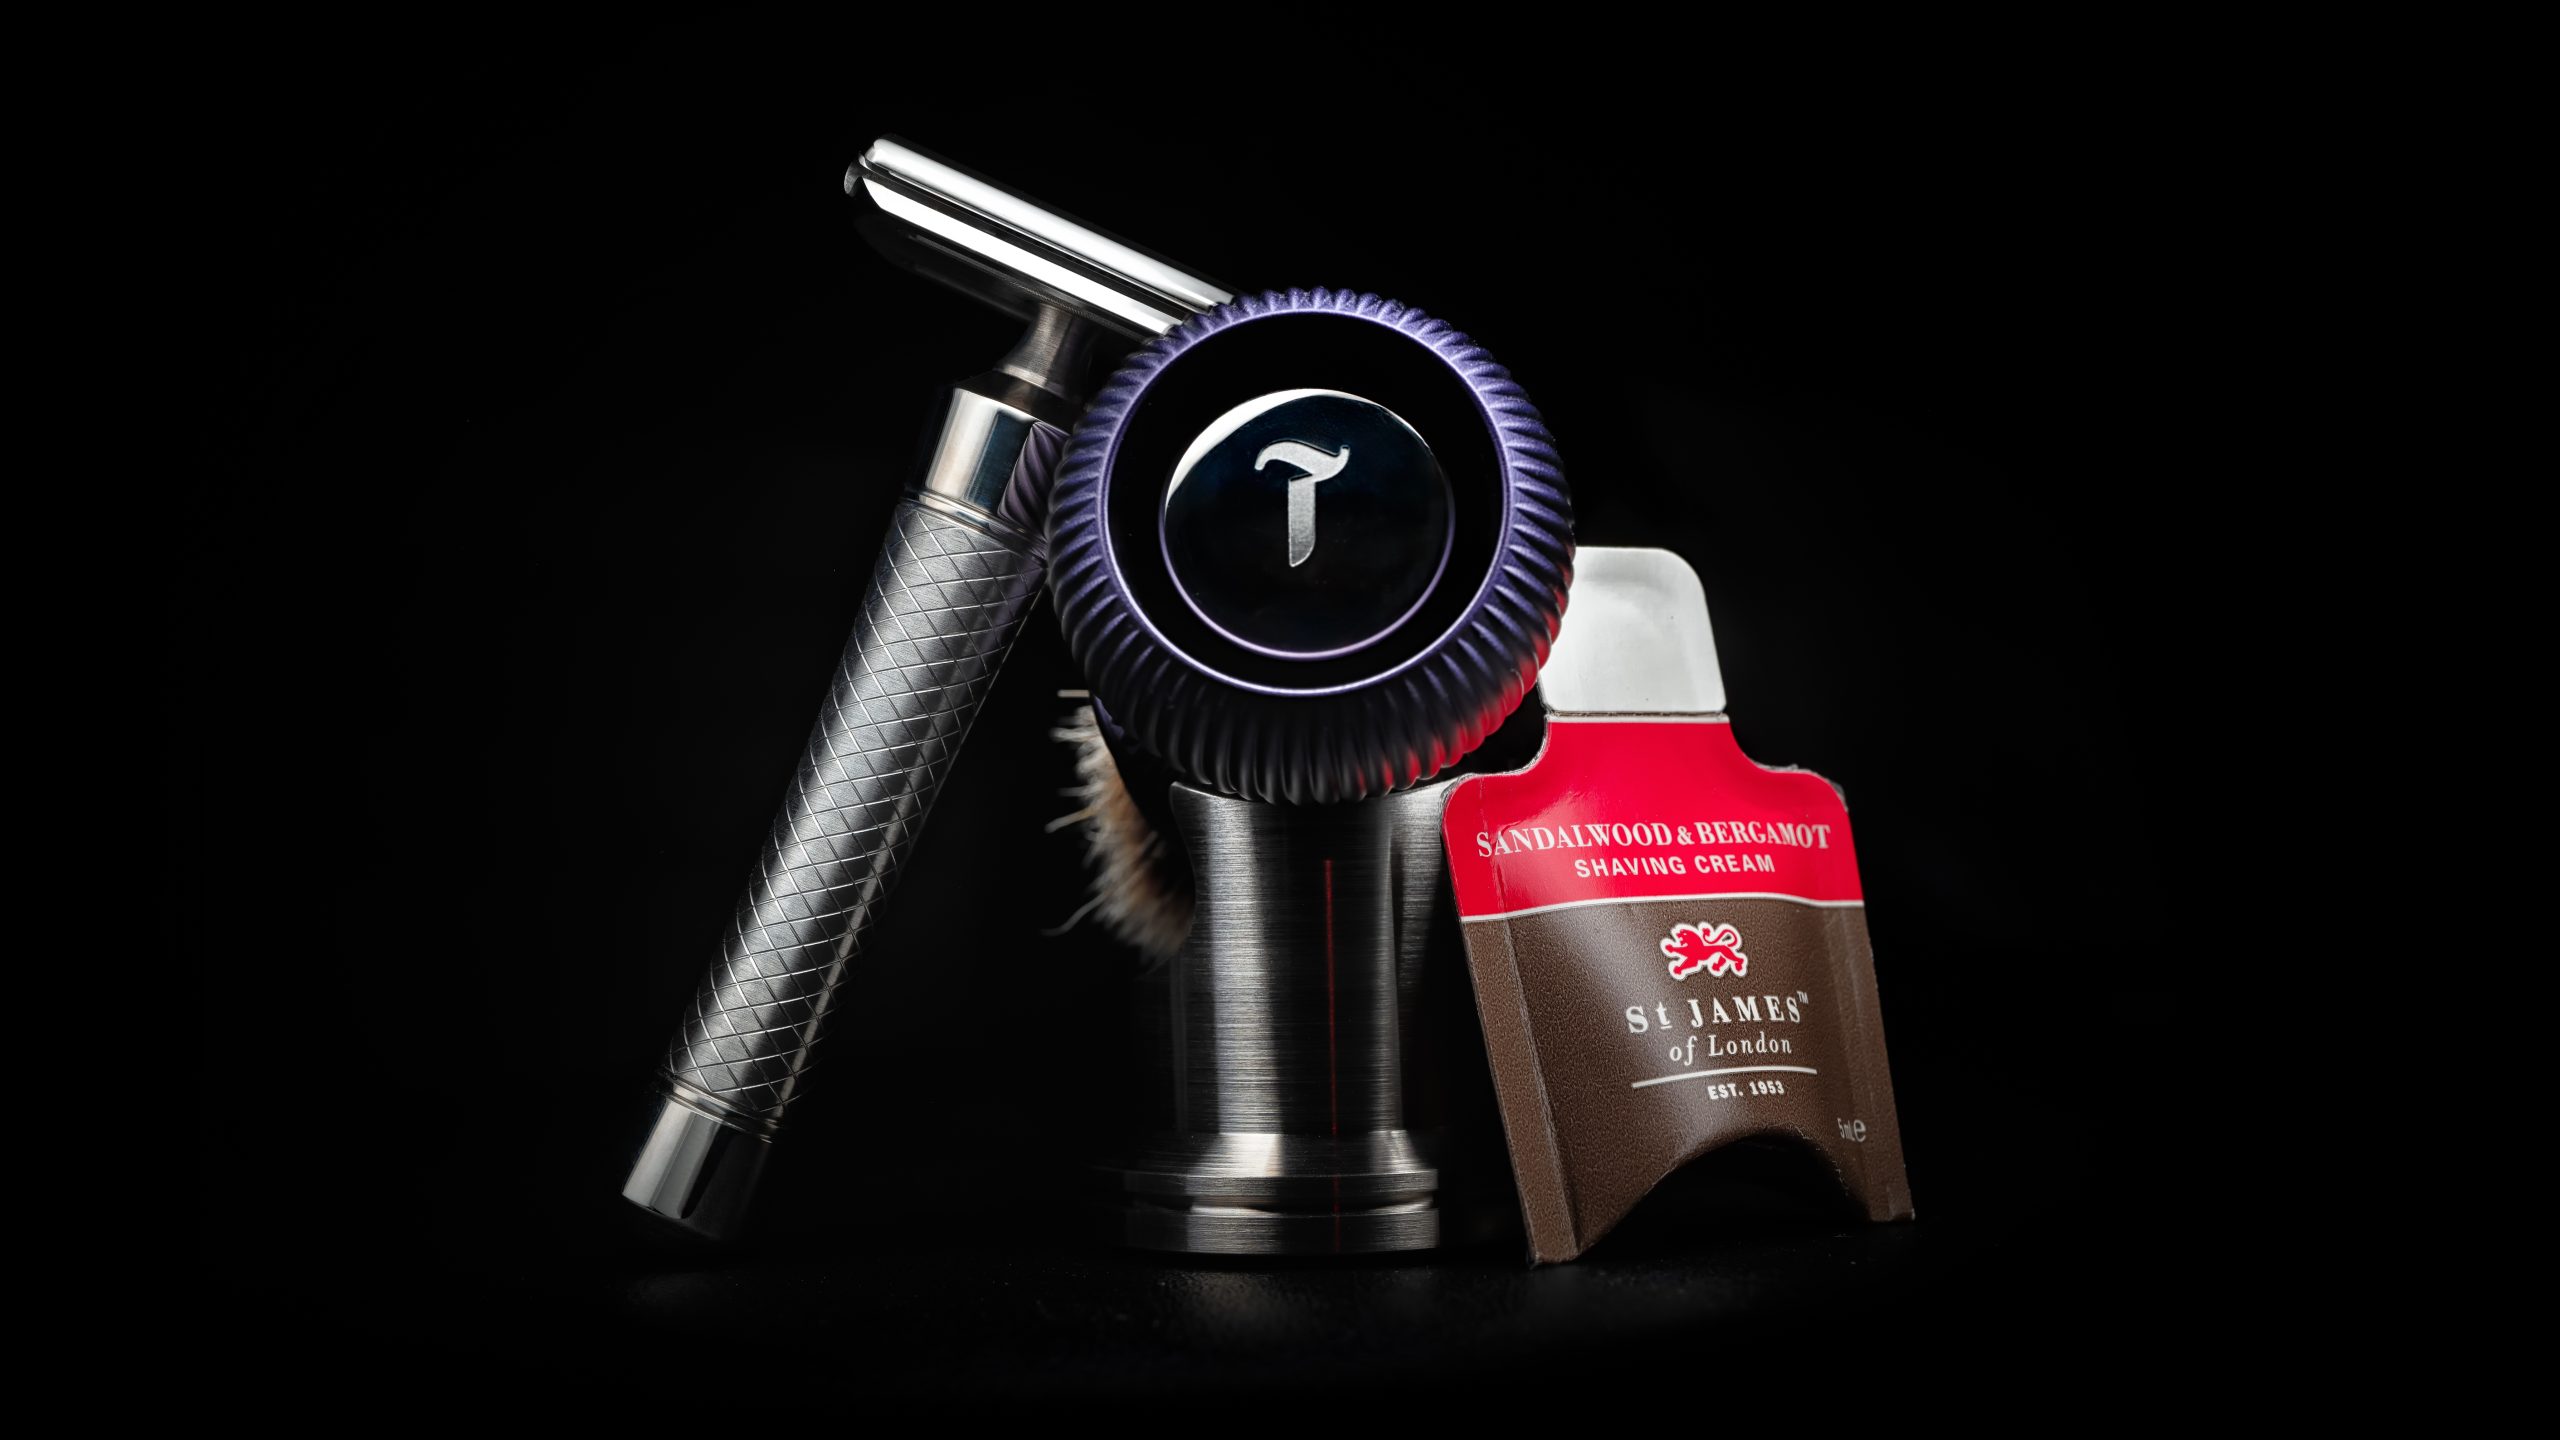
2024-10-06
- DE Razor: Tedalus - Velocity-ONE #016
- Blade: Polsilver - Super Iridium
- Shaving Brush: Tedalus - Helios Purple (Silvertip Badger - 26mm Bulb)
- Shaving Cream: St James of London - Sandalwood & Bergamot
- Accessoires: Tedalus - Brush Stand
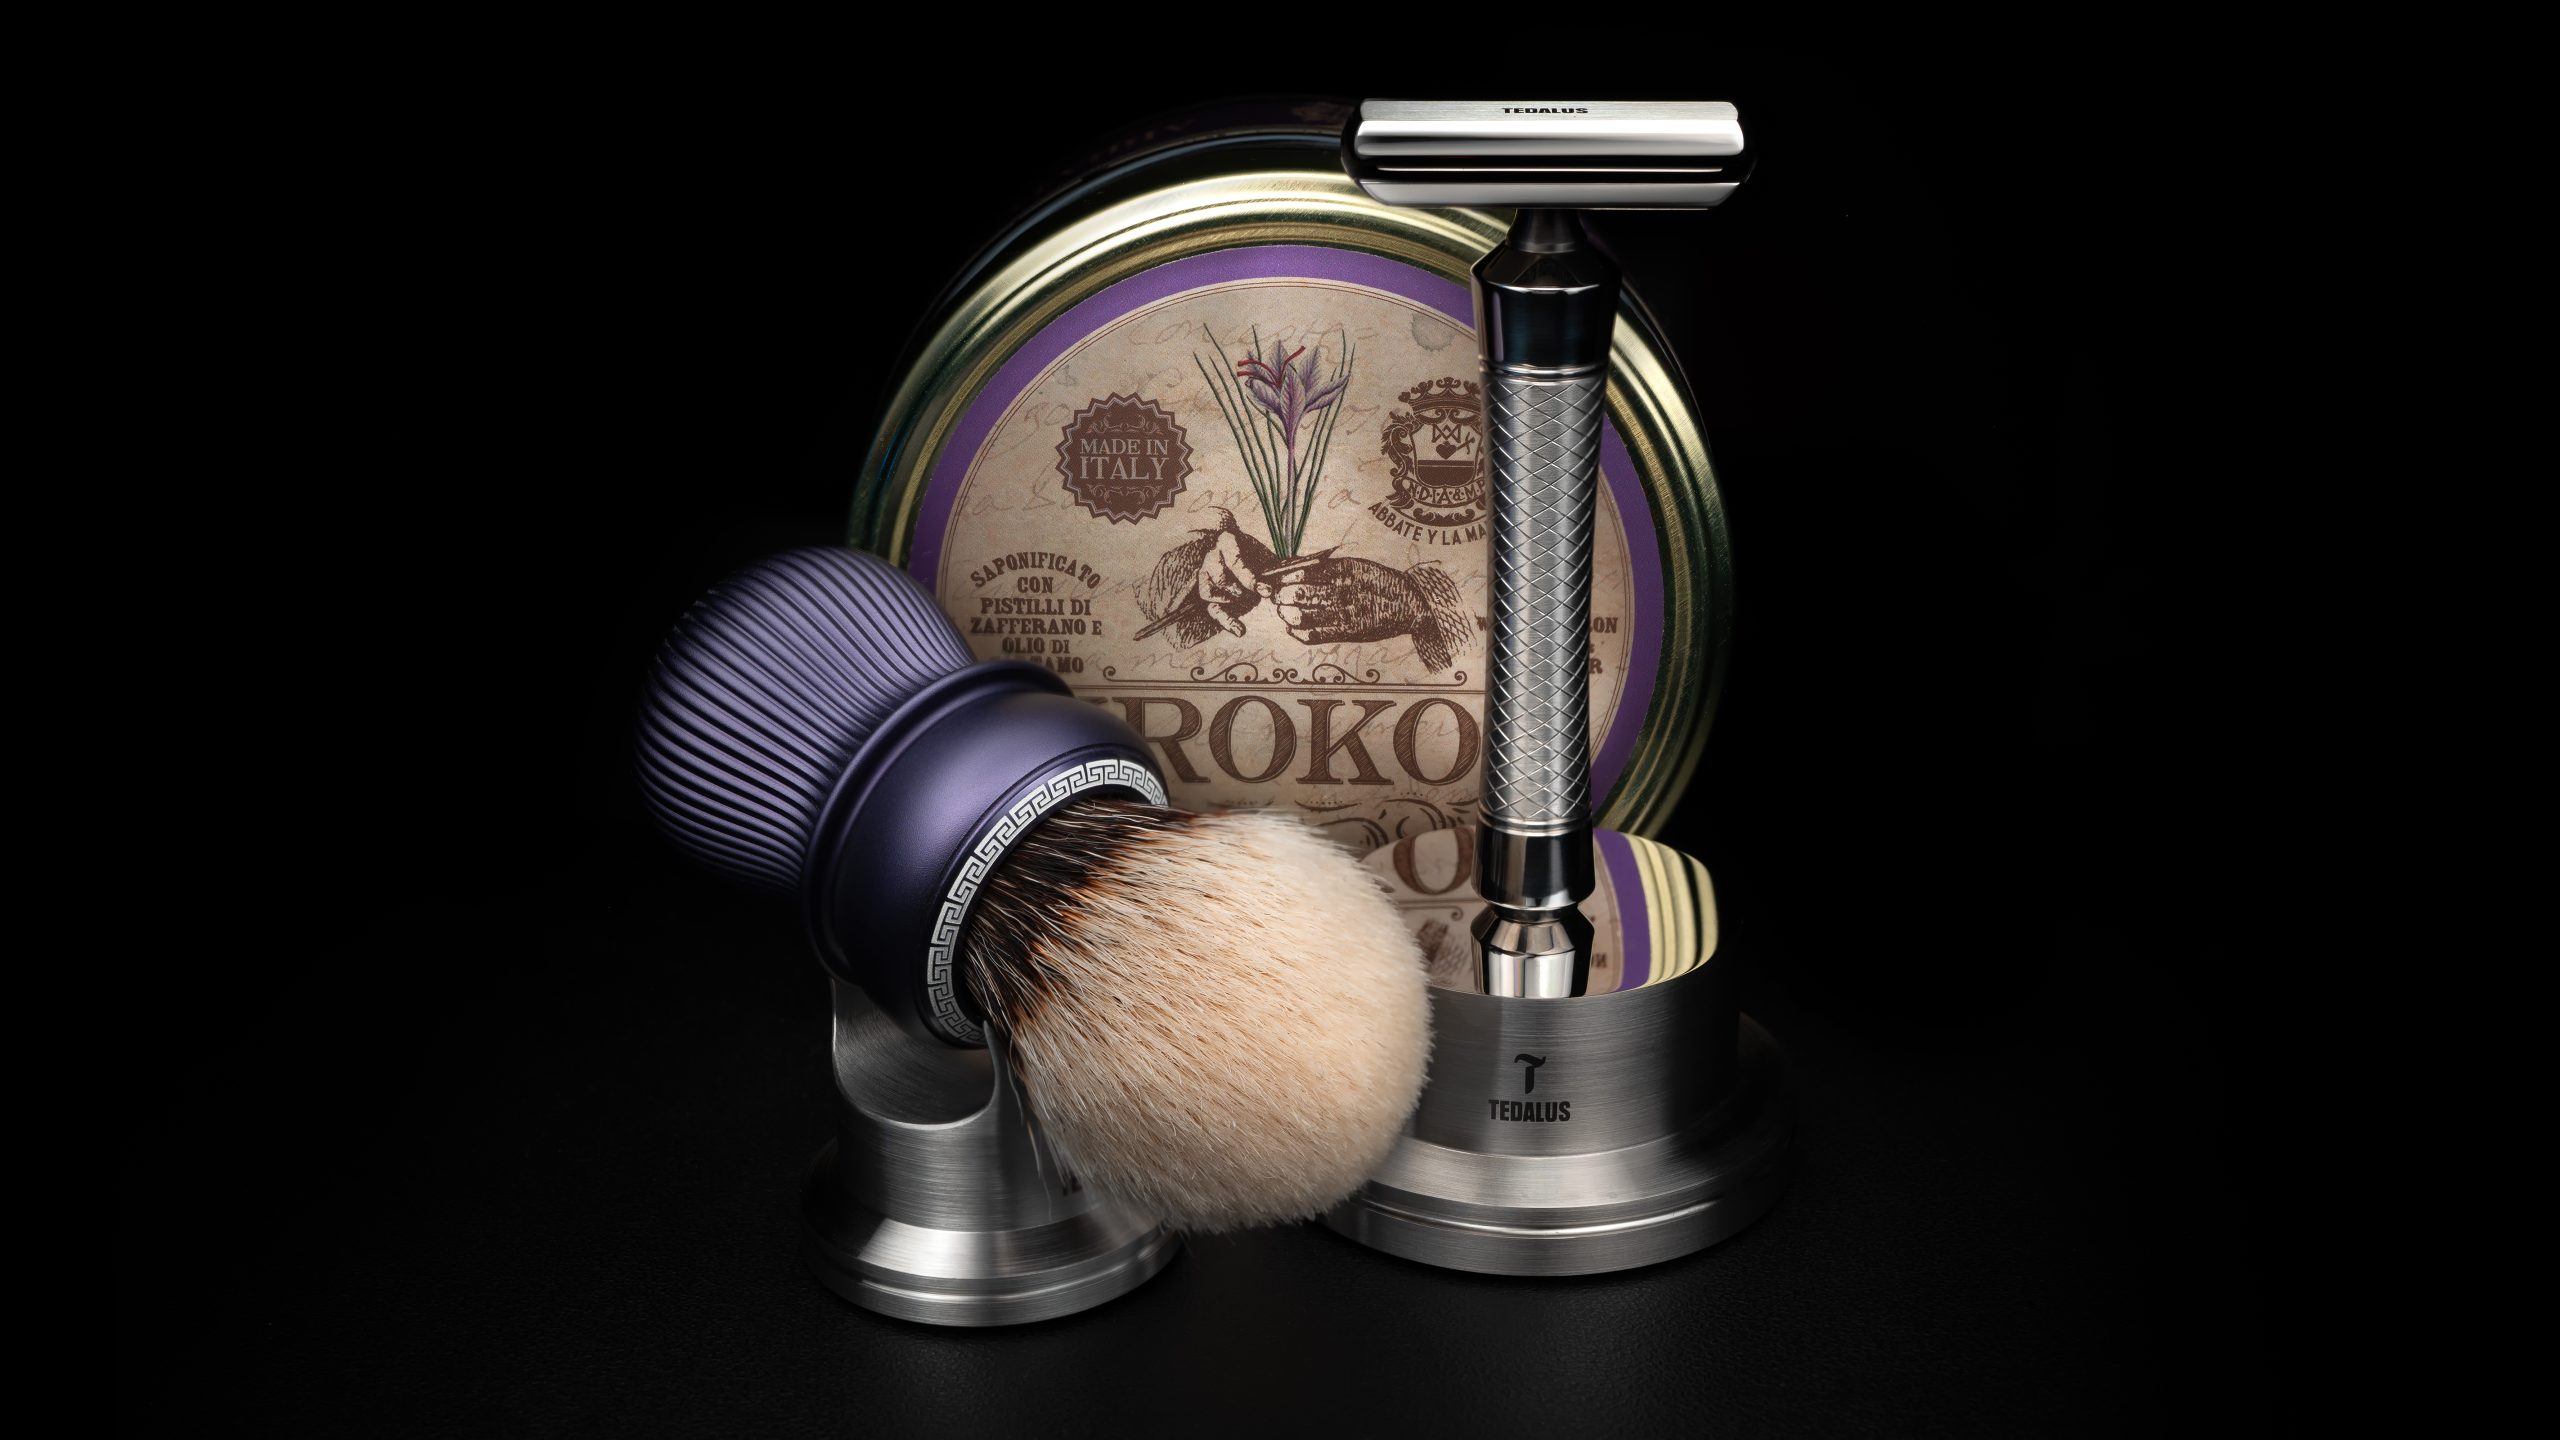
2024-09-24
- DE Razor: Tedalus - Velocity-ONE #016
- Blade: Polsilver - Super Iridium
- Shaving Brush: Tedalus - Helios Purple (Silvertip Badger - 26mm Bulb)
- Shaving Soap: Abbate Y La Mantia - Krokos
- Aftershave Splash: Abbate Y La Mantia - Krokos
- Accessoires: Tedalus - Velocity-ONE Razor Stand
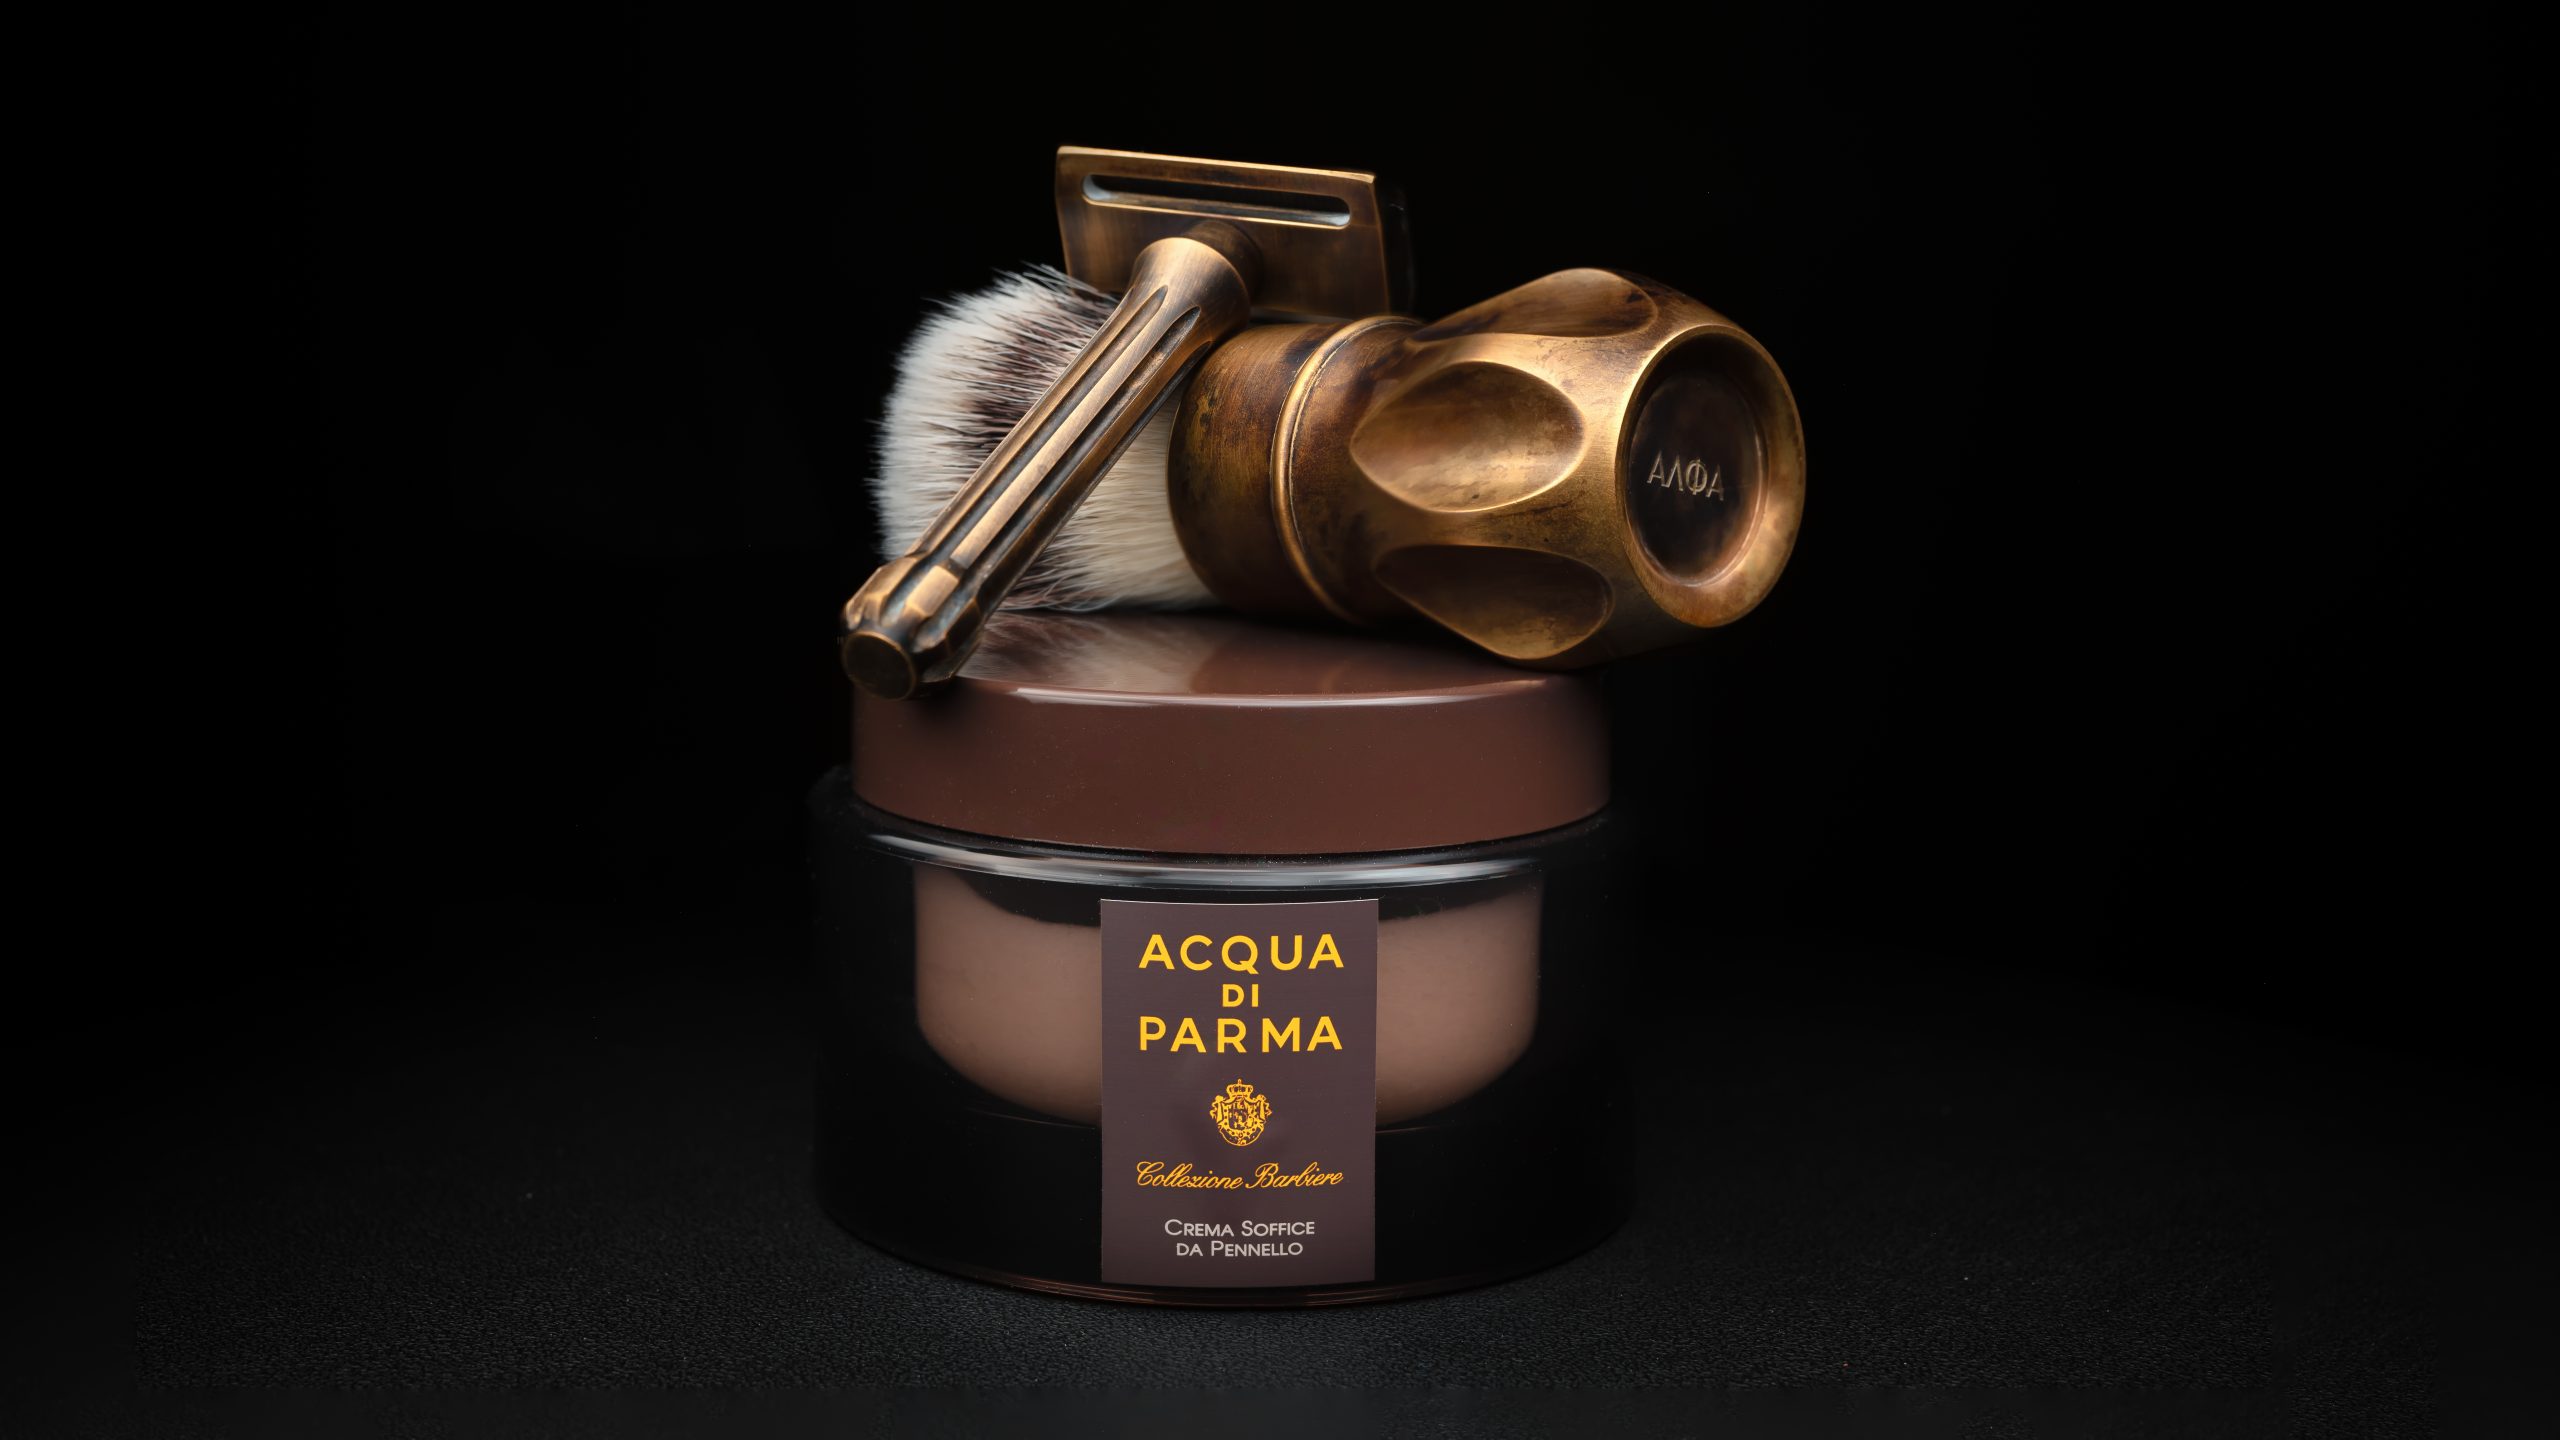
2024-08-25
- DE Razor: Blackland - Brassbird
- Blade: Polsilver - Super Iridium
- Shaving Brush: Alpha Shaving / Omega - Outlaw v1 Bronze - EVO knot (Synthetic - 28mm Fan)
- Aftershave Balm: Acqua di Parma - Colonia
2024-08-18
- Straight razor: Saponificio Varesino / Thiers-Issard - Galileo Galilei - 7/8
- Shaving Brush: Saponificio Varesino - Paragon Arlecchino #1/28 LE - Ash, Maple, Bubinga, Wengé, Paduk, Cherry, Amaranth, Beech, Zebrano & American Walnut (Manchurian Badger - 30mm Bulb)
- Shaving Soap: Saponificio Varesino - Argania - Beta 4.3
- Aftershave Splash: Saponificio Varesino - Argania
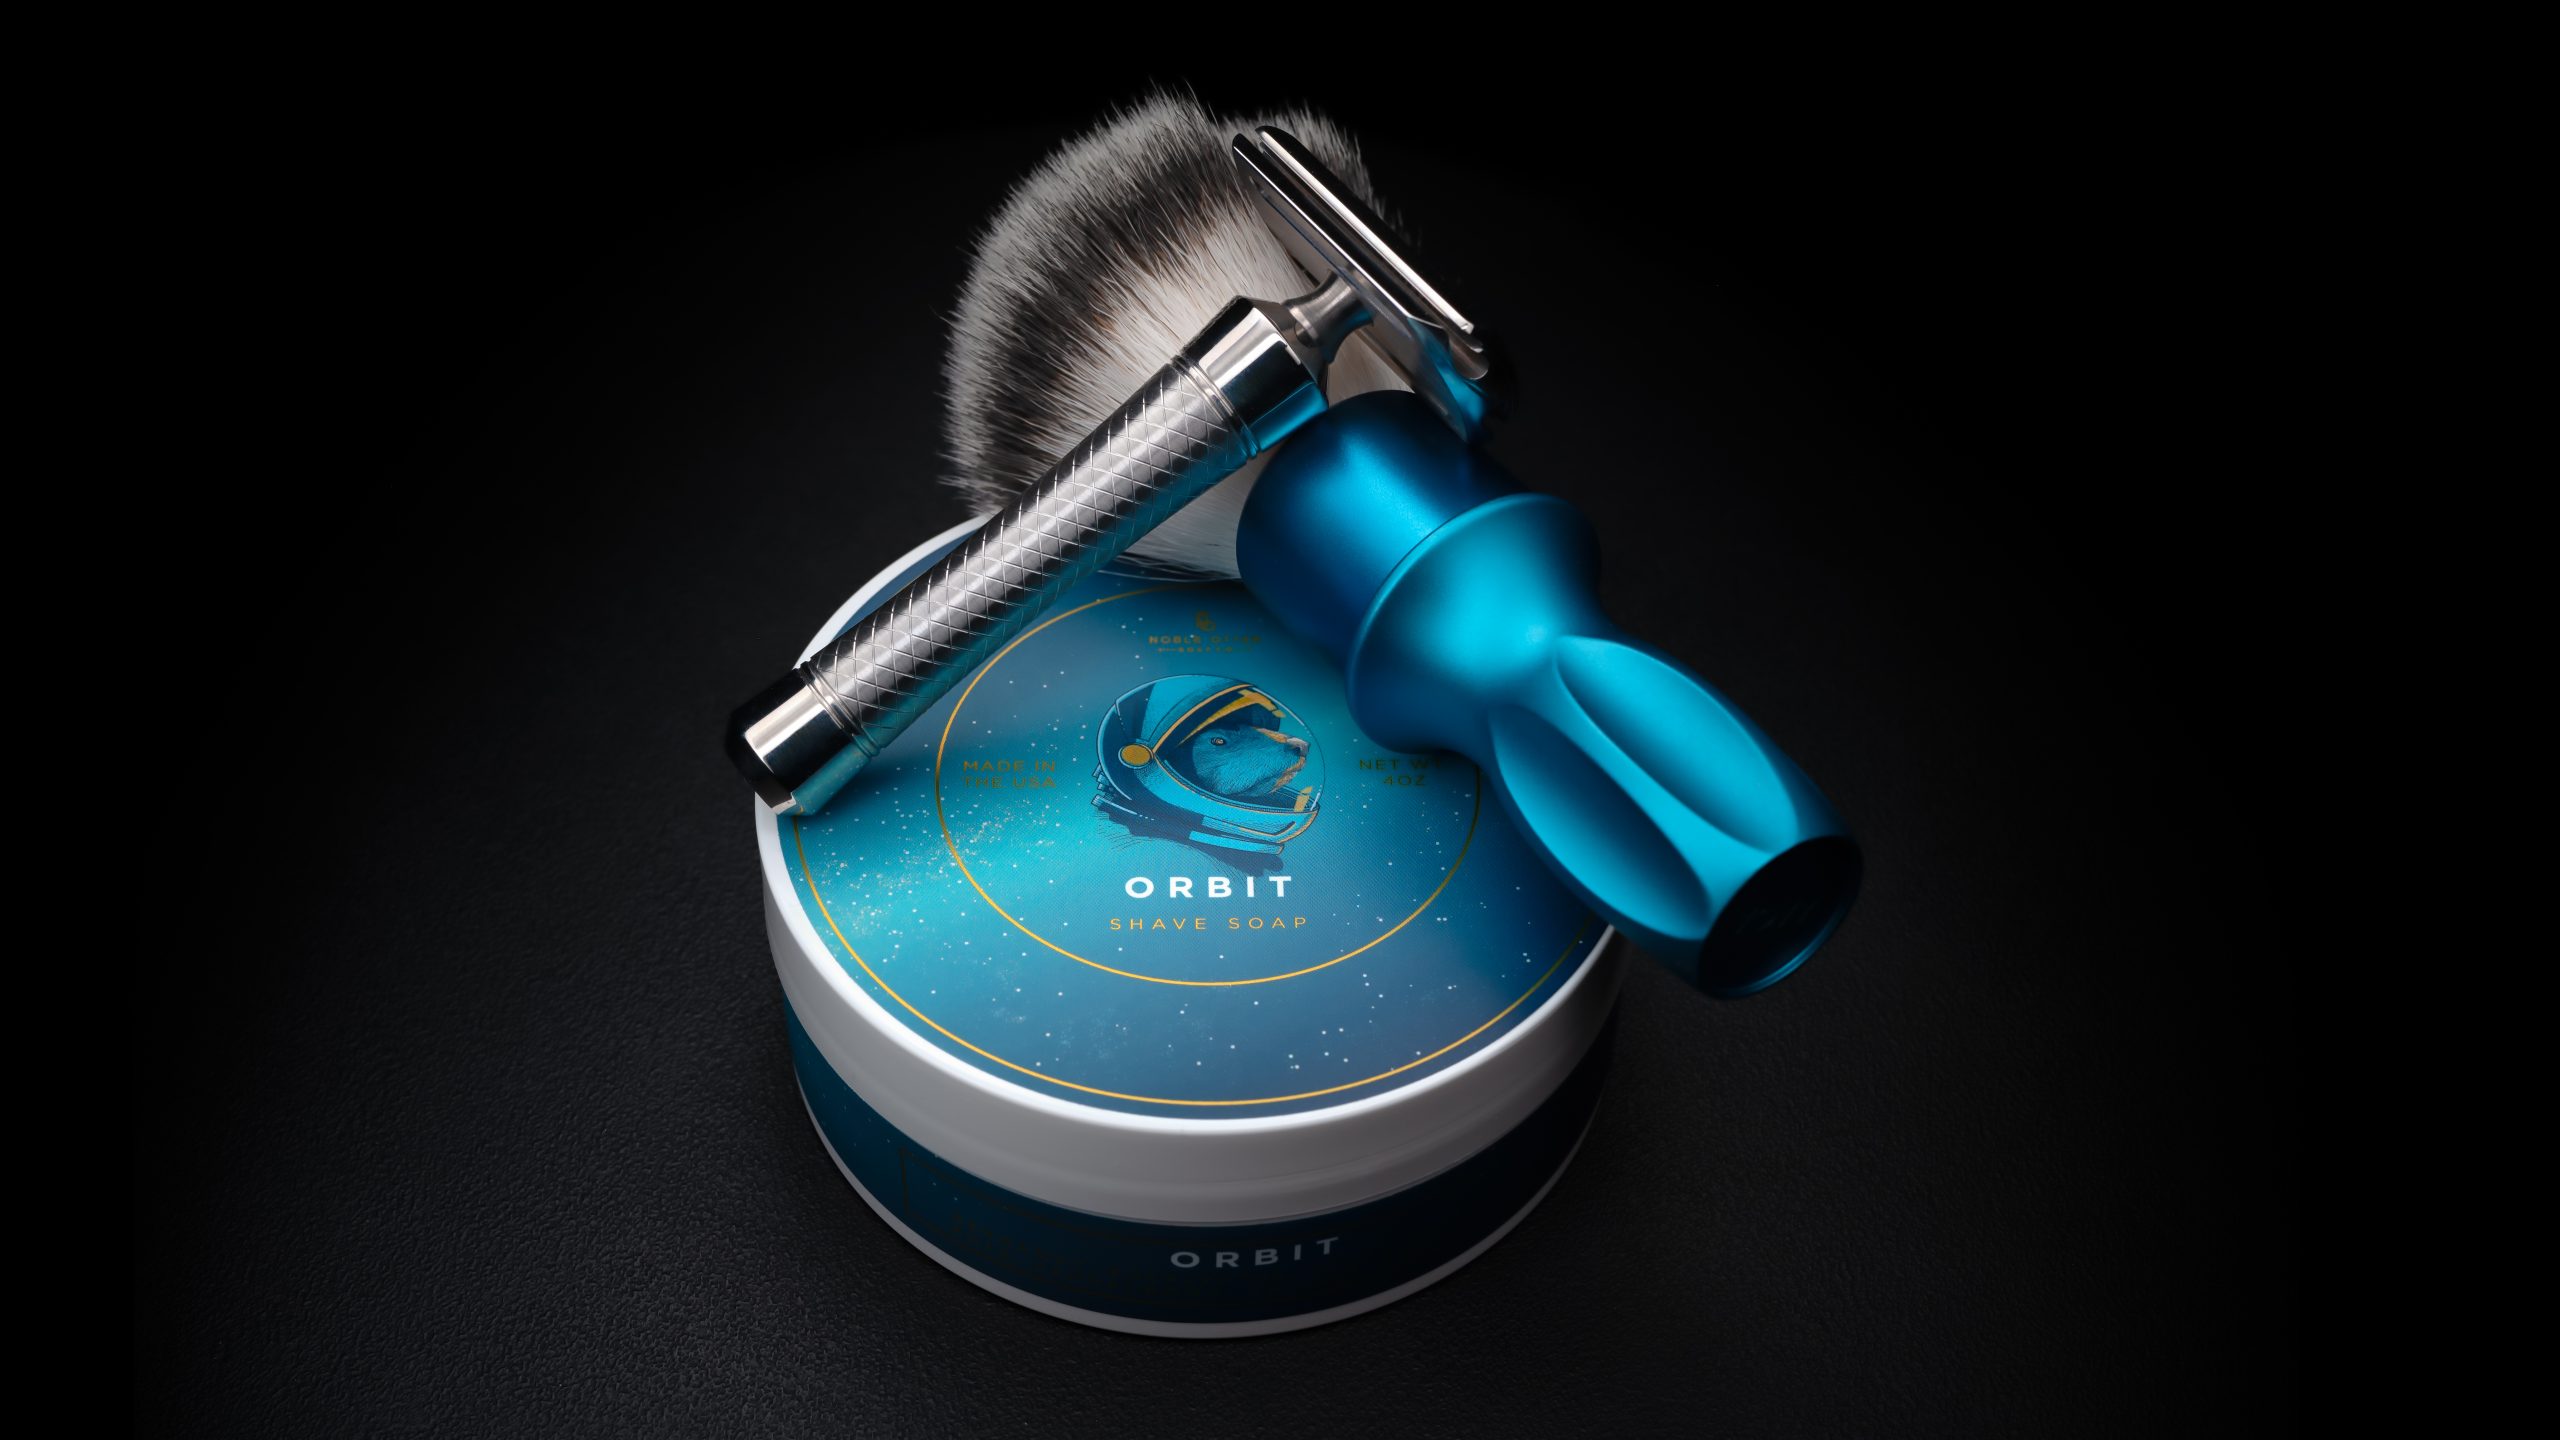
2024-08-11
- DE Razor: Tedalus - Velocity-ONE #016
- Blade: Polsilver - Super Iridium
- Shaving Brush: Alpha Shaving - T-400 Blue (Synthetic - 24mm Bulb)
- Shaving Soap: Noble Otter - Orbit
- Aftershave Splash: Noble Otter - Orbit

2024-08-04
- DE Razor: Barbaros - TR-2
- Blade: Polsilver - Super Iridium
- Shaving Brush: Declaration Grooming - The Jefferson Snowblivion B11 (Finest Badger - 28mm Fan)
- Shaving Soap: Declaration Grooming / Chatillon Lux - Pure Lavender
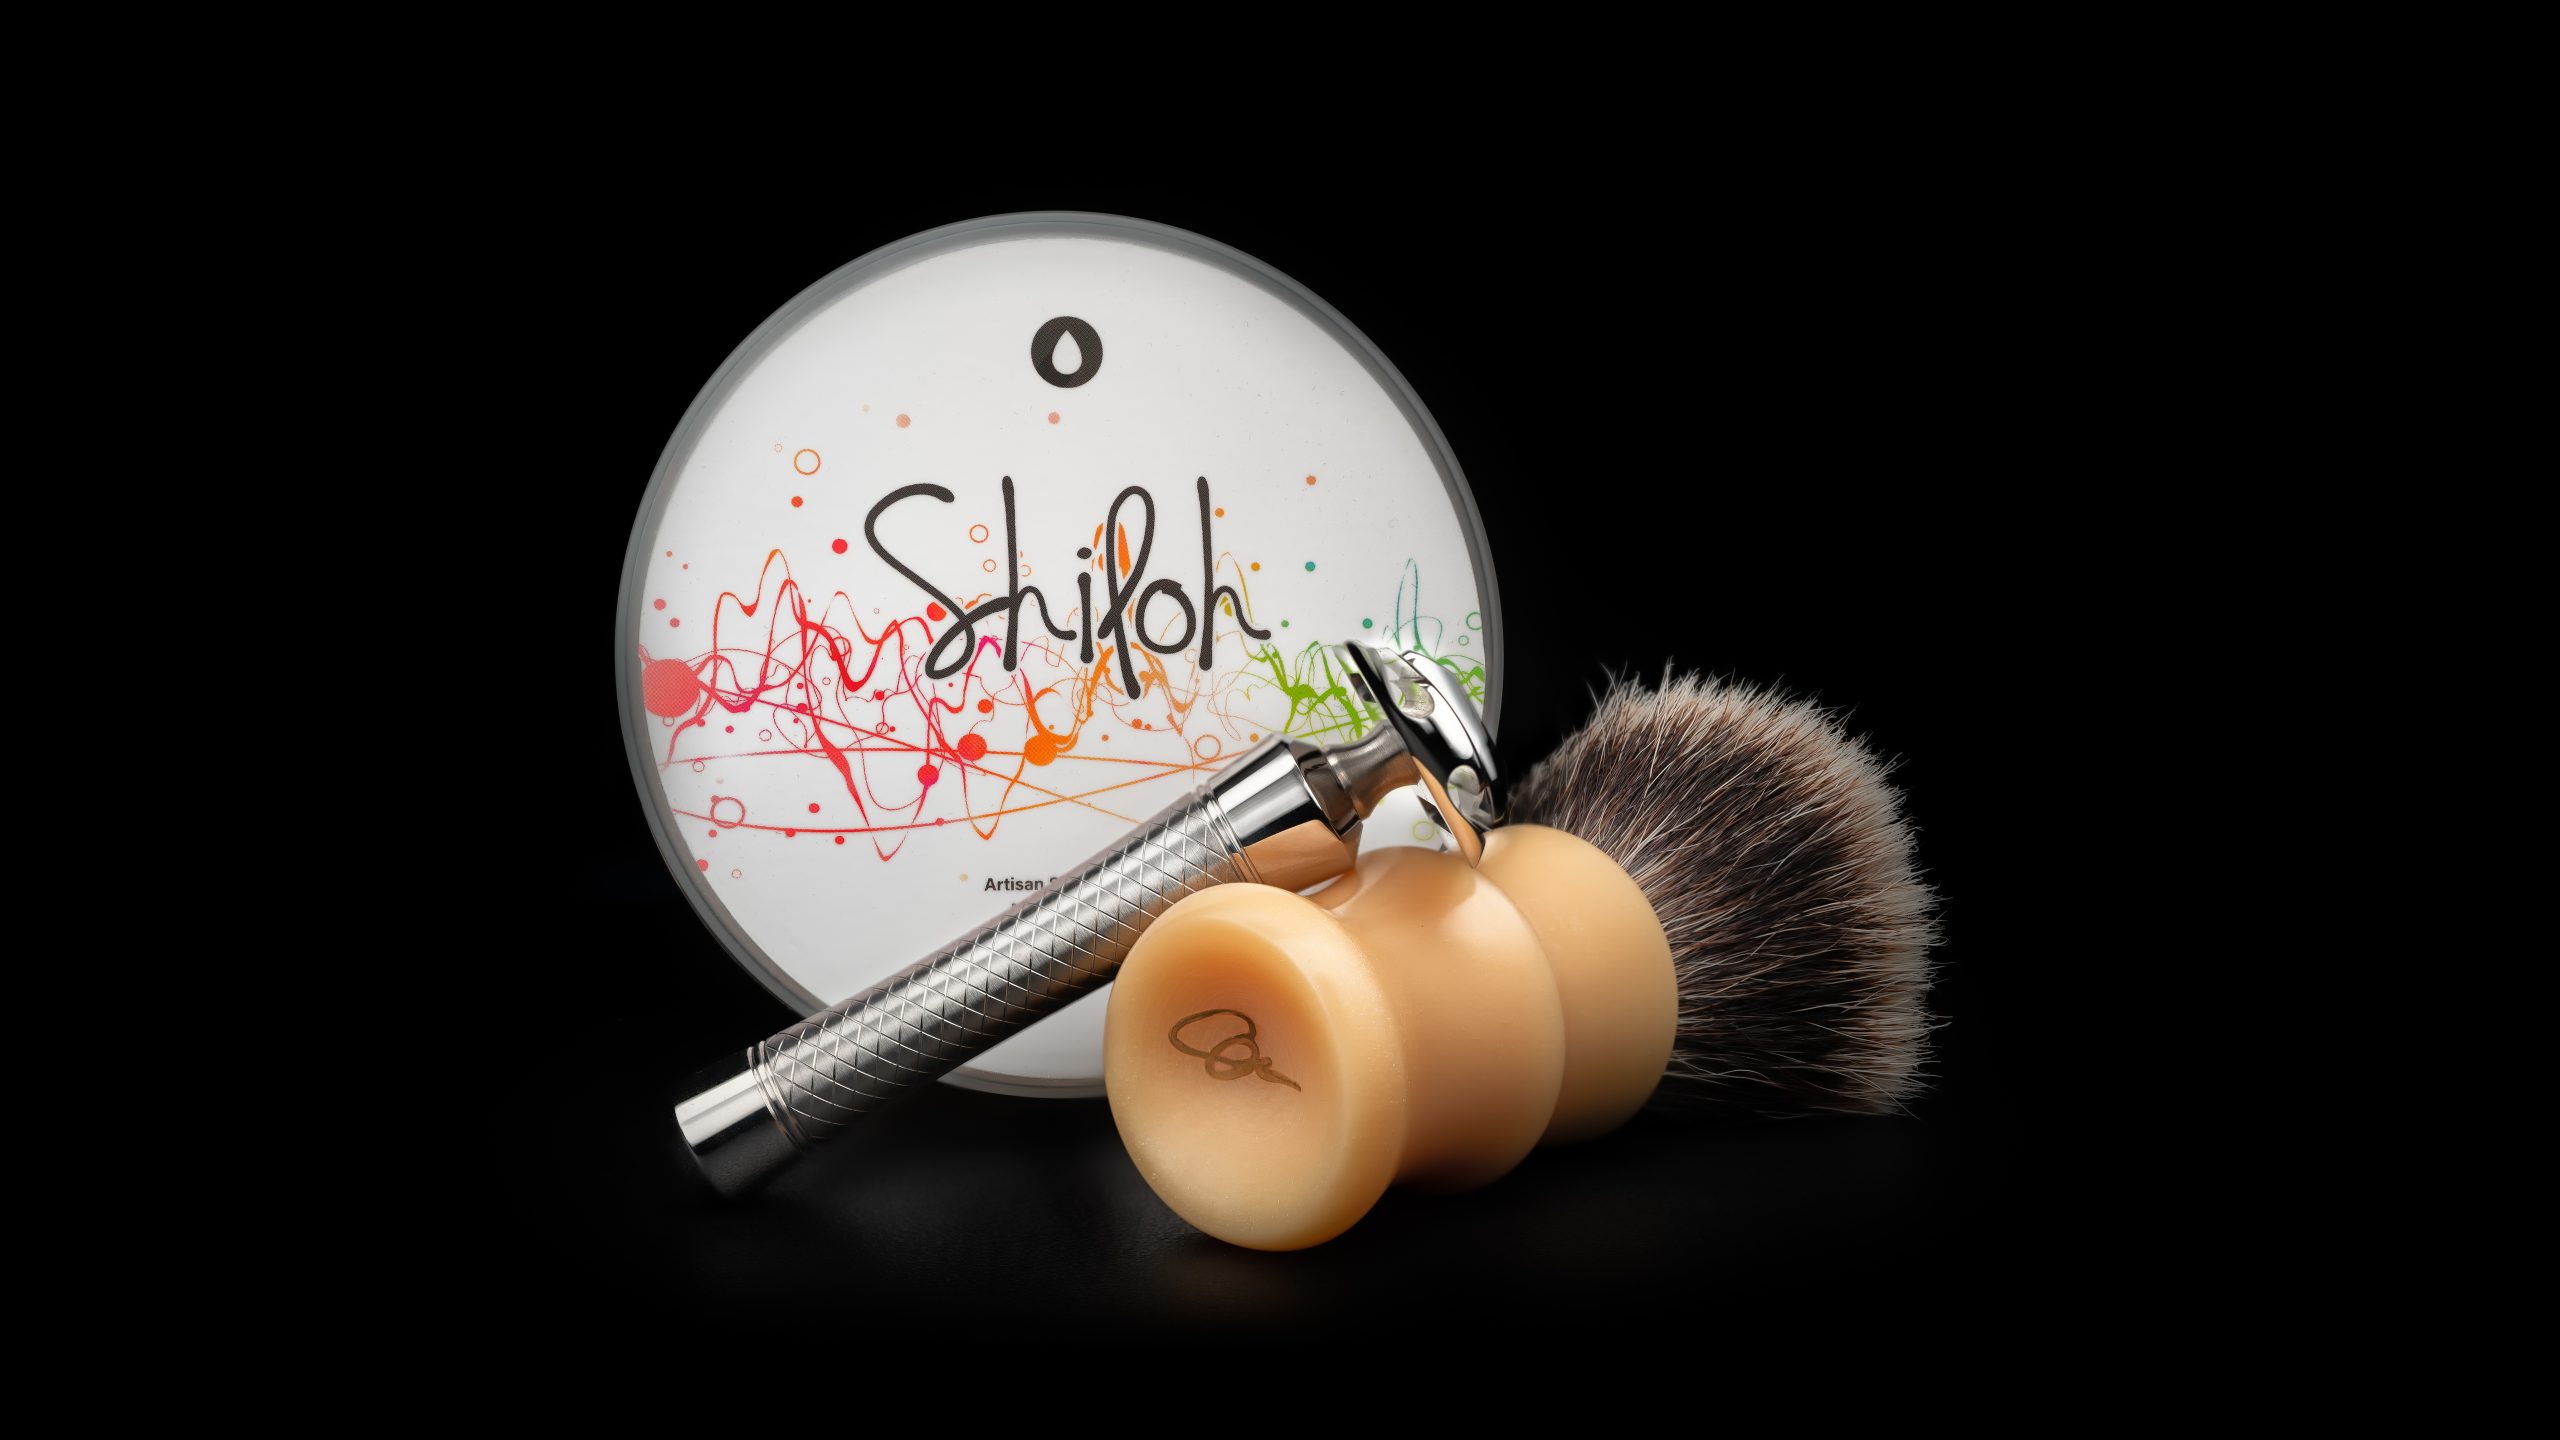
2024-06-09
- DE Razor: Tedalus - Velocity-ONE #016
- Blade: Polsilver - Super Iridium
- Shaving Brush: Declaration Grooming - The Washington Unicorn Ivory B3 (Finest Badger - 24mm Fan)
- Shaving Soap: Oleo Soapworks - Shiloh

2024-03-31
- DE Razor: Timeless Razor - Solid Bar - 0.38mm - TRH6 - Bronze
- Blade: Polsilver - Super Iridium
- Shaving Brush: Acqua di Parma - Barbiere Yellow (Synthetic - 24mm Fan)
- Shaving Cream: Acqua di Parma - Barbiere
- Aftershave Balm: Acqua di Parma - Colonia Pura
- Fragrance: Acqua di Parma - Colonia Pura - EdC (100 ml)
- Accessoires: Acqua di Parma - Brush Stand - Yellow
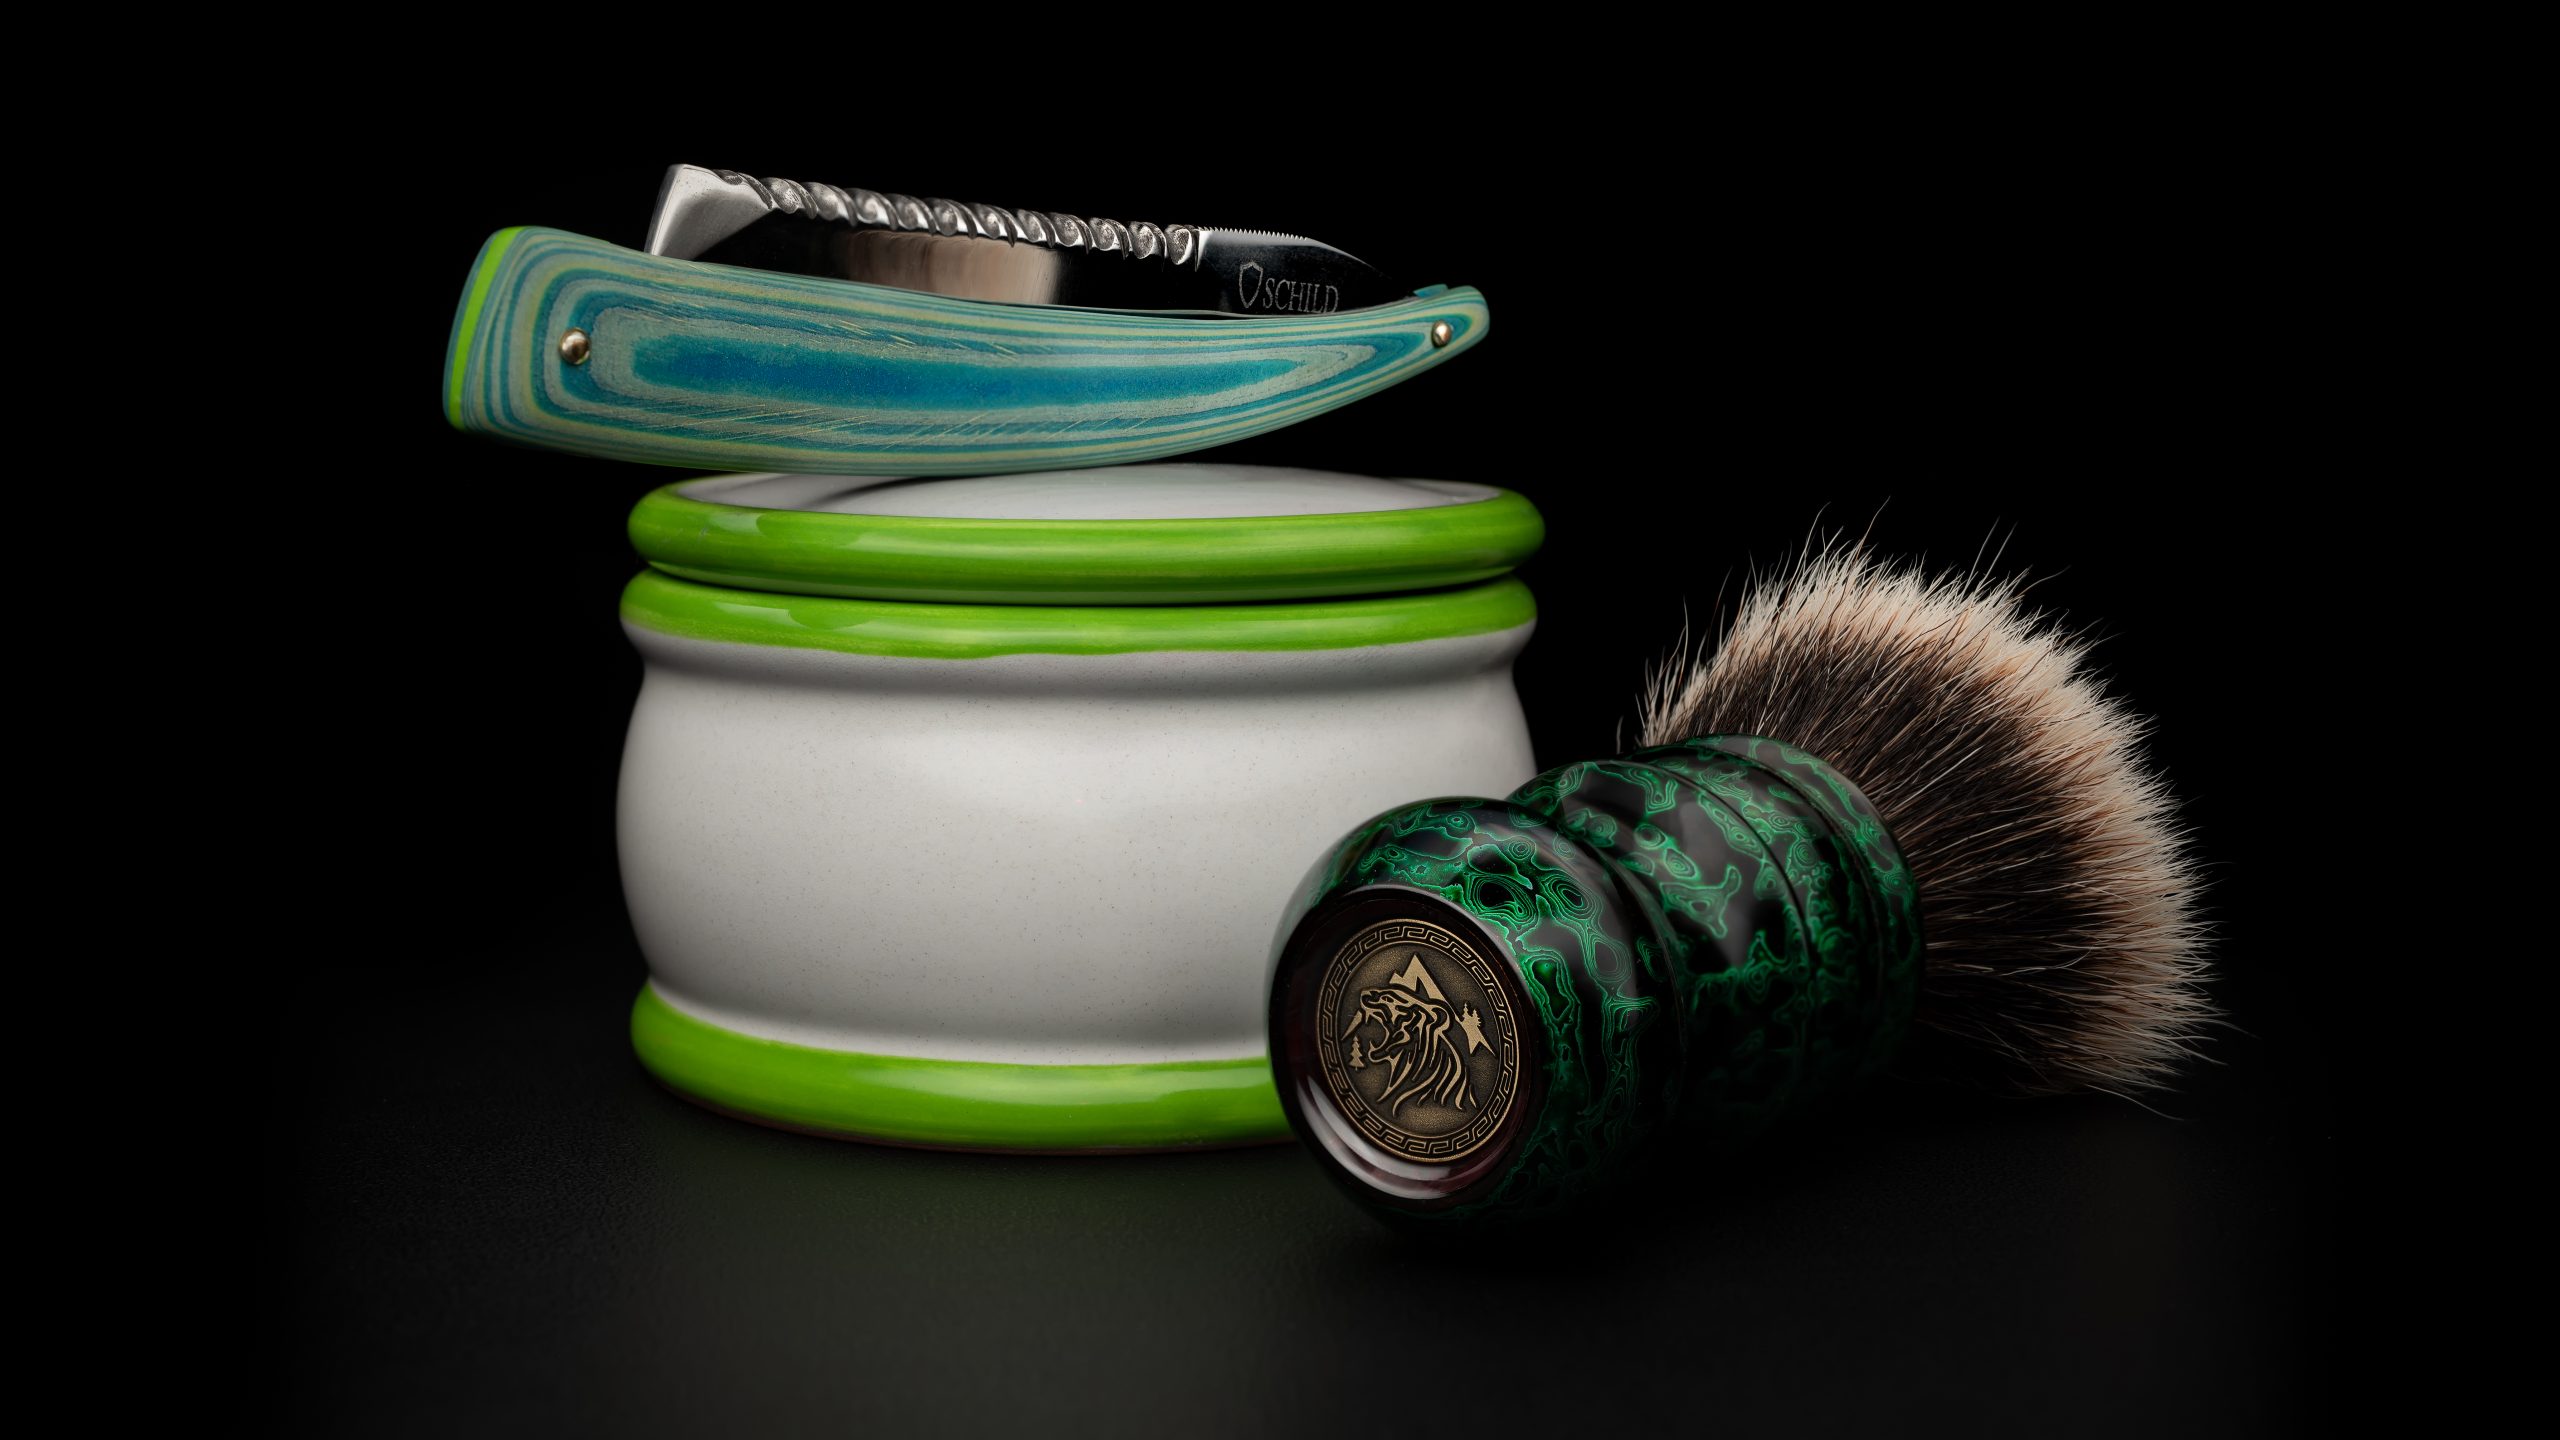
2024-03-24
- Straight razor: Schild - 15/16 O2 Micarta
- Shaving Brush: OUMO - Rhino Leather Lacquer limited edition NO. 1 with a T-3 knot (Finest Badger - 27mm Fan)
- Shaving Soap: PannaCrema - Nuàvia Verde
- Aftershave Balm: PannaCrema - A Verde
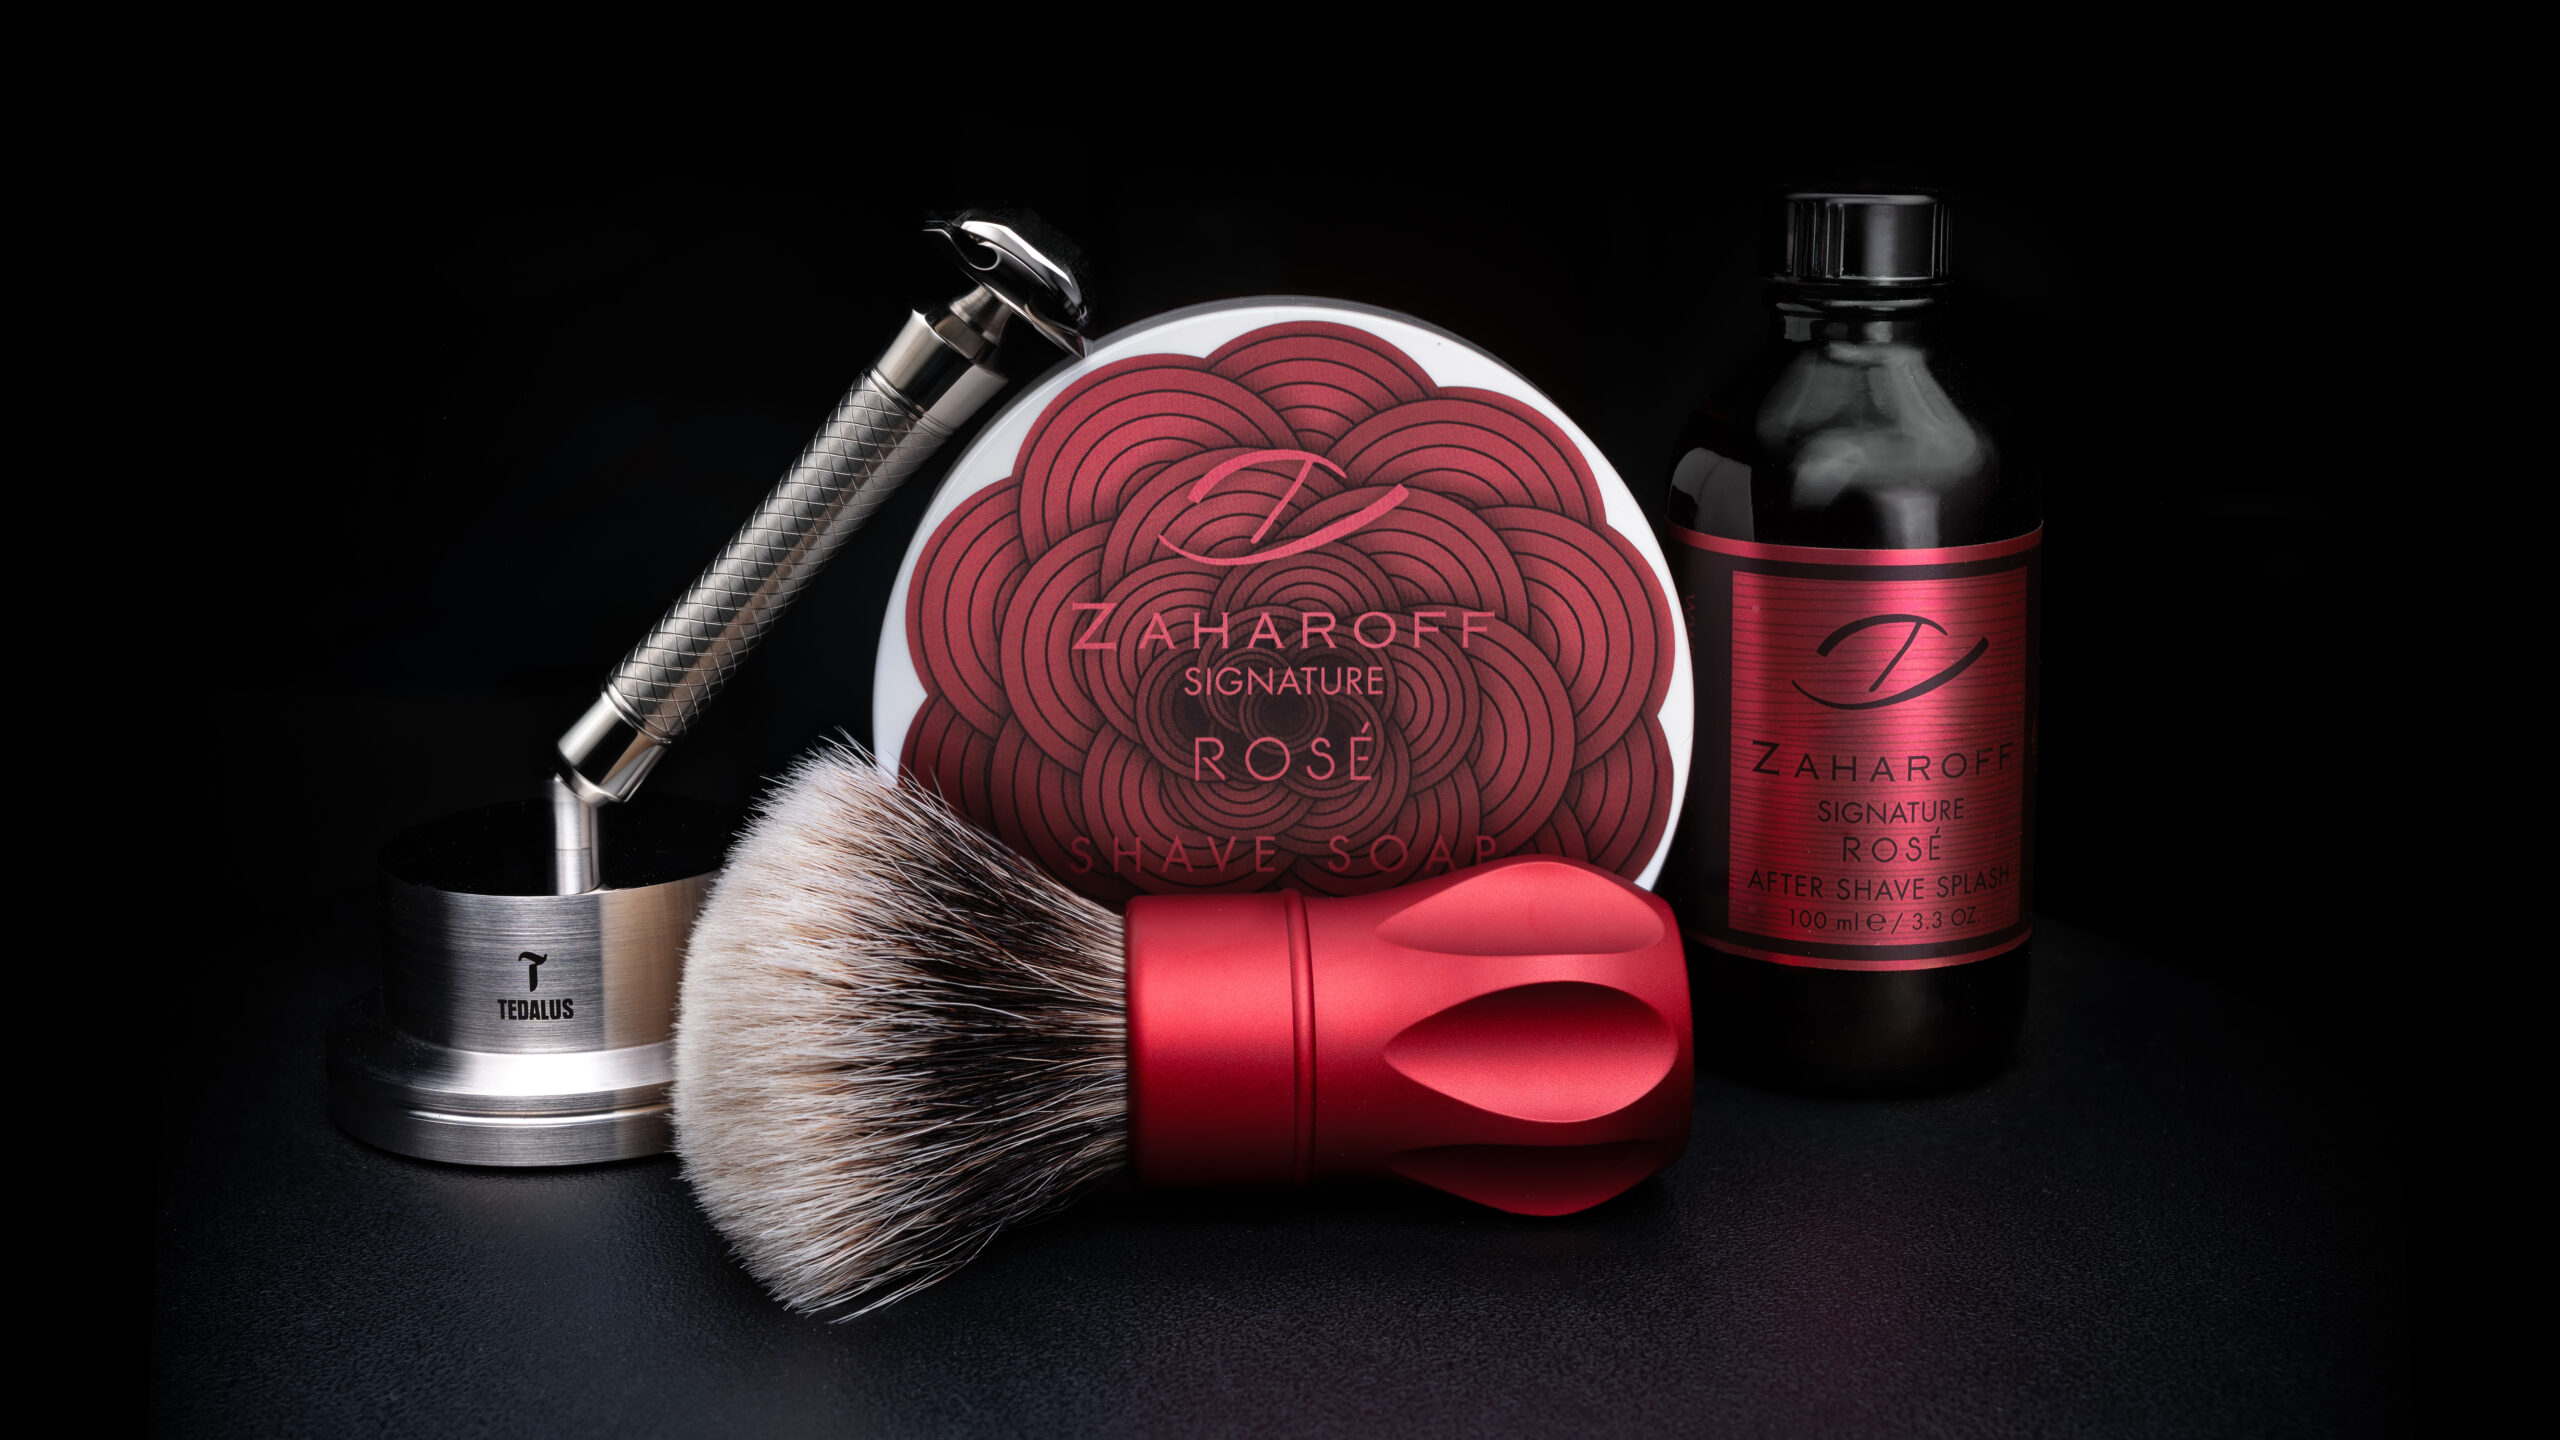
2024-03-17
- DE Razor: Tedalus - Velocity-ONE #016
- Blade: Polsilver - Super Iridium
- Shaving Brush: Alpha Shaving / Voigt & Cop - Outlaw V2 Matte Red (Manchurian Badger - 28mm Fan)
- Shaving Soap: Zaharoff - Rose
- Aftershave Splash: Zaharoff - Rose

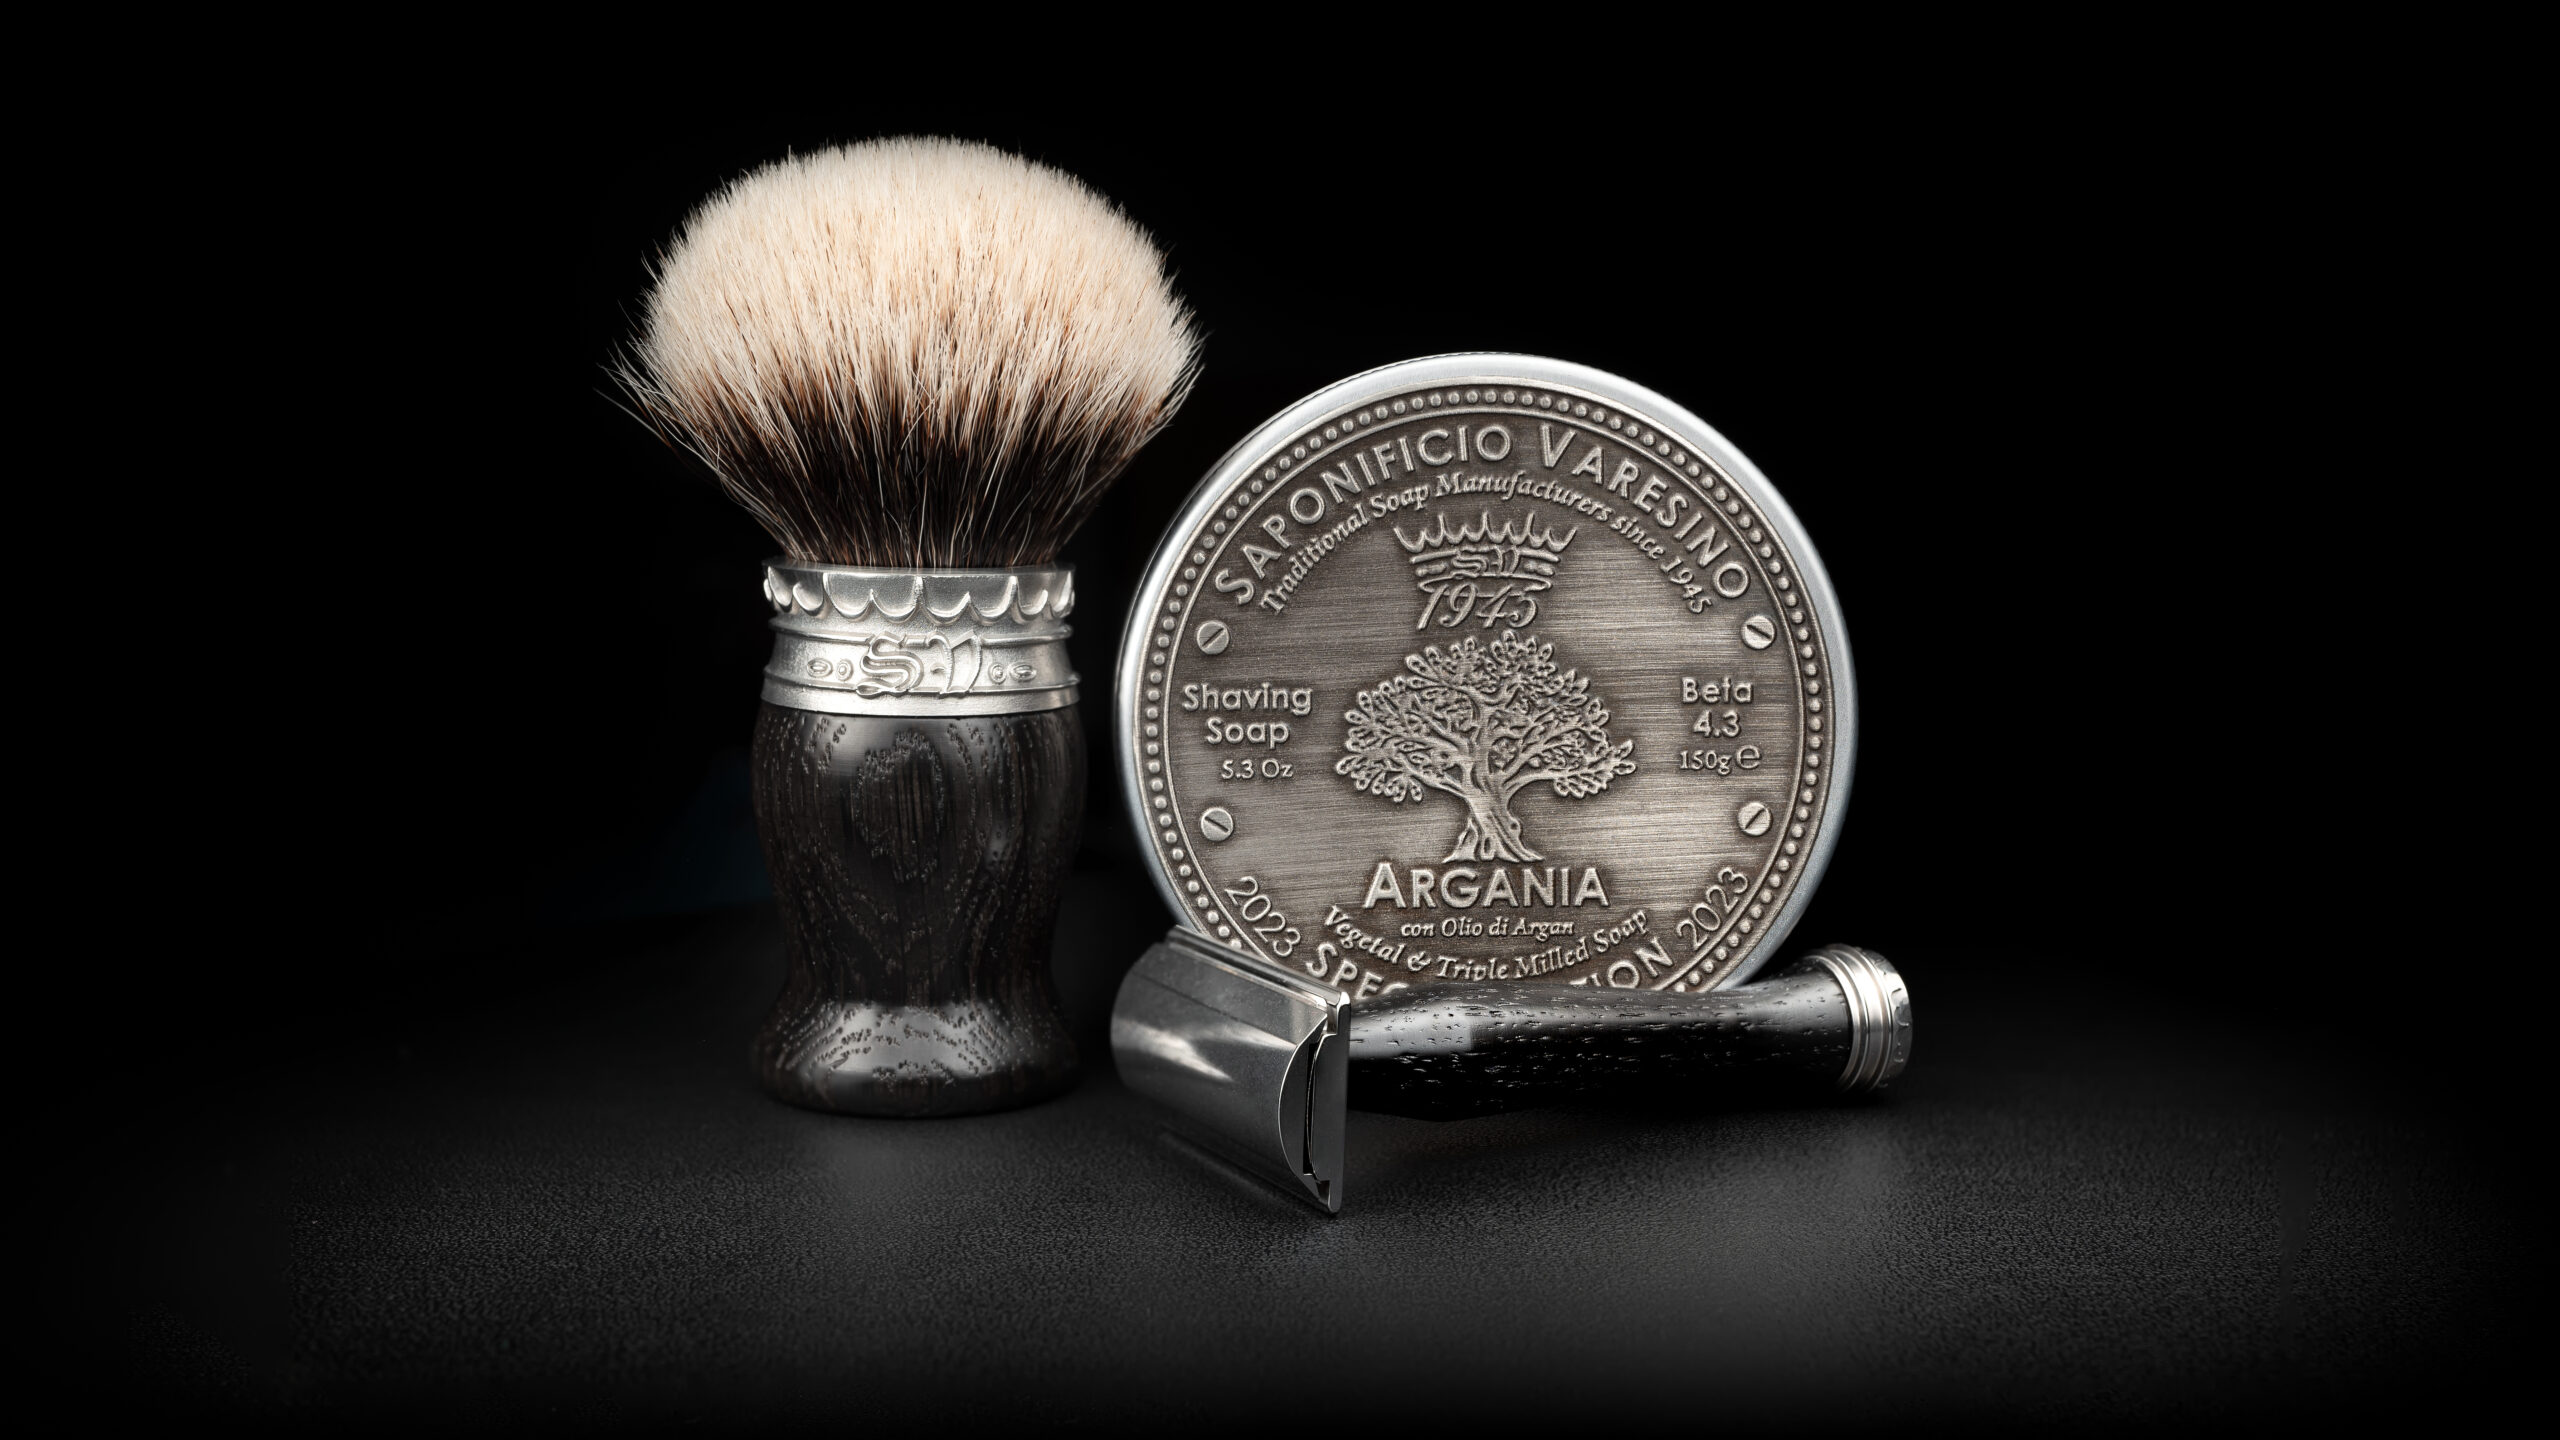
2024-03-03
- DE Razor: Saponificio Varesino - Pommele Mahogany
- Blade: Polsilver - Super Iridium
- Shaving Brush: Saponificio Varesino - Pommele Mahogany (Manchurian Badger - 26mm Bulb)
- Shaving Soap: Saponificio Varesino - Argania - Beta 4.3
- Aftershave Splash: Saponificio Varesino - Argania
2024-02-04
- DE Razor: Saponificio Varesino - Bog Oak
- Blade: Polsilver - Super Iridium
- Shaving Brush: Saponificio Varesino - Bog Oak (Manchurian Badger - 26mm Bulb)
- Shaving Soap: Saponificio Varesino - Argania - Beta 4.3
- Aftershave Splash: Saponificio Varesino - Argania
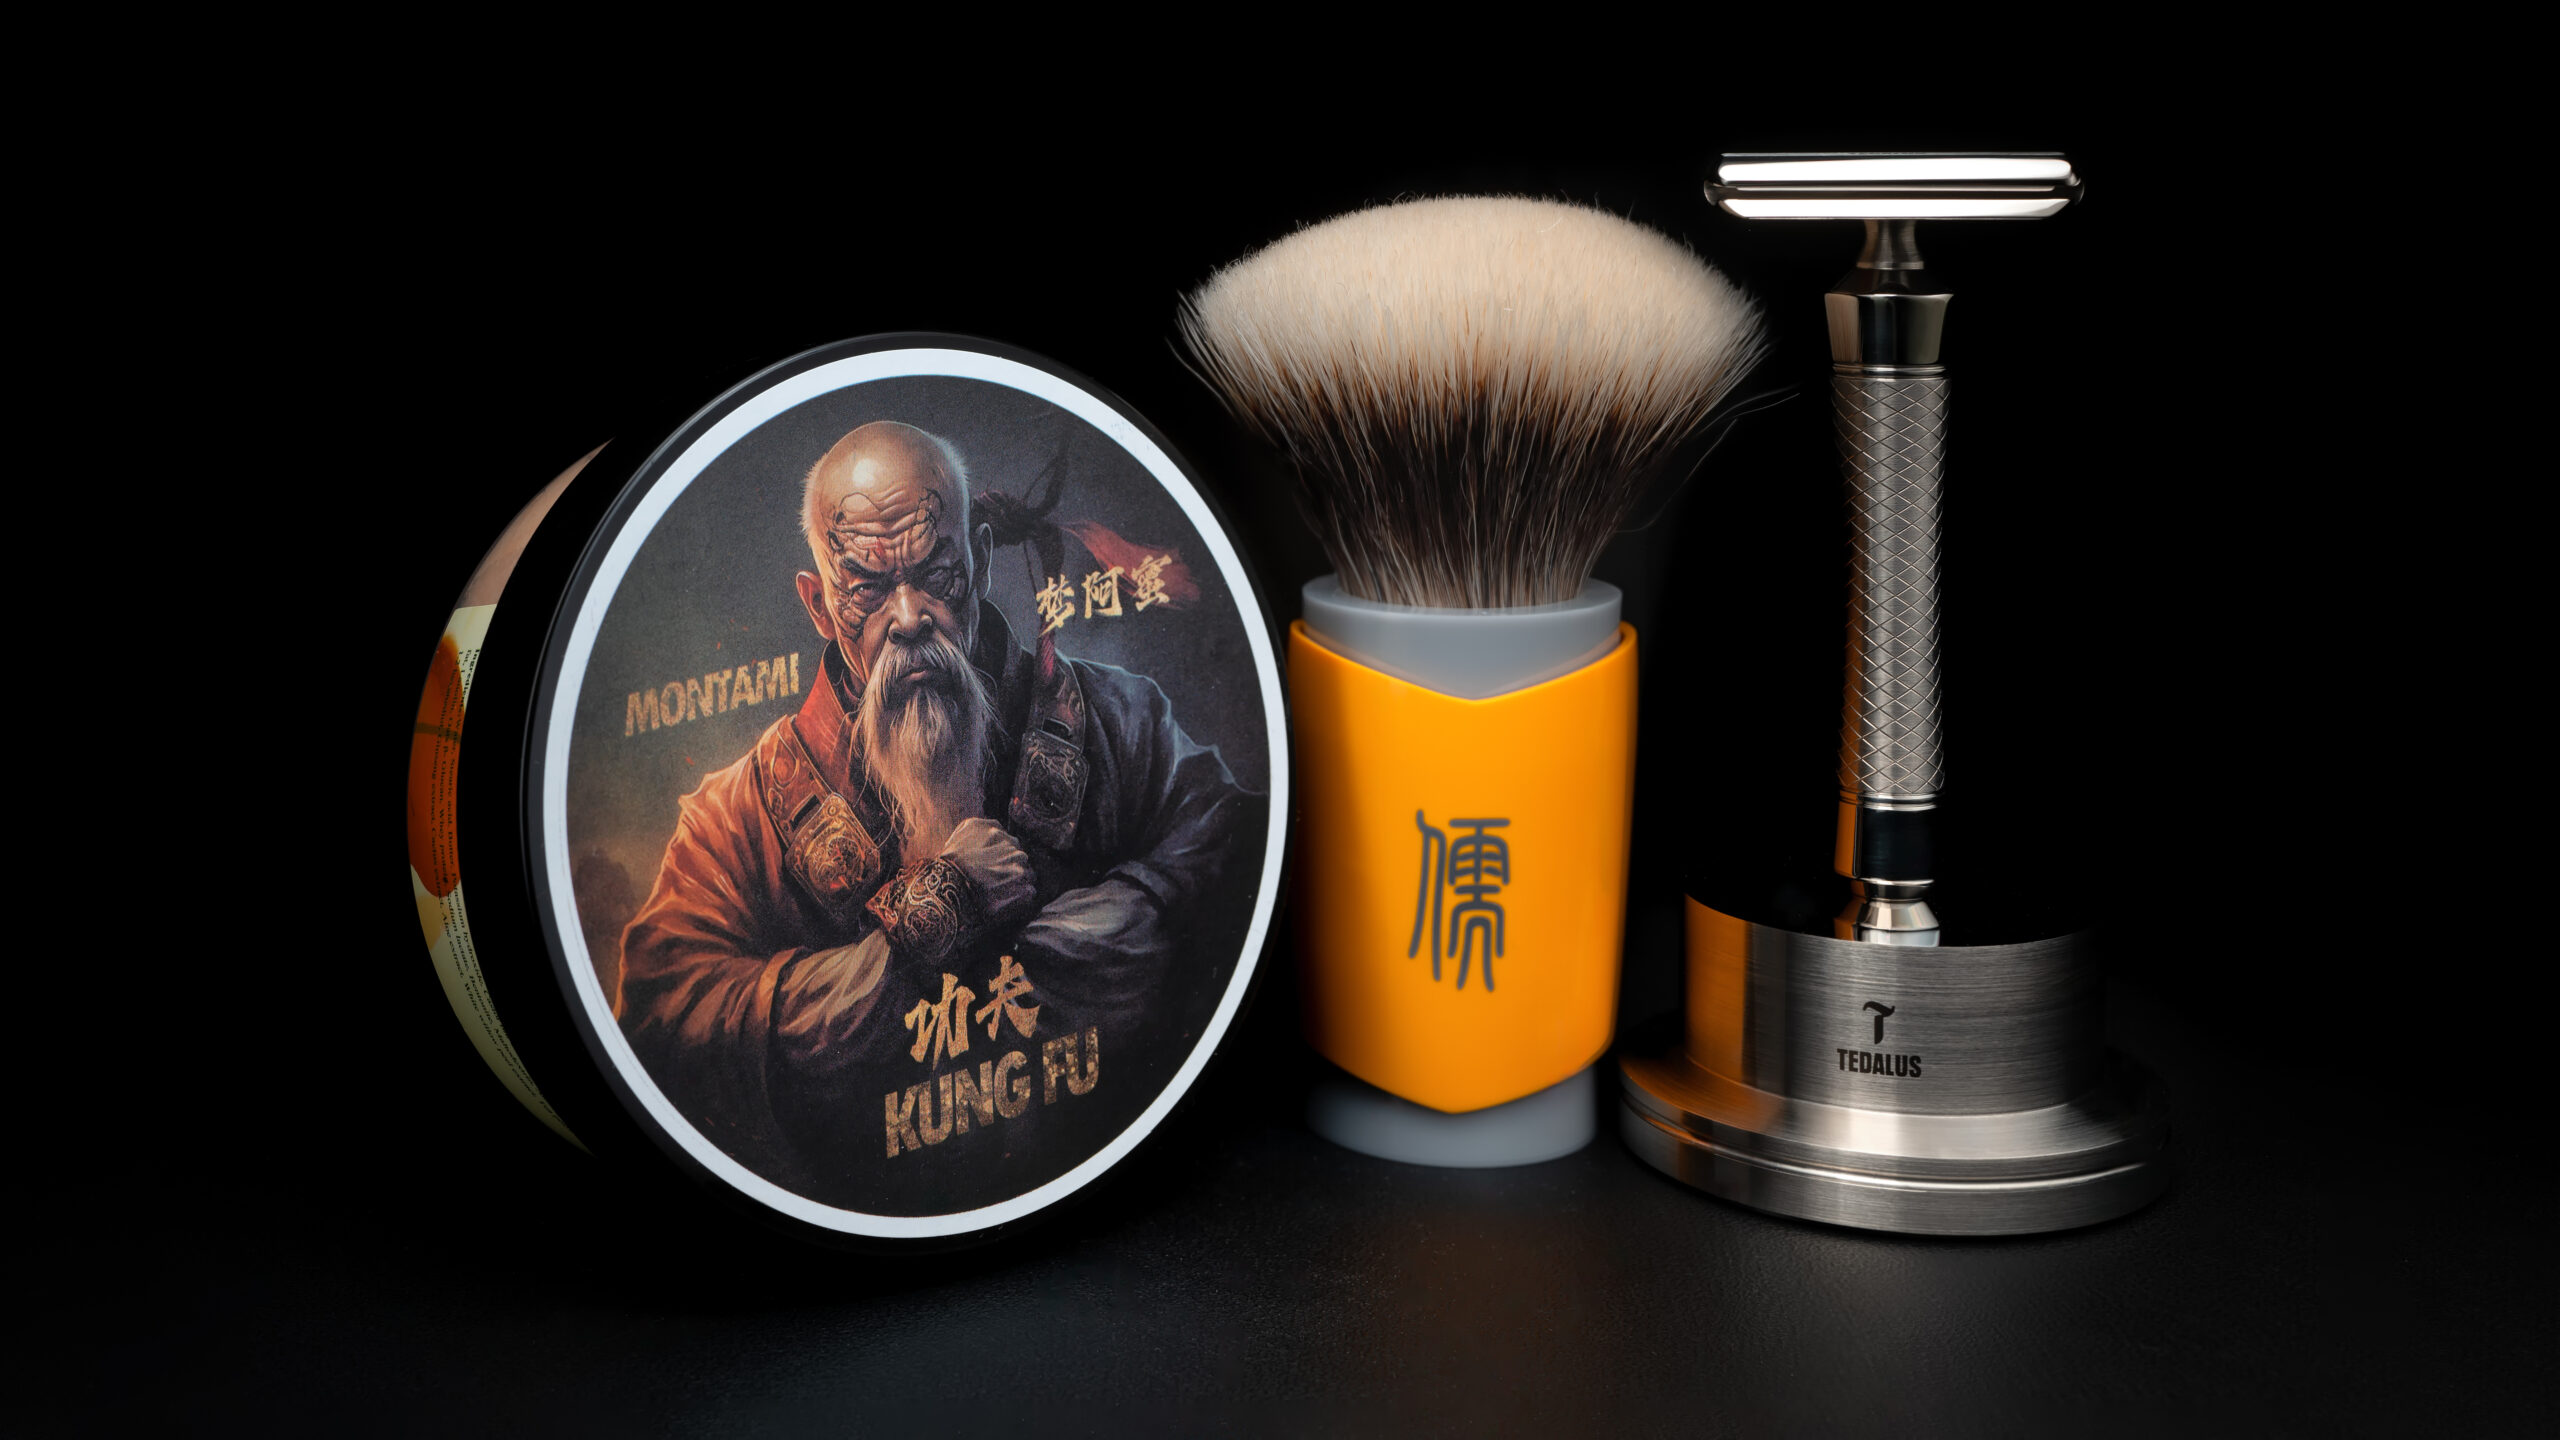
2023-12-10
- DE Razor: Tedalus - Velocity-ONE #016
- Blade: Polsilver - Super Iridium
- Shaving Brush: OUMO - 儒(Confucianism) - Cyberpunk Limited edition - M-4 (Manchurian Badger - 27mm Fan)
- Shaving Soap: Montami - Kung-Fu (Emu Oil)
- Accessoires: Tedalus - Velocity-ONE Razor Stand
2023-12-08
- DE Razor: Tedalus - Velocity-ONE #016
- Blade: Polsilver - Super Iridium
- Shaving Brush: Voigt & Cop - VC04 Corno di Alce (Manchurian Badger - 28mm Fan)
- Shaving Soap: PannaCrema - Nuàvia Nera
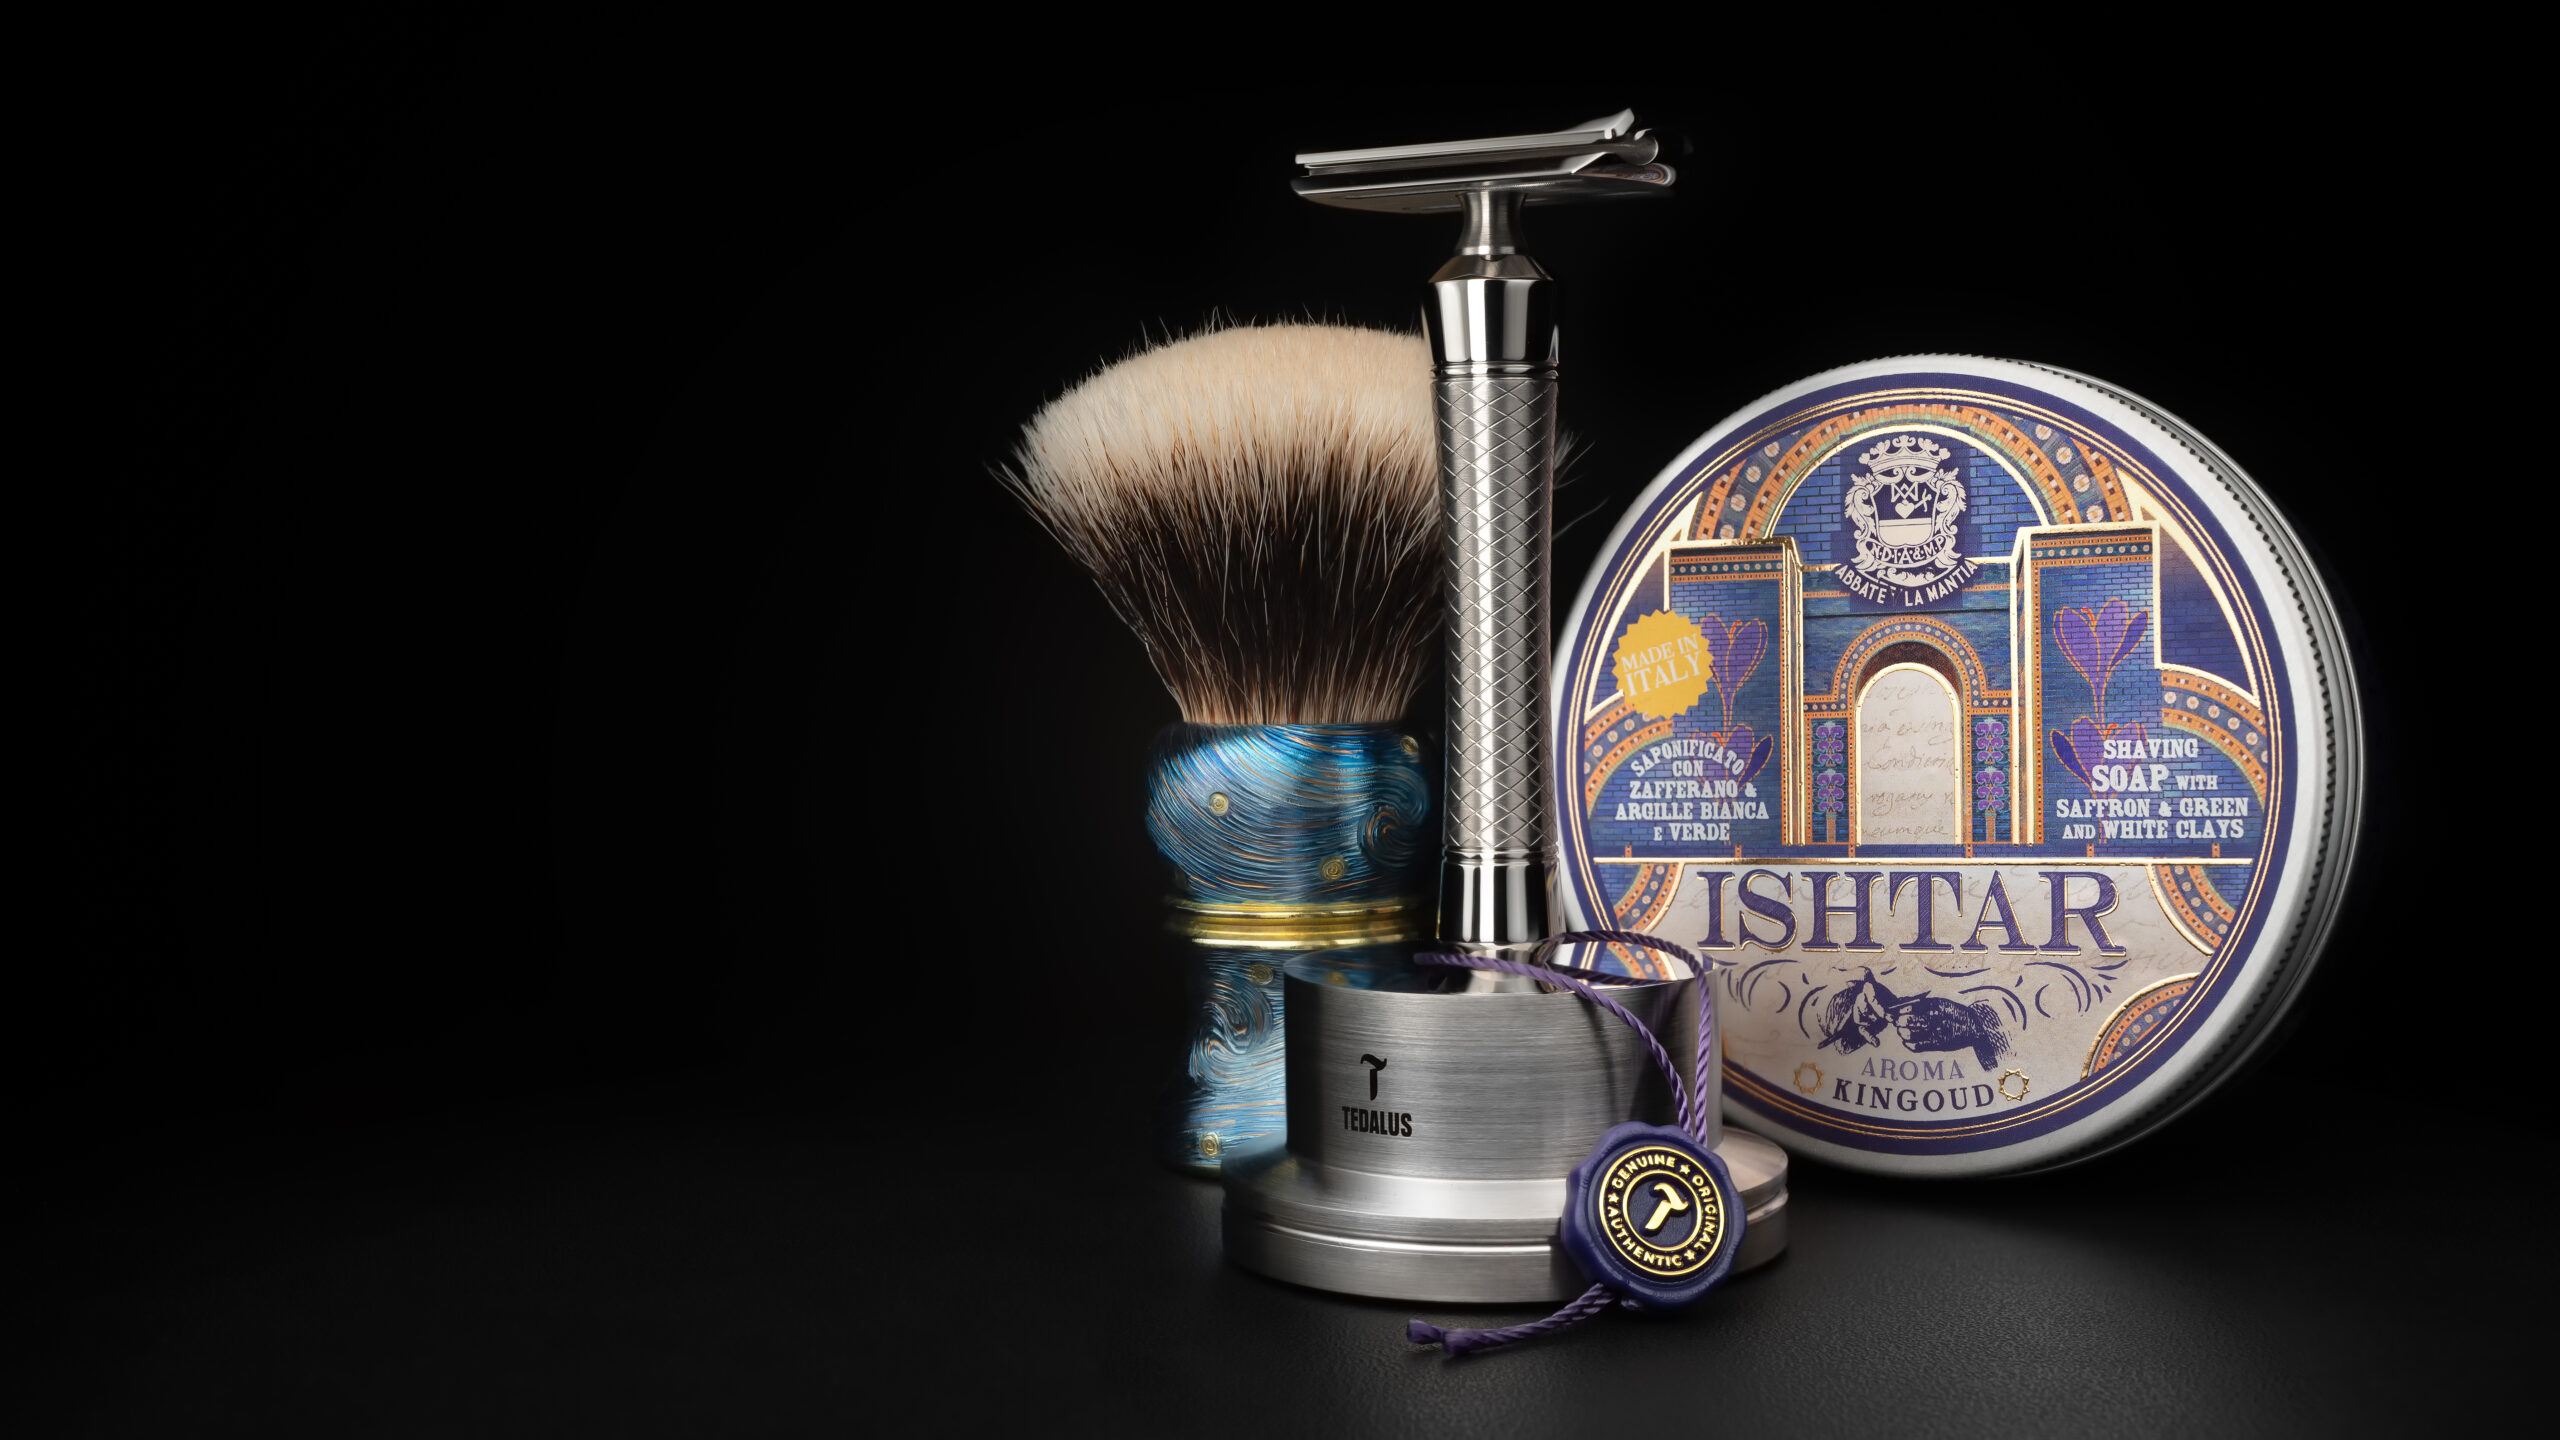
2023-12-07
- DE Razor: Tedalus - Velocity-ONE #016
- Blade: Polsilver - Super Iridium
- Shaving Brush: Arno Brush - Special Version Titanium Carved Van Gogh Starry Sky Class A-2 (Finest Badger - 28mm Fan)
- Shaving Soap: Abbate Y La Mantia - Ishtar
- Aftershave Splash: Abbate Y La Mantia - Ishtar
- Accessoires: Tedalus - Velocity-ONE Razor Stand
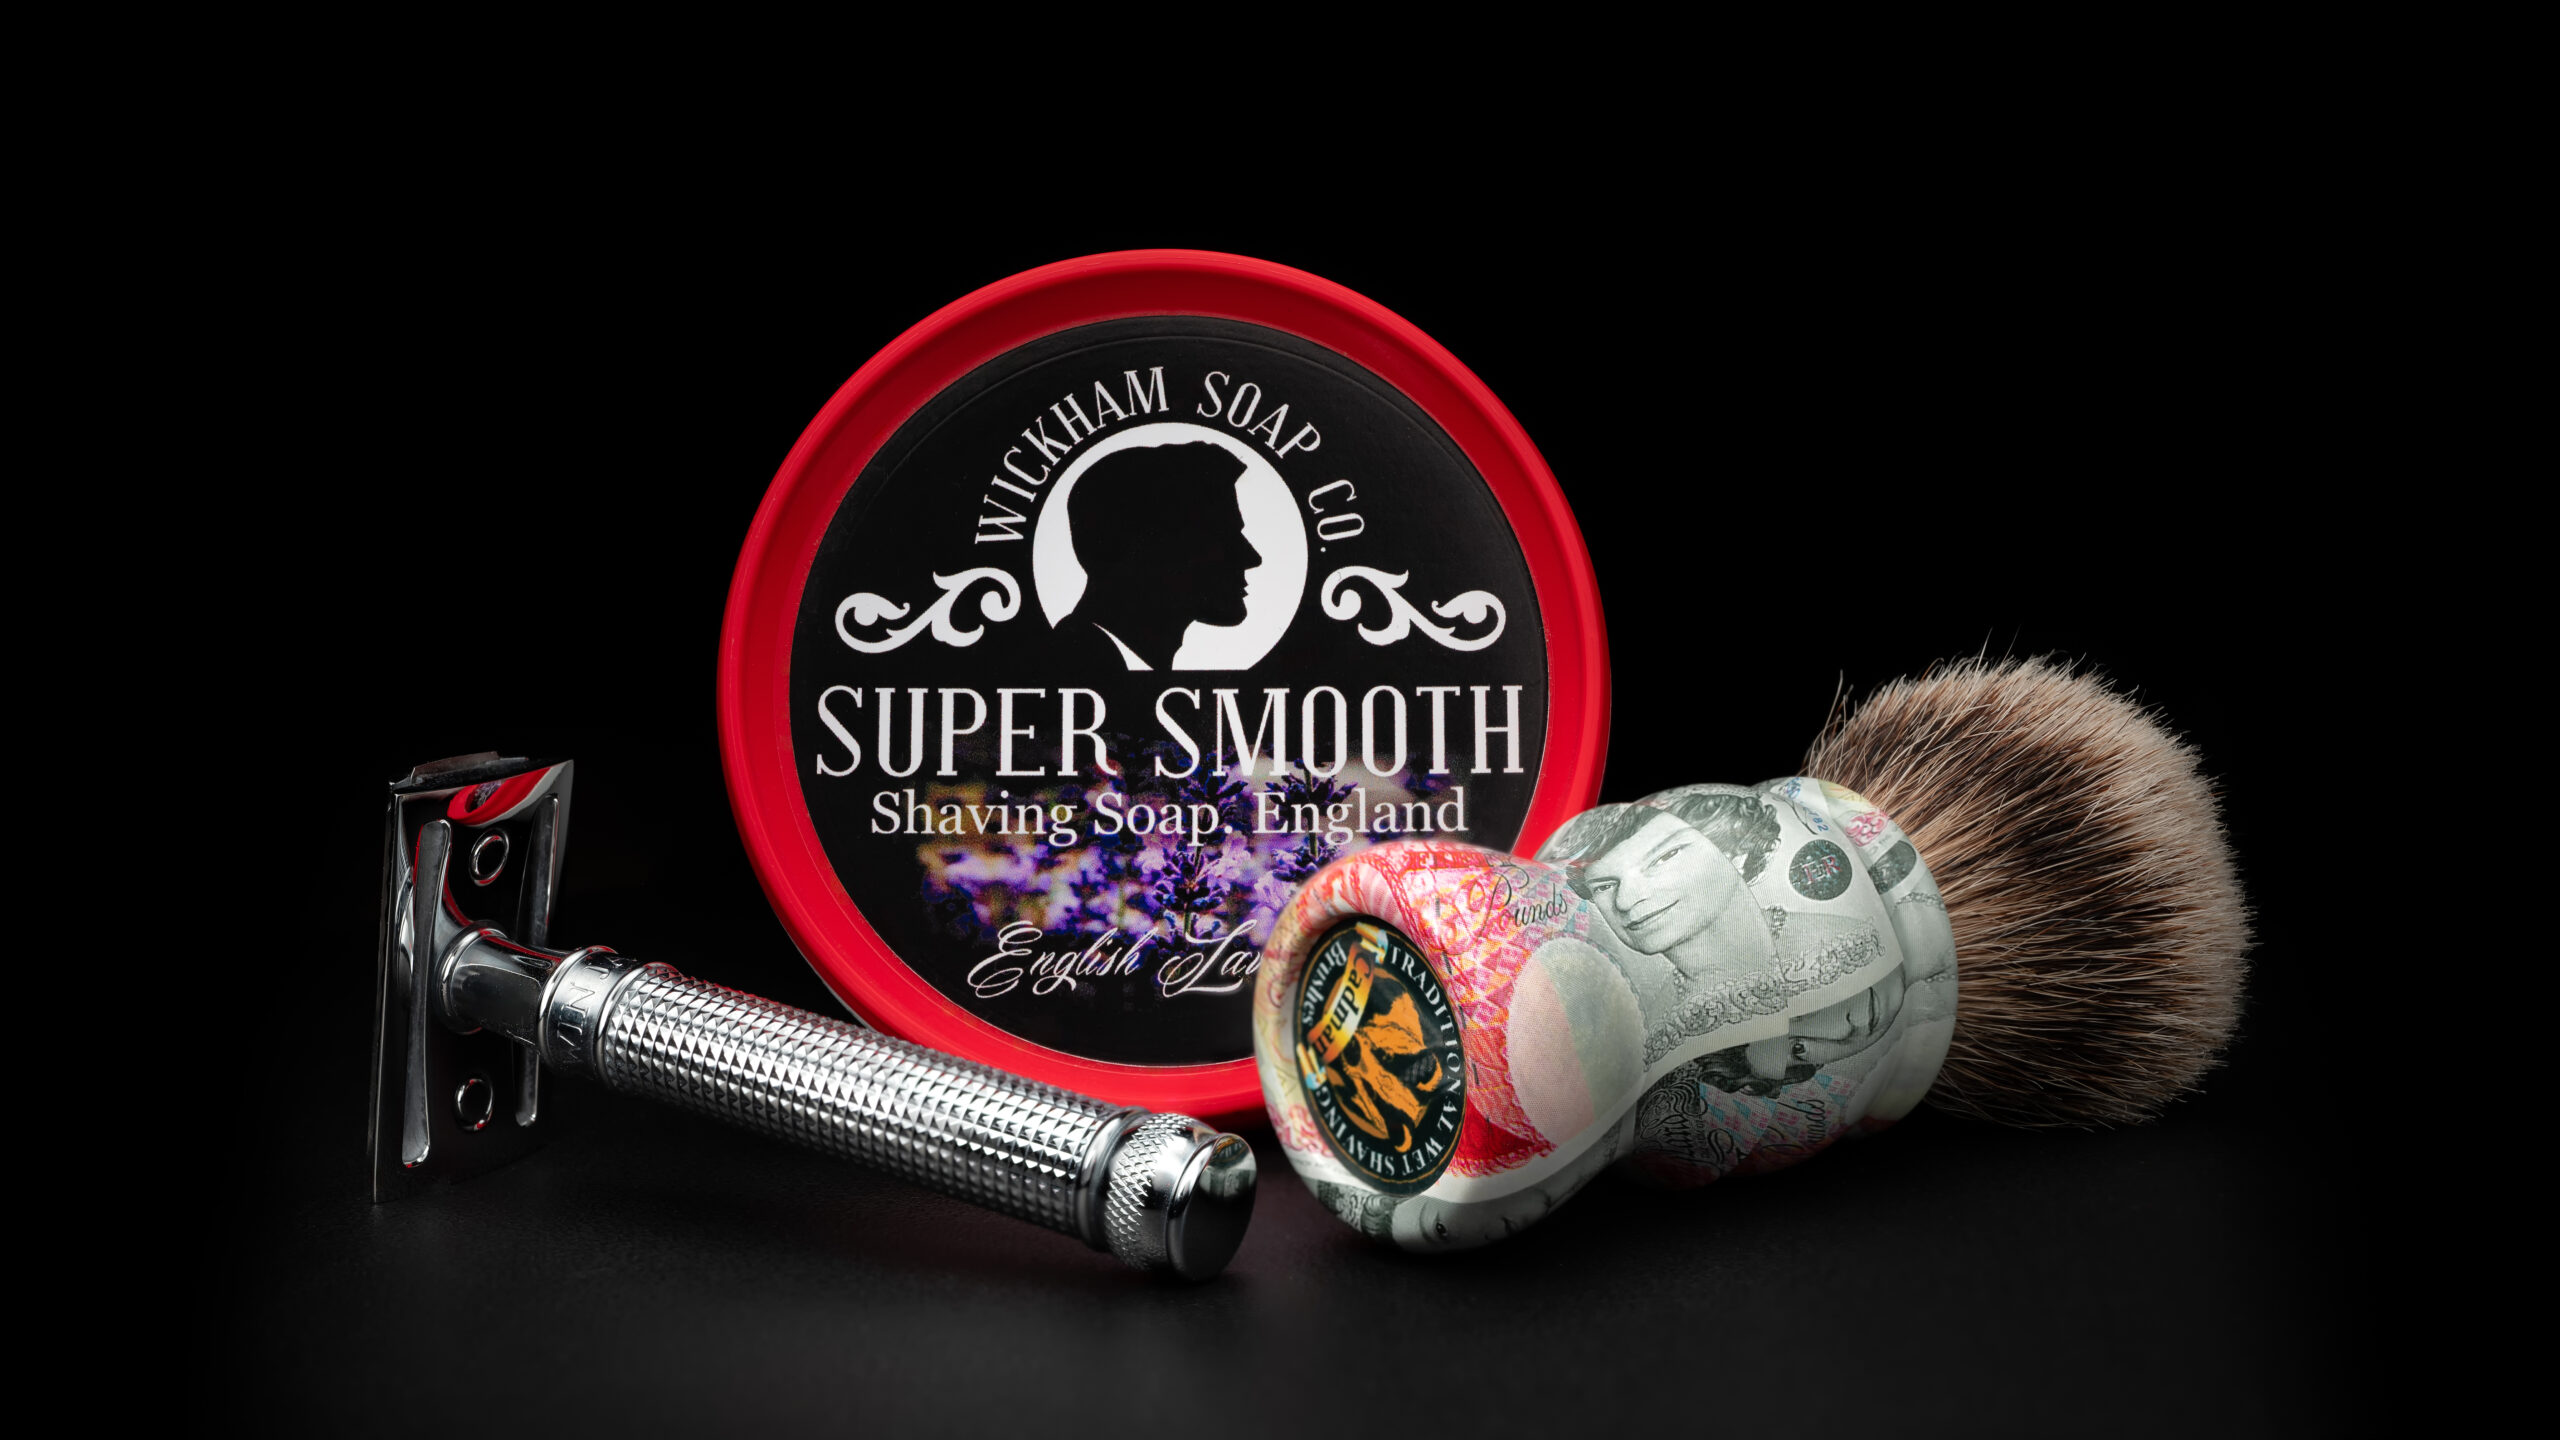
2023-12-03
- DE Razor: Edwin Jagger - DE3D14BL - 3D Laser Diamond
- Blade: Polsilver - Super Iridium
- Shaving Brush: Mervyn Cadman - £50 Note (Finest Badger - 24mm Bulb)
- Shaving Soap: Wickham Soap Co - Super Smooth - English Lavender
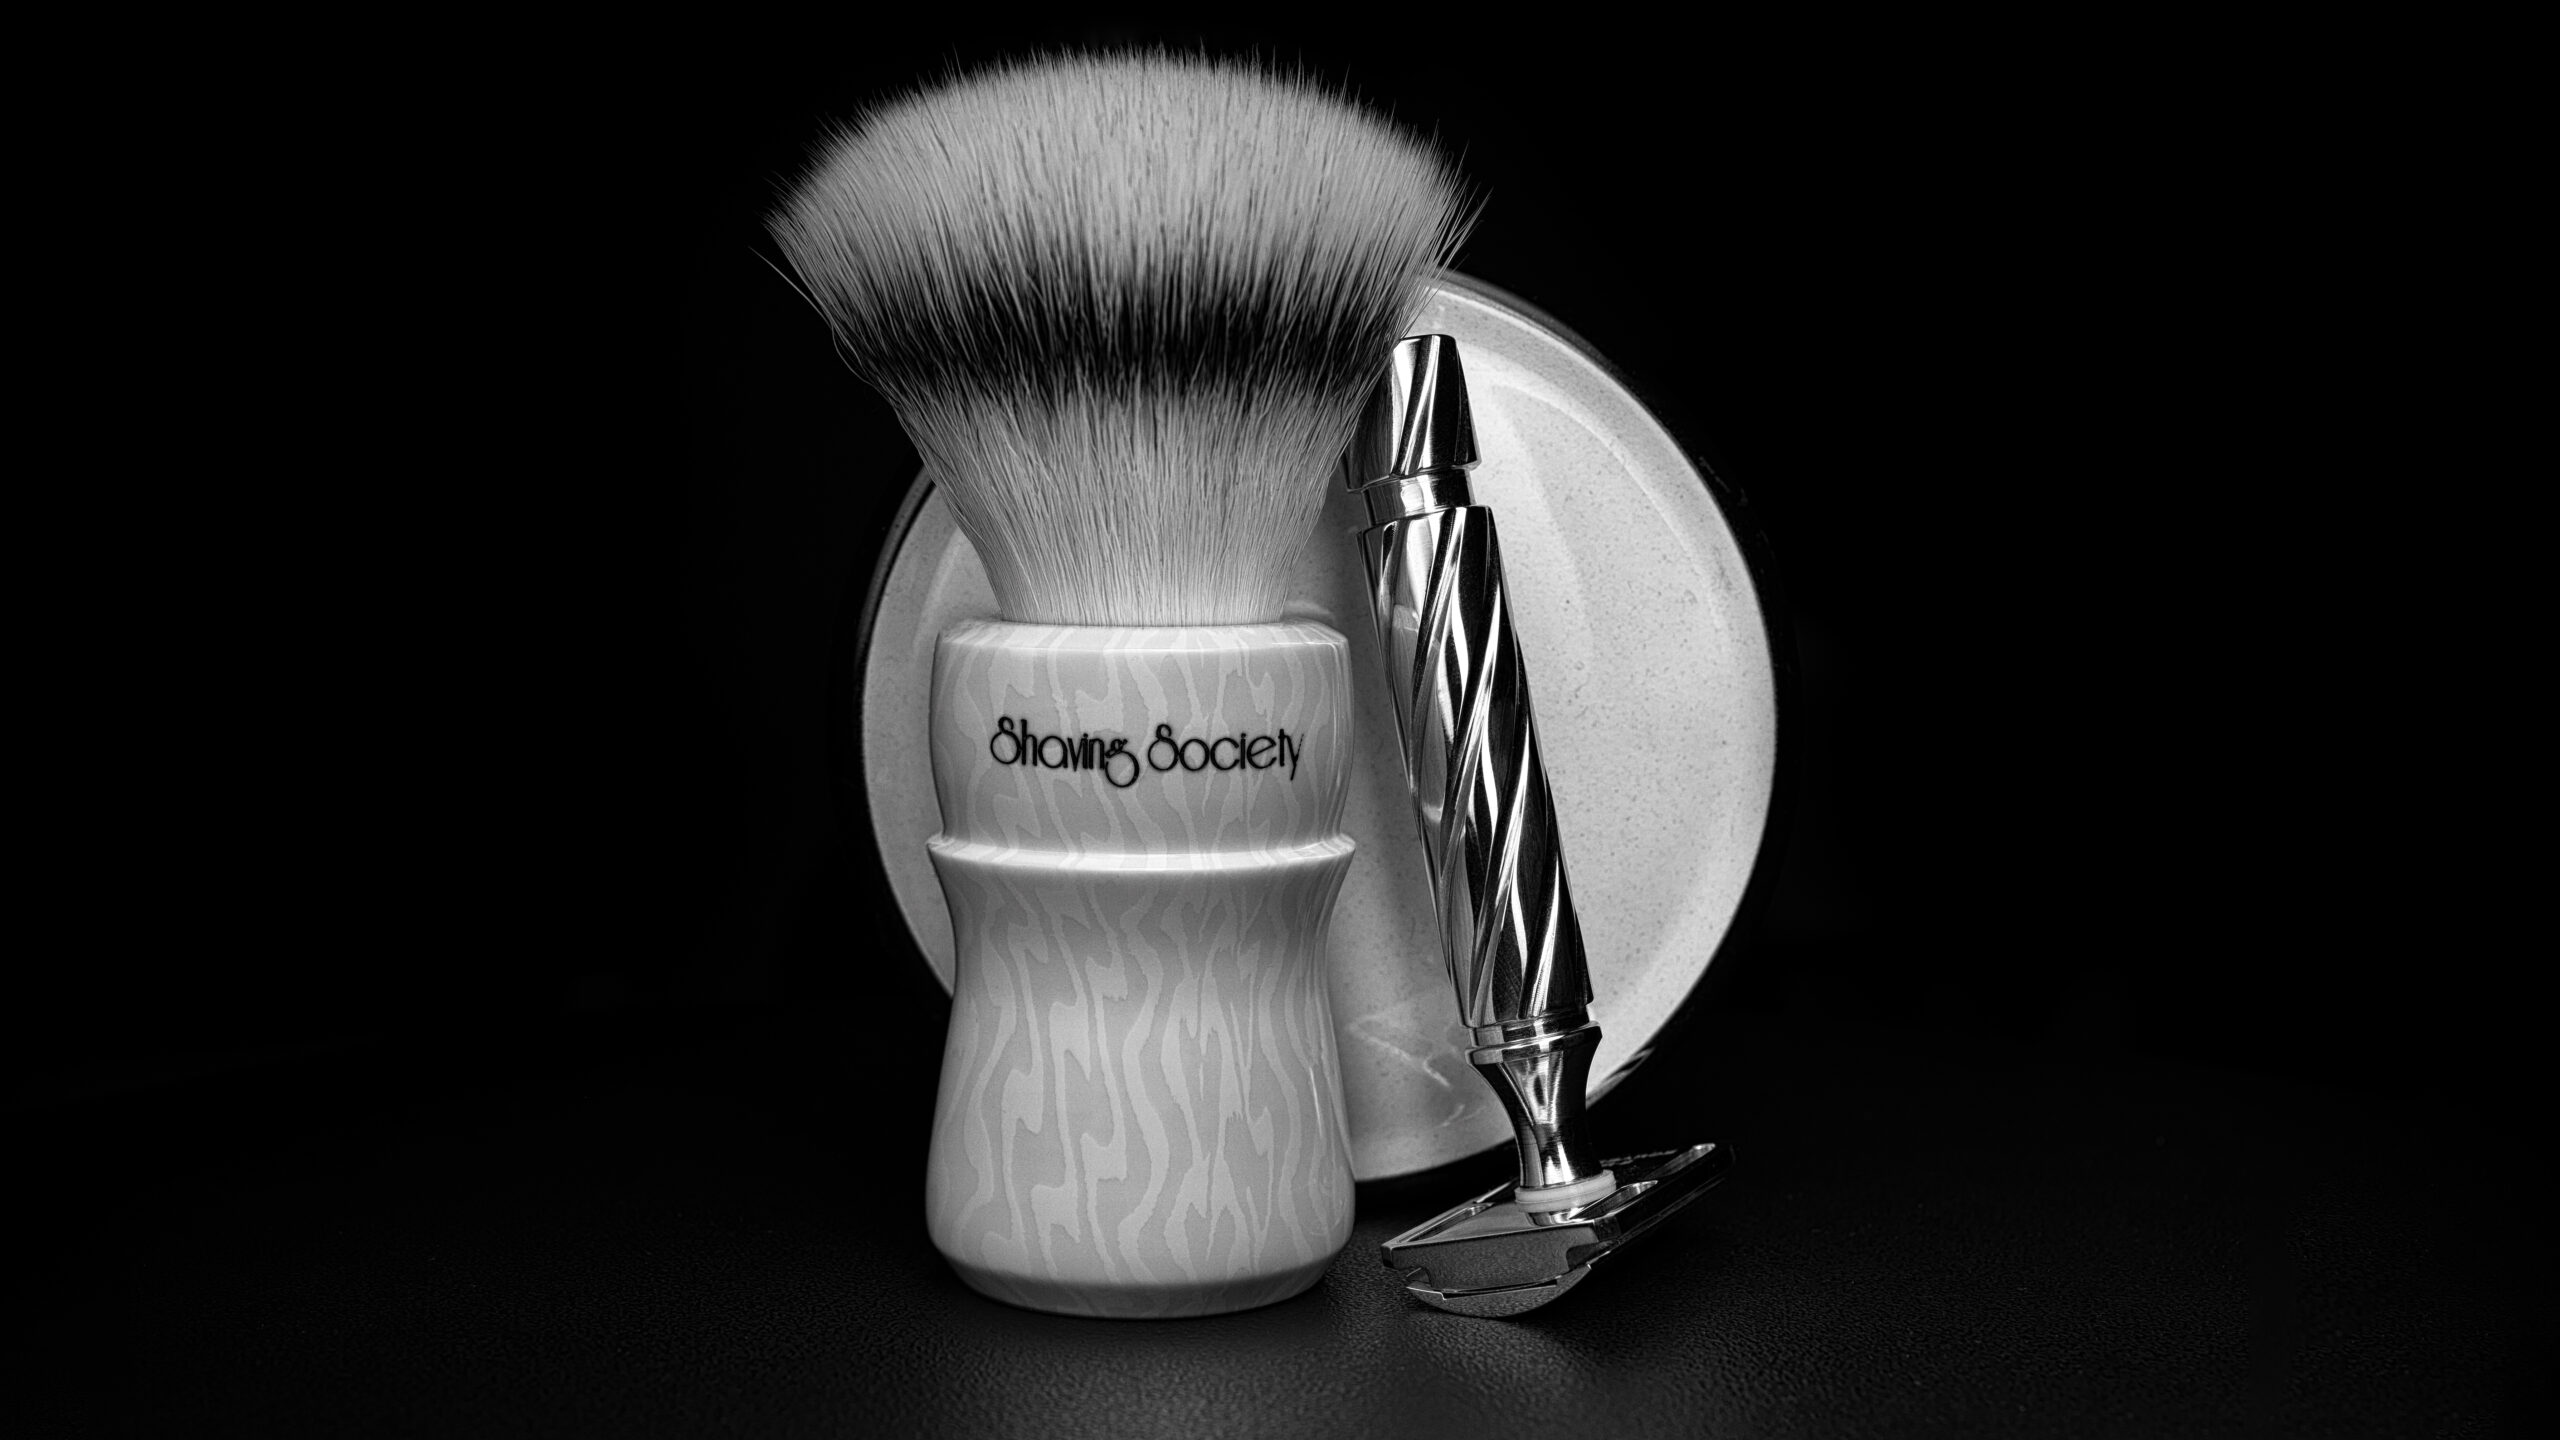
2023-11-26
- DE Razor: Barbaros - TR-2
- Blade: Polsilver - Super Iridium
- Shaving Brush: OUMO - Ivory Warhammer - Shaving Society 2023 Edition (Synthetic - 26mm Fan)
- Shaving Soap: PannaCrema - Nuàvia Nera
- Aftershave Balm: PannaCrema - A Nero
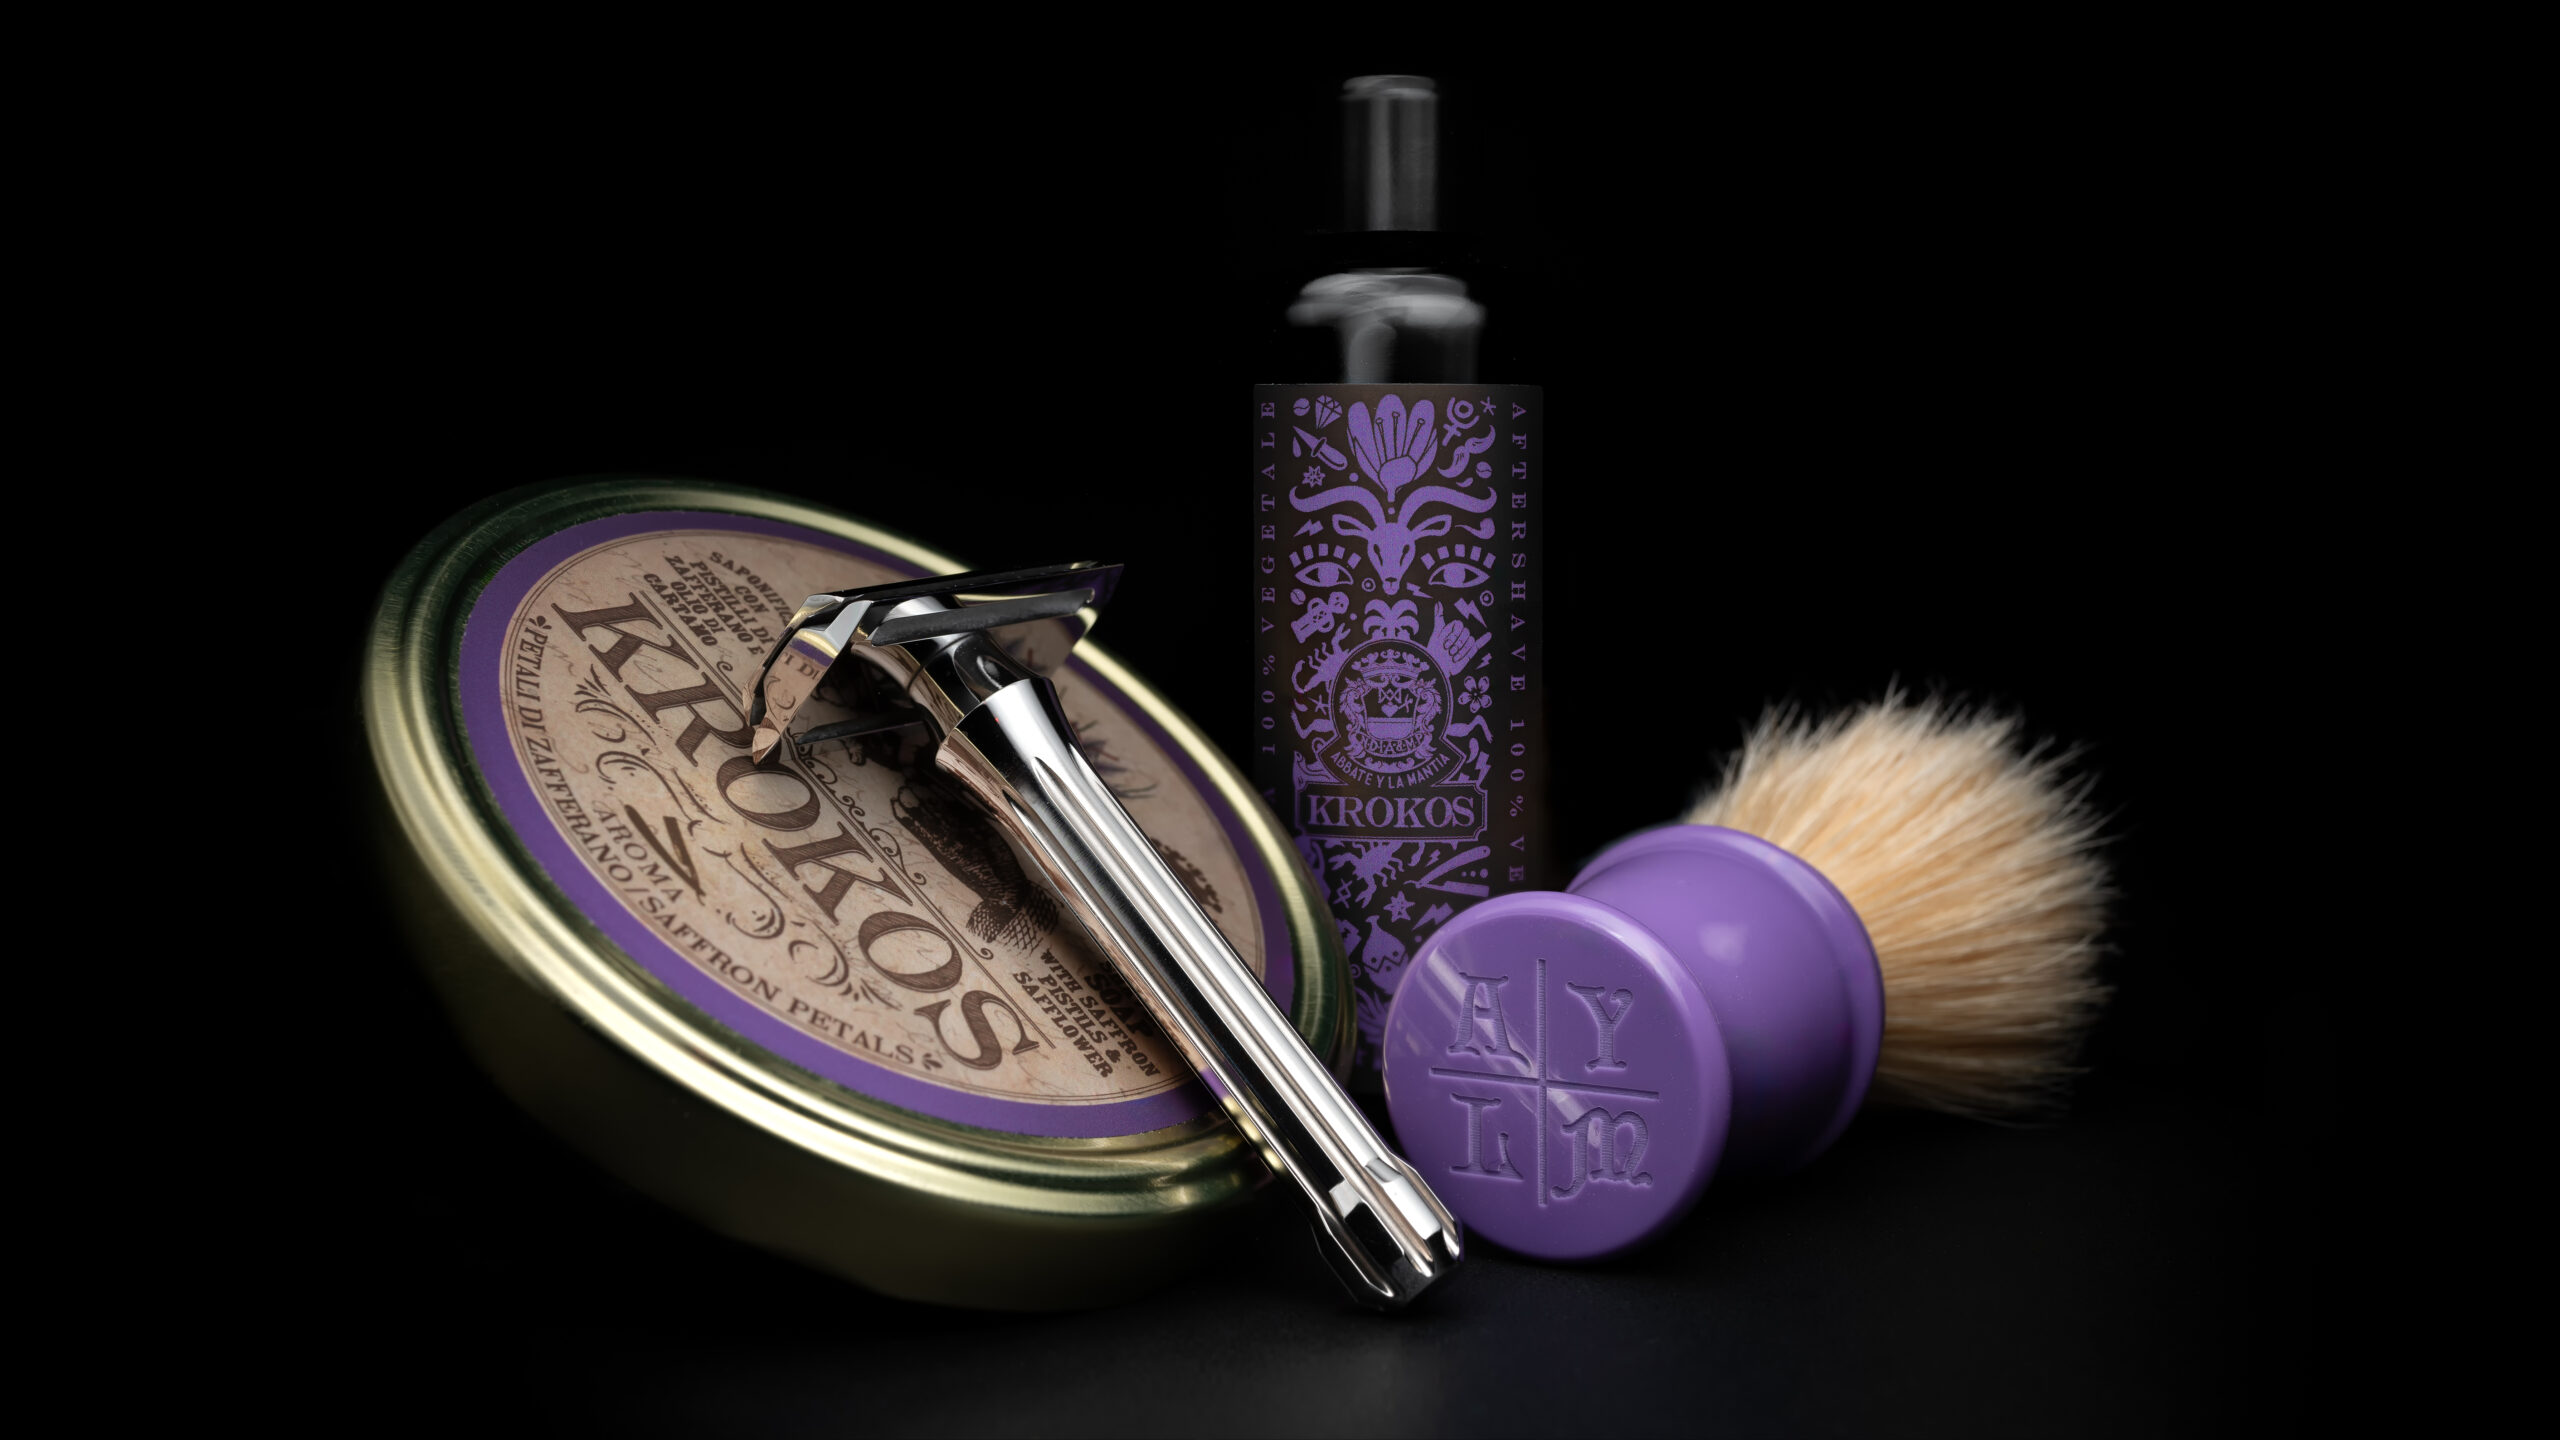
2023-11-19
- DE Razor: Blackland - Blackbird SB
- Blade: Polsilver - Super Iridium
- Shaving Brush: Abbate Y La Mantia - Krokos (Boar - 26mm Fan)
- Shaving Soap: Abbate Y La Mantia - Krokos
- Aftershave Splash: Abbate Y La Mantia - Krokos

2023-11-12
- DE Razor: Paradigm - Diamondback
- Blade: Polsilver - Super Iridium
- Shaving Brush: Morris & Forndran - 1XL (Blonde Badger - 24mm Bulb)
- Shaving Soap: Fitjar Islands - Fjellheim
- Aftershave Balm: Fitjar Islands - Fjellheim
2023-10-29
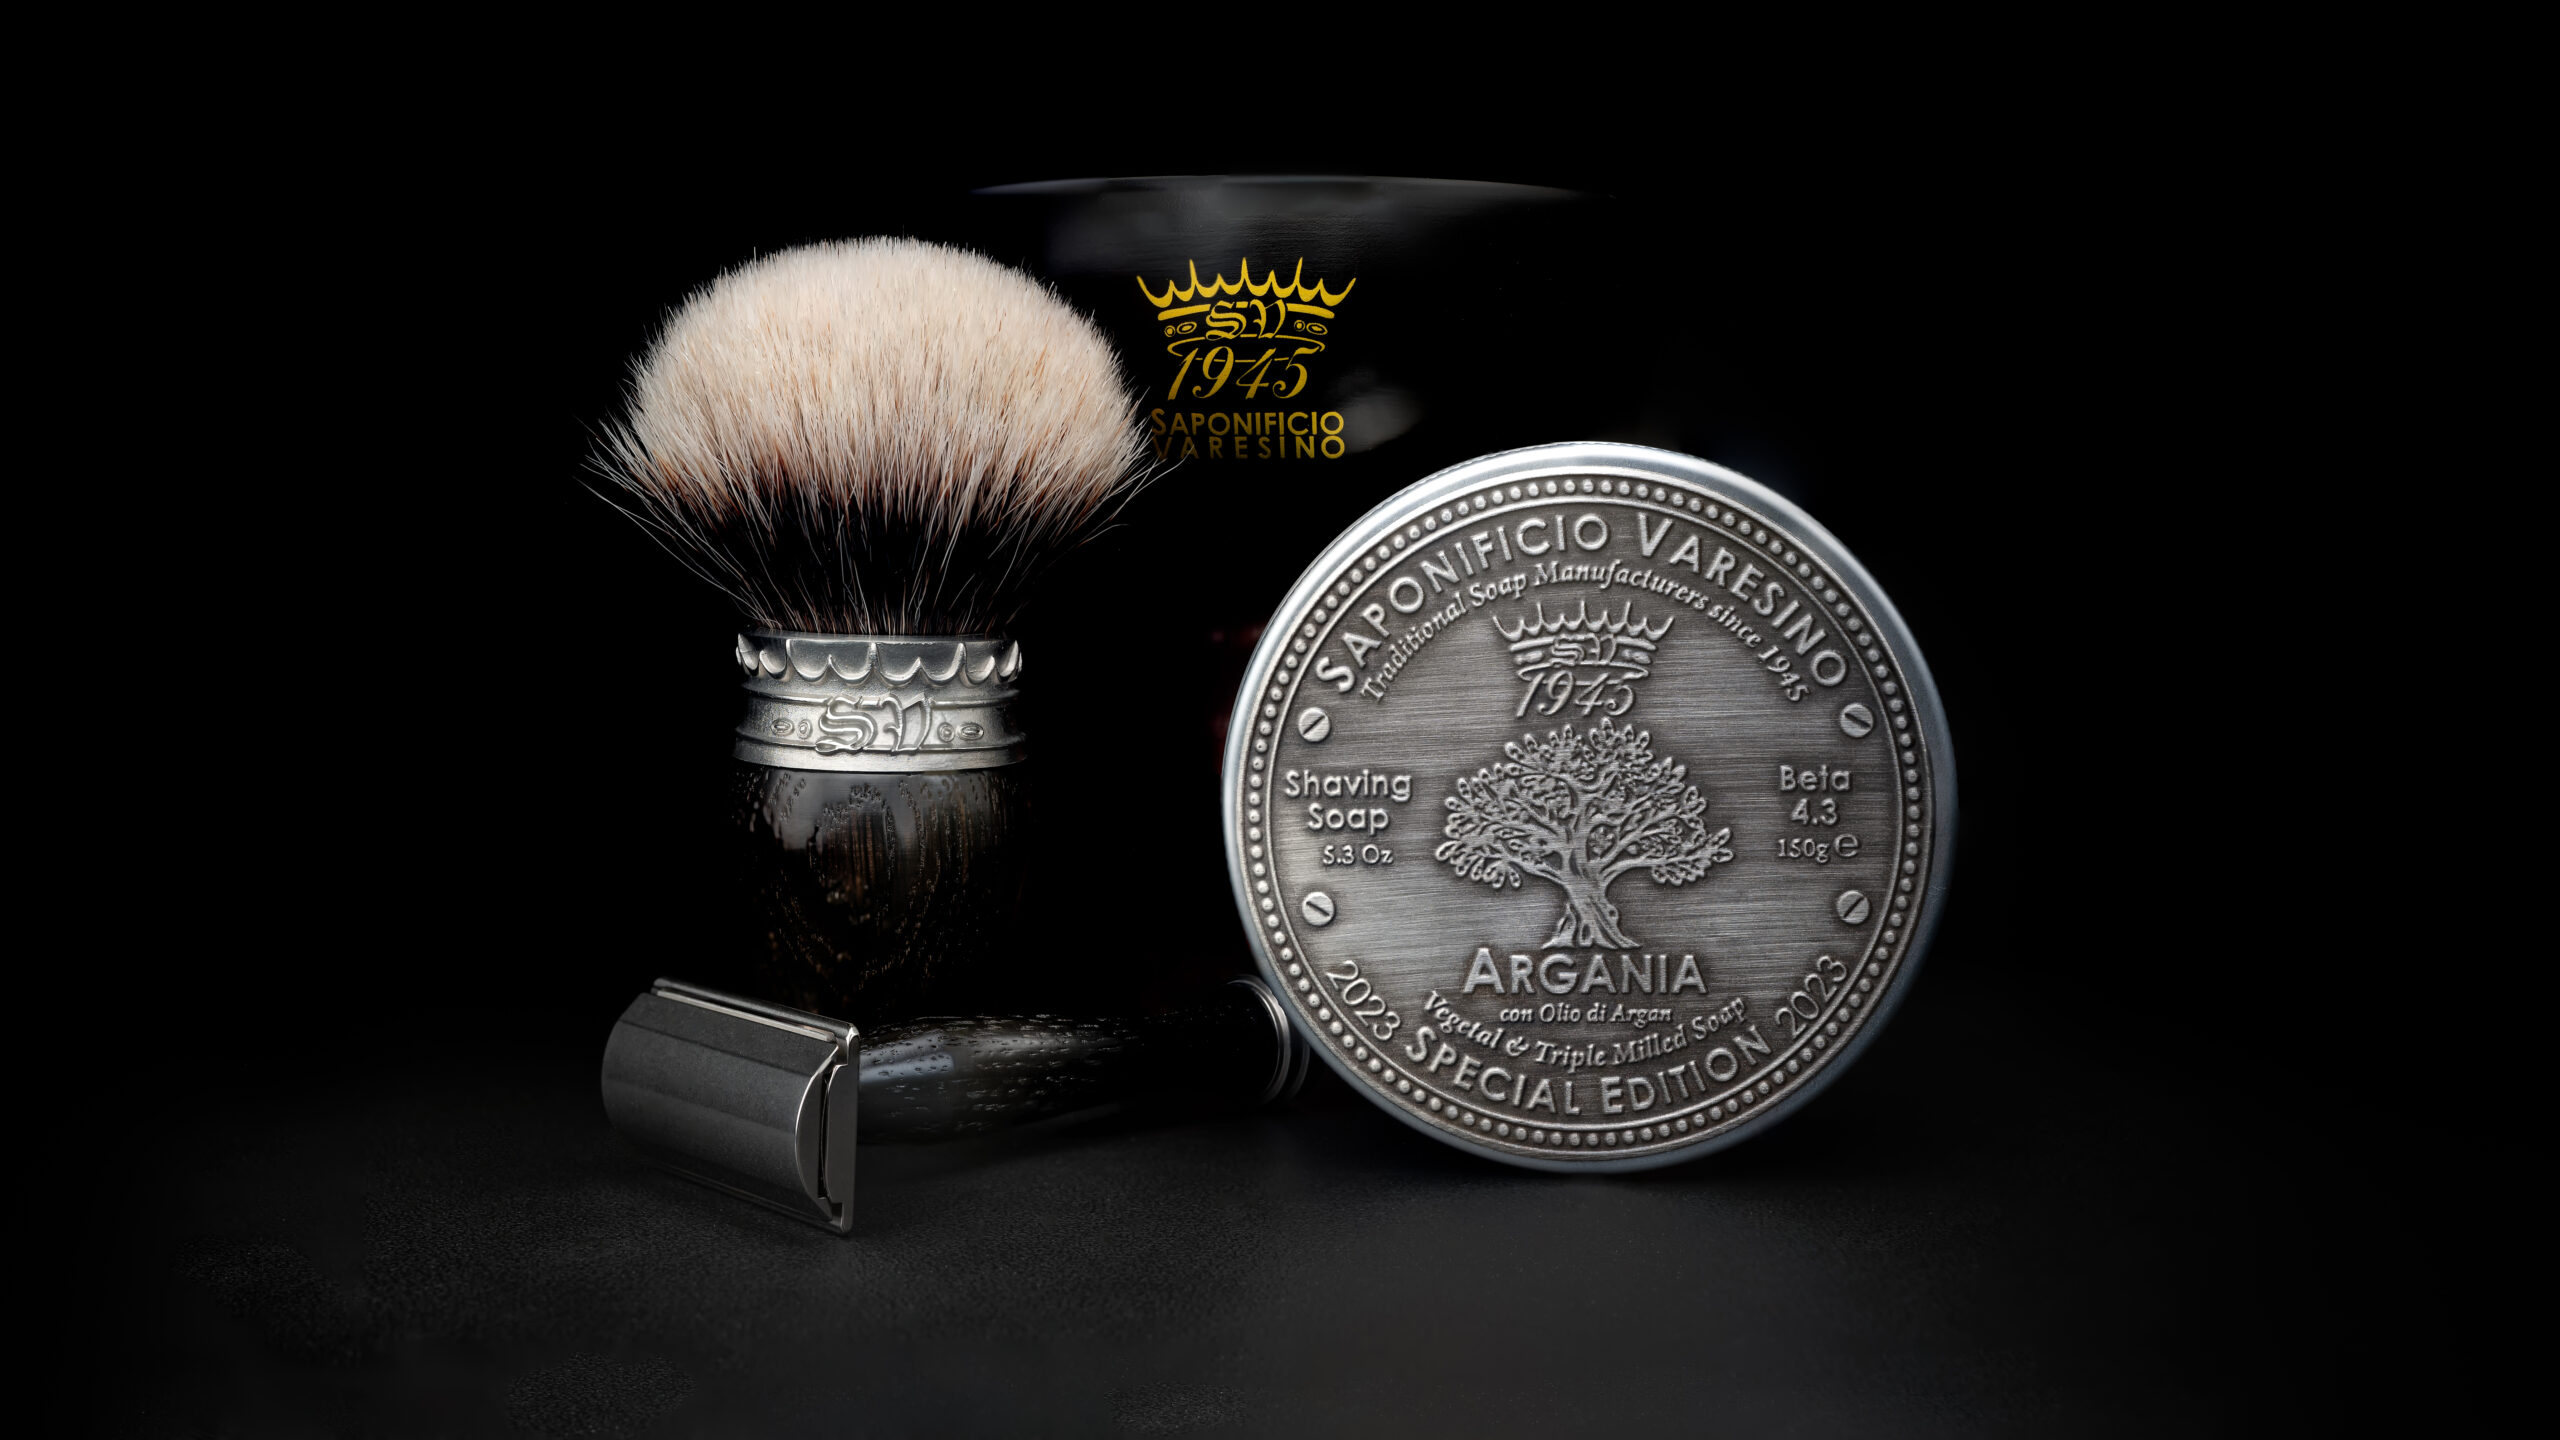
- DE Razor: Saponificio Varesino - Bog Oak
- Blade: Polsilver - Super Iridium
- Shaving Brush: Saponificio Varesino - Bog Oak (Manchurian Badger - 26mm Bulb)
- Shaving Bowl: Saponificio Varesino - Shaving Grail
- Shaving Soap: Saponificio Varesino - Argania - Beta 4.3
- Aftershave Splash: Saponificio Varesino - Argania
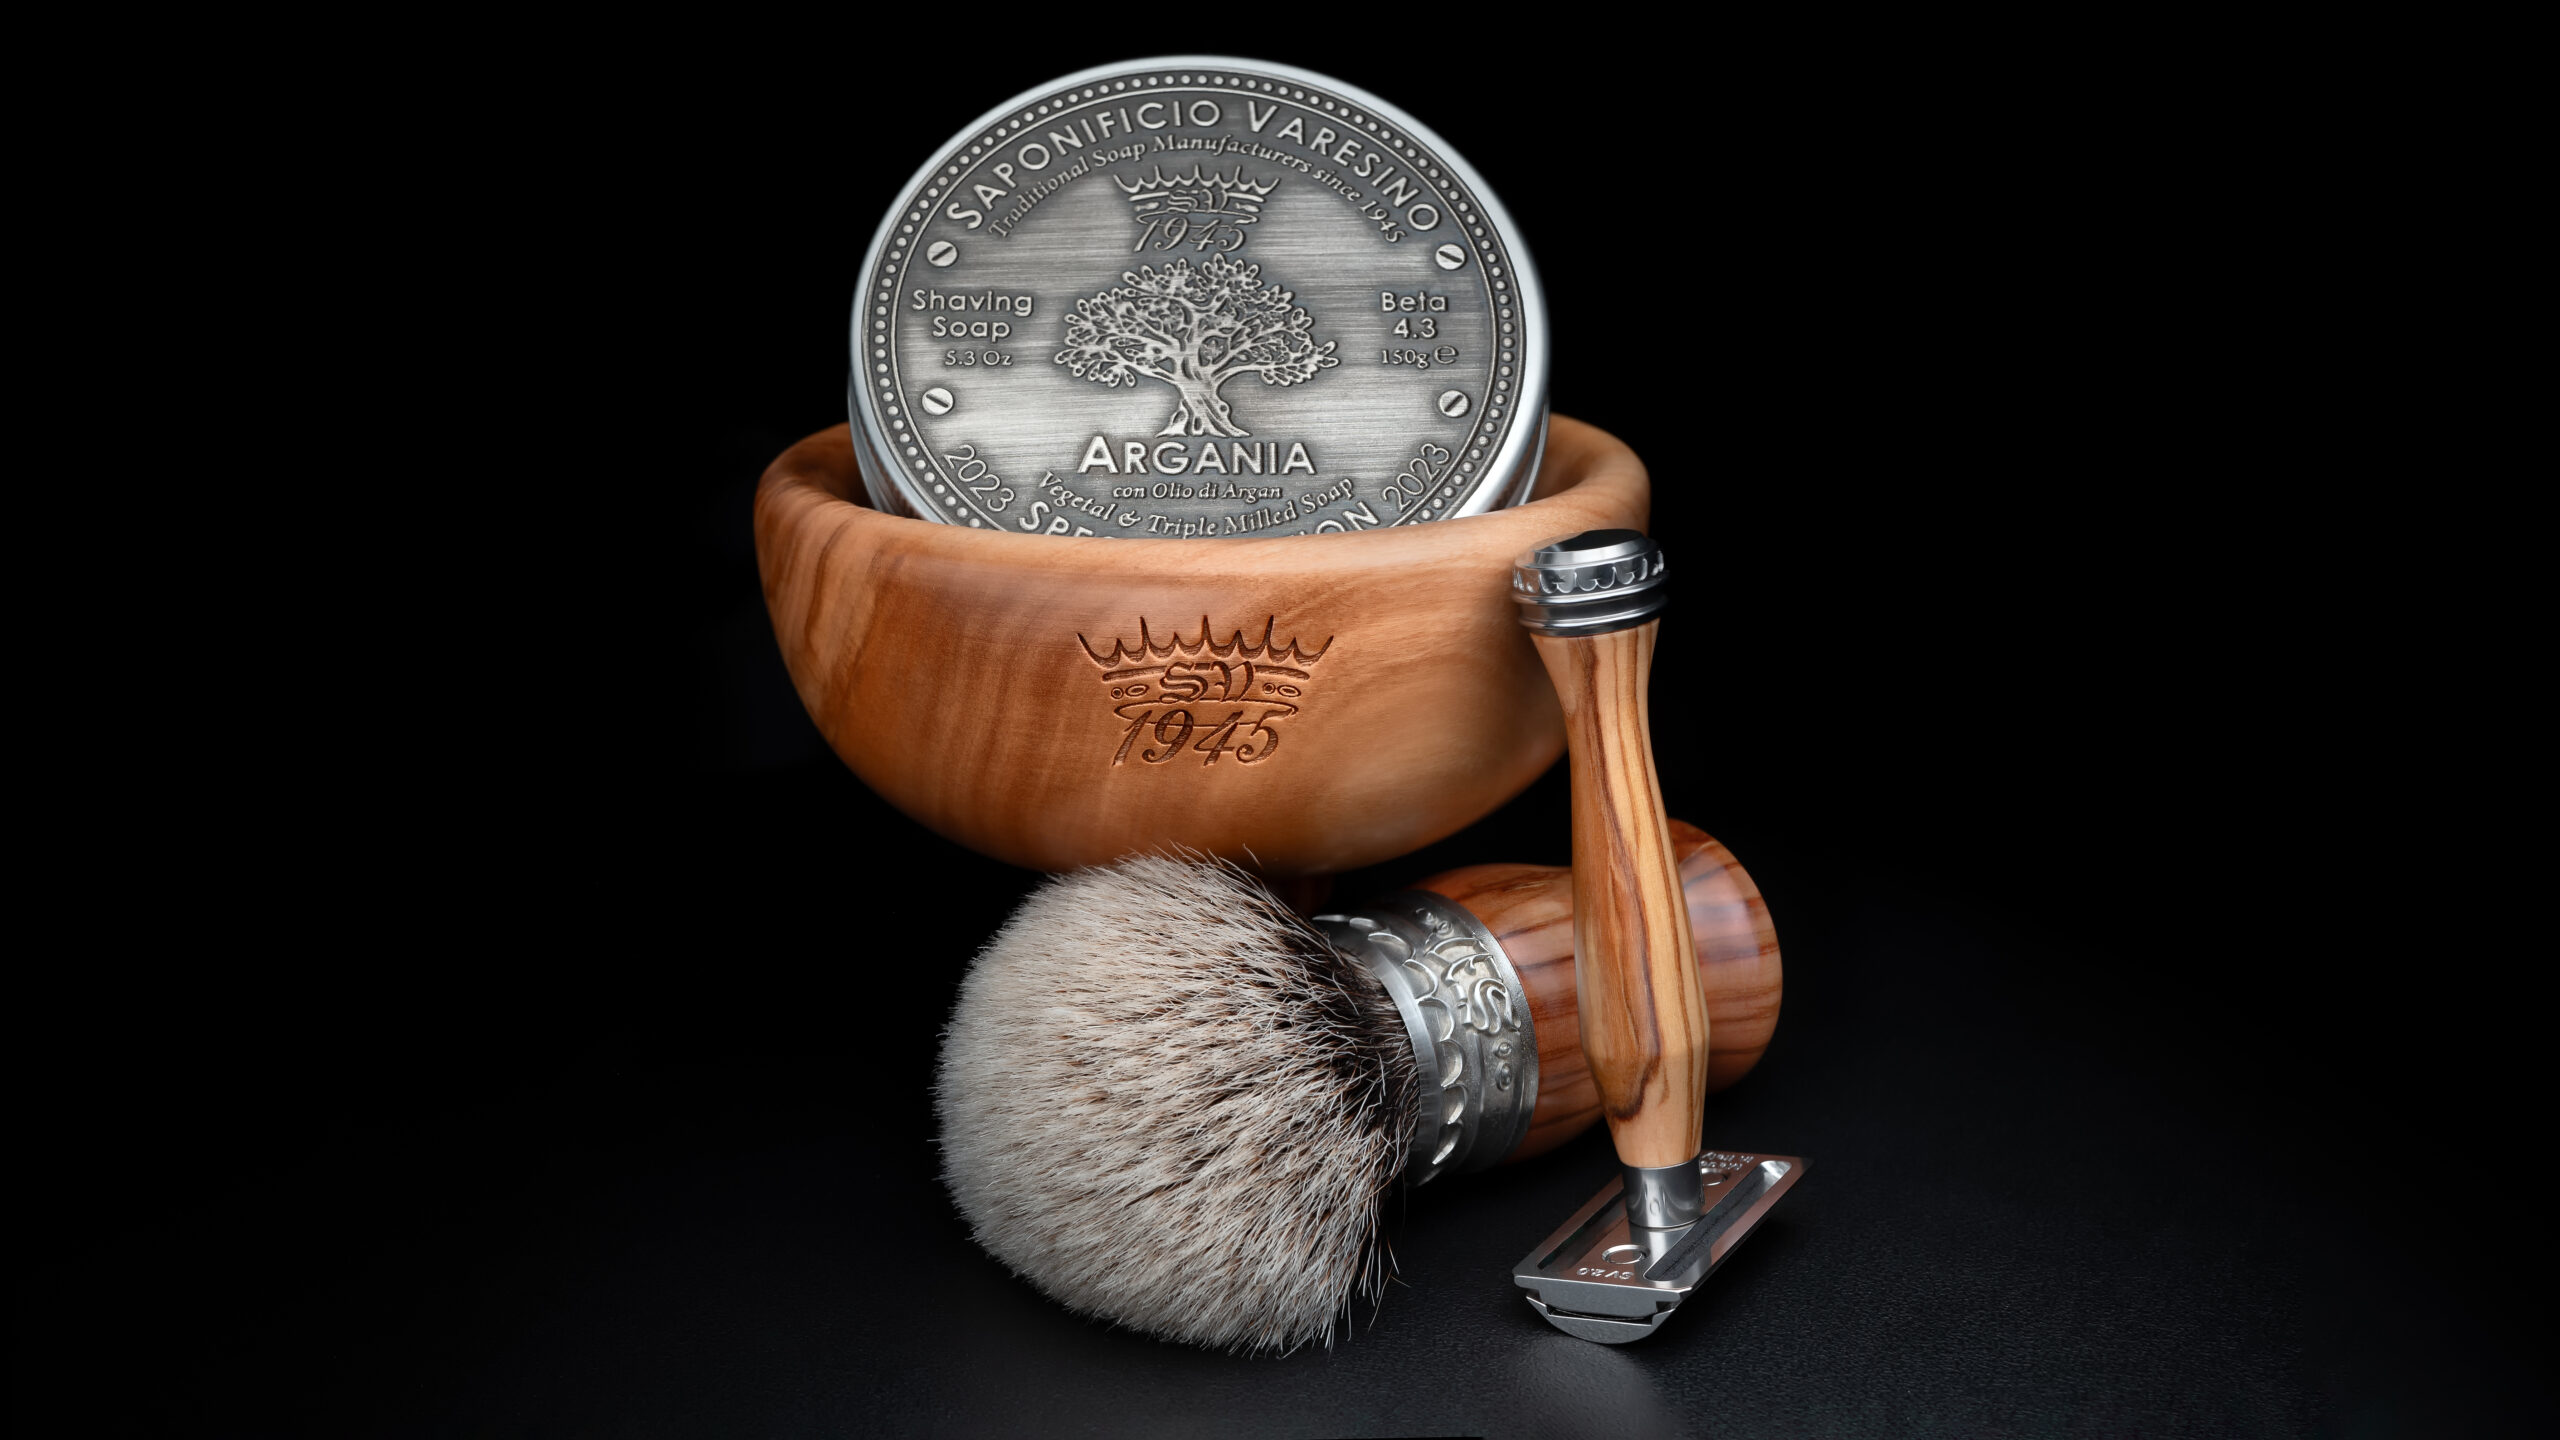
2023-10-22
- DE Razor: Saponificio Varesino - Olive
- Blade: Polsilver - Super Iridium
- Shaving Brush: Saponificio Varesino - Olivewood (Manchurian Badger - 28mm Bulb)
- Shaving Bowl: Saponificio Varesino - Olivewood
- Shaving Soap: Saponificio Varesino - Argania - Beta 4.3
- Aftershave Splash: Saponificio Varesino - Argania
- Shower Gel: Saponificio Varesino - Argania